Published Date : 2019年12月7日12:37
Pythonで理解するCNN(Convolutional Neural Networks)の仕組み 推測プログラム
How CNN (Convolutional Neural Networks) Works with Python ~ Predict ~
This blog has an English translation
画像認識シリーズ第20弾です。前回のブログ記事。
This is the 20th image recognition series. Last blog post.
前回はPythonと図による今までのおさらいをおこないました。
In my last blog post, I briefly reviewed previous blog posts using Python and diagrams.
今回は、前回までに作った学習モデルを使って画像の予測をしていきMASU。
This time, I'm going to predict the image using the learning model we made up until last time.
目次
Table of Contents
全体のコードと実行結果 The entire Python scipt and execution results |
画像予測スクリプトの説明 Description of the image prediction script |
ページの最後へ Go to the end of the page. |
全体のコードと実行結果
The entire Python scipt and execution results
まず最初に、画像を推測するPythonスクリプトをお店します。
First, I'll show you the entire python script that predicts a single image.
predict.py
import keras
from keras.models import Sequential, load_model
from keras.layers import Dense, Dropout, Activation, Flatten
from keras.layers import Conv2D, MaxPooling2D
from keras.utils import np_utils
import numpy as np
from PIL import Image

classes = ["dogs", "cats", "monkeys", "birds", "fish", "lizards"]
num_classes = len(classes)
image_size = 100

def build_model():
    model = Sequential()
    model.add(Conv2D(32, (3, 3), padding='same',
                    input_shape=(100,100,3)))
    model.add(Activation('relu'))
    model.add(Conv2D(32, (3, 3)))
    model.add(Activation('relu'))
    model.add(MaxPooling2D(pool_size=(2, 2)))
    model.add(Dropout(0.25))

    model.add(Conv2D(64, (3, 3), padding='same'))
    model.add(Activation('relu'))
    model.add(Conv2D(64, (3, 3)))
    model.add(Activation('relu'))
    model.add(MaxPooling2D(pool_size=(2, 2)))
    model.add(Dropout(0.25))

    model.add(Flatten())
    model.add(Dense(512))
    model.add(Activation('relu'))
    model.add(Dropout(0.5))
    model.add(Dense(num_classes))
    model.add(Activation('softmax'))

    opt = keras.optimizers.adam()

    model.compile(loss='categorical_crossentropy',
                optimizer=opt,
                metrics=['accuracy'])

    model = load_model("data/augumented_creatures_cnn.h5")

    return model

def main():
    image_file = input('Image file to be predicted -> ')

    img = Image.open(image_file)
    img = img.convert('RGB')
    img = img.resize((image_size, image_size))
    data = np.asarray(img)

    X = []
    X.append(data)
    X = np.array(X)
    model = build_model()

    result = model.predict([X])[0]
    predicted = result.argmax()
    probability = int(result[predicted] * 100)

    creatures_name = classes[predicted]
    if creatures_name != 'fish':
        creatures_name = creatures_name[:-1]

    print(f'The probability that this {image_file} is a {creatures_name} is {probability}%.')
続いて実行結果。
Next, the result of the execution.
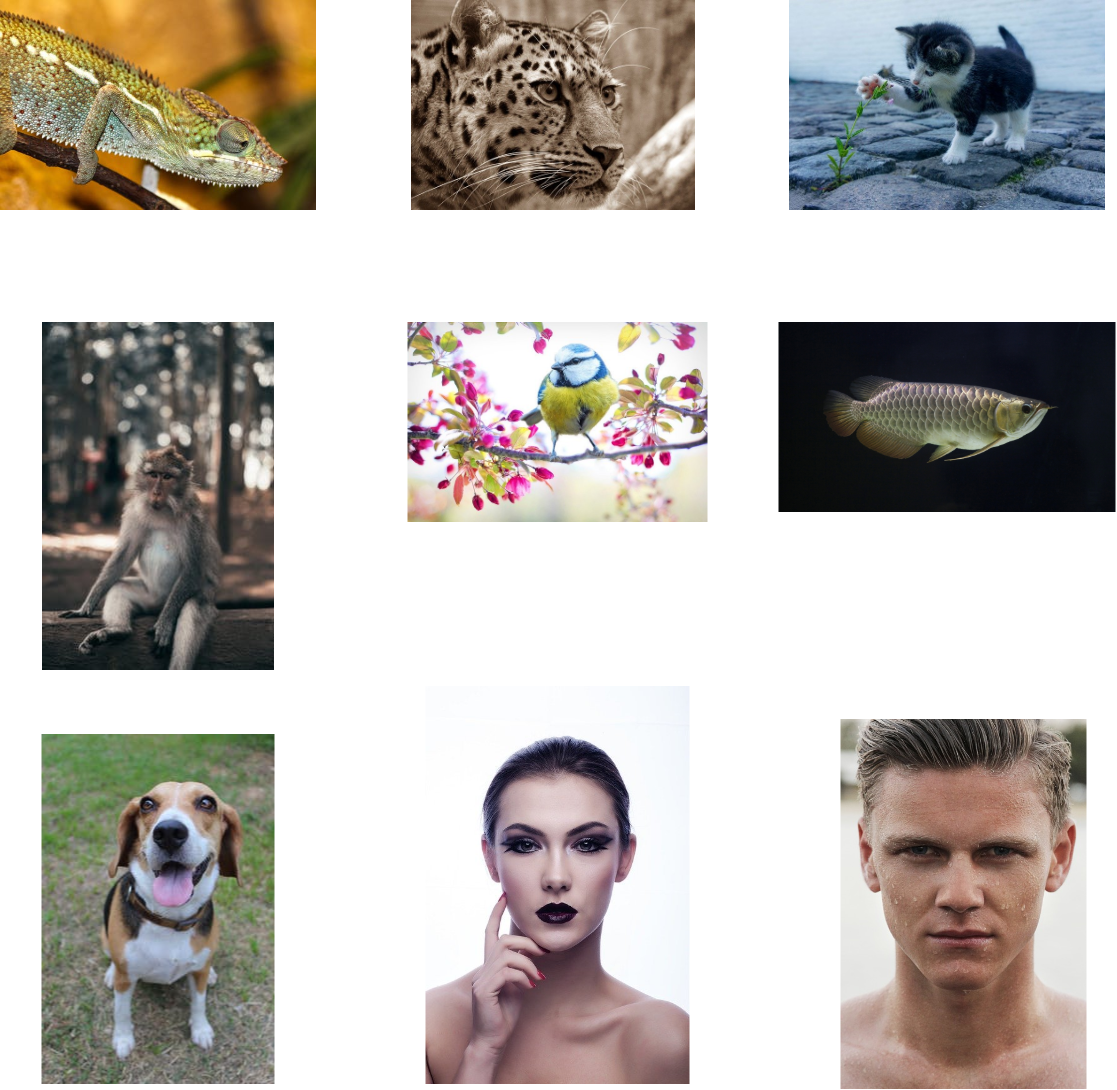
以下の予測用画像で試しました。
I tried the following image for prediction.
人の顔も含めて、pixabayでダウンロードした画像を使ってます。
I'm using the images downloaded by pixabay, but this time I tried both male and female face images.
ちなみにスクリプトはColaboratory用にコマンドライン引数等は渡さないようにしました。実行するには単にmain()と唱えてくだちぃ。
Note: that this script does not pass any command line arguments. This specification is for the Google Colaboratory. To execute this, simply just write main().
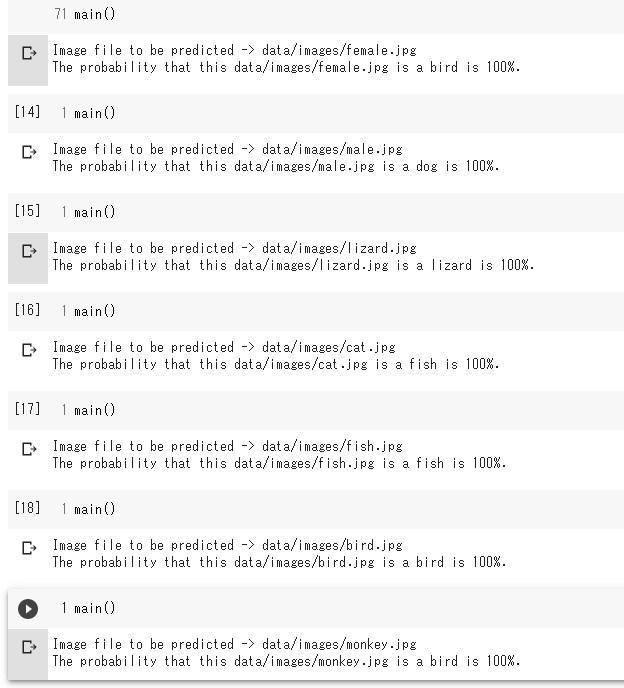
散々な結果ですね。
What a disastrous result...
結局のところ、回転させ、反転させて画像を増やしましたが、オリジナルの画像は全部で100枚もいってません。
After all, I rotated it and flipped it to increase the number of the image, but the original image was less than 100 in total
そして、画像もしっかりと意図をもって、「顔だけの画像!」といった具合にきちんと選別できていません。
Also, the images have not been carefully and intentionally sorted. For example, in many case, it will not work unless conditions are limited to some extent, such as "This time, from the collected images, I will select only the images with the face clearly facing forward and the face being large!".
深層学習にしろ機械学習にしろ、学習に必要不可欠なデータ量を集める。 さらにデータの前処理を上手に行わなければ、得たい結果が得られないことになります。
Whether it's deep learning or machine learning, the first thing you need to do is collect a large quantities of data. And if you don't preprocess the data properly, you won't get the results you want.
もちろんモデルの構築方法を変えることも重要ですが、今回の場合は明らかにデータ量、前処理不足です。
Of course, it's important to change the way you build your model, but in this case, there's clearly not enough data or preprocessing.
みなさんの場合は、もっと多い画像と適切な前処理を行ってからモデルに学習させましょう。
In our case, let the model learn after doing collect more images and proper preprocessing.
画像予測スクリプトの説明
Description of the image prediction script
できなかった言い訳が長くなってしまいましたが、一応簡単にスクリプトの説明だけしておきます。
The excuse that I couldn't do become long, but I'll just briefly explain the script.
ただスクリプトの中身は学習用と殆ど変わりません。
However, the contents of the script are almost the same as those for the learning script.
変わった箇所を簡単に示します。
Here's a quick look at what's changed.
  from keras.models import Sequential
+ from keras.models import Sequential, load_model

  def build_model():
      ---------------
      ---------------
      ---------------
+     model = load_model("data/images/augumented_creatures_cnn.h5")

+ def main():
Kerasの関数であるload_modelをインポートして、モデルを保存していたのを読み込みに変えているだけです。 あとはMain関数です。
It simply imports the Keras's function "load_model" and changes the model to load instead of saving it. Now all you have to do is add the main function for the predict.
def main():
    image_file = input('Image file to be predicted -> ')

    img = Image.open(image_file)
    img = img.convert('RGB')
    img = img.resize((image_size, image_size))
    data = np.asarray(img)

    X = []
    X.append(data)
    X = np.array(X)
    model = build_model()

    result = model.predict([X])[0]
    predicted = result.argmax()
    probability = int(result[predicted] * 100)

    creatures_name = classes[predicted]
    if creatures_name != 'fish':
        creatures_name = creatures_name[:-1]

    print(f'The probability that this {image_file} is a {creatures_name} is {probability}%.')
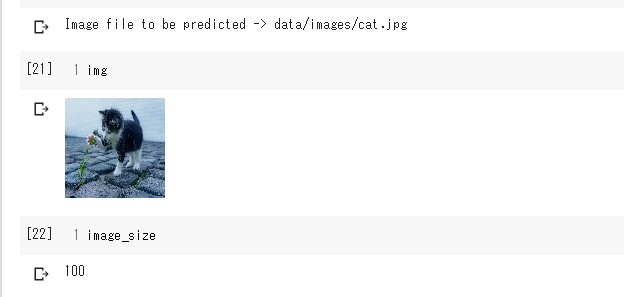
予測したい画像のパスを入力させます。
Input the path of the image you want to predict.
image_file = input('Image file to be predicted -> ')
画像をモデルが学習した画像の仕様に合わせます。image_sizeはスクリプトの最初で定義してあります。
Adapts the input image to the specifications of the image the model has learned. The "image_size" is defined at the beginning of the script.
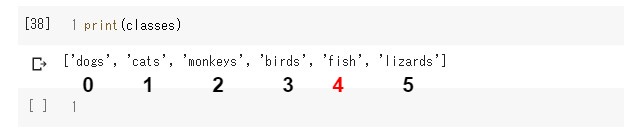
classes = ["dogs", "cats", "monkeys", "birds", "fish", "lizards"]
num_classes = len(classes)
image_size = 100
-------------------------------------------------------------------------------------------
def main():
-------------------------------------------------------------------------------------------
    img = Image.open(image_file)
    img = img.convert('RGB')
    img = img.resize((image_size, image_size))
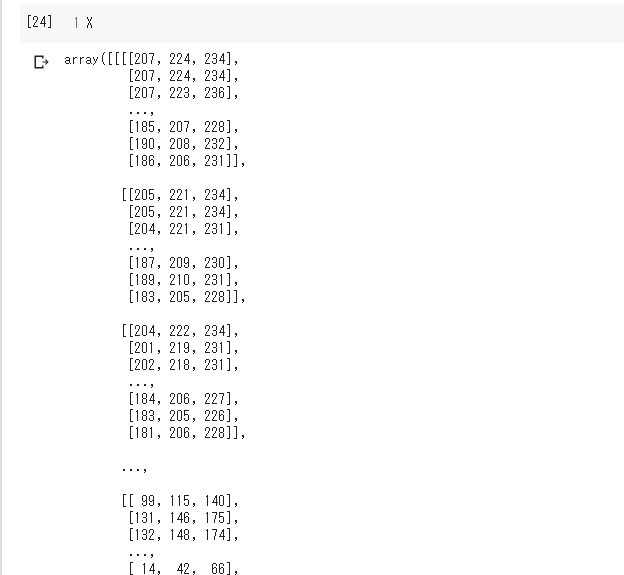
予測したい画像データをXにNumpy配列にして格納します。build_model関数で学習済みのモデルを構築した後読み込みます。
Store image data to be predicted in numpy array to X. And load the learned model after building it with the "build_model" function.
    data = np.asarray(img)
    X = []
    X.append(data)
    X = np.array(X)
    model = build_model()
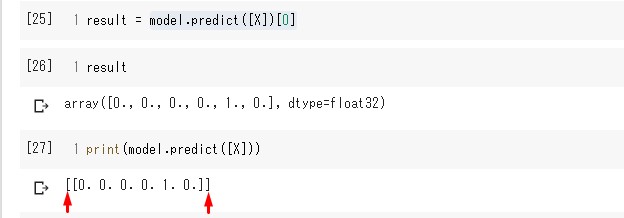
「model.predict([X])」が返すのは、Numpy配列となった各ラベルに対しての正解率です。また、今回は一枚だけの画像予測なので、スライスを利用して、正解率のリストを一つだけ取り出します。
"model.predict([x])" returns the percentage of predict answers for each label that resulted in a numpy. Also this time it's just one image prediction, so I'll use a slice to get just first list of predicted answers.
result = model.predict([X])[0]
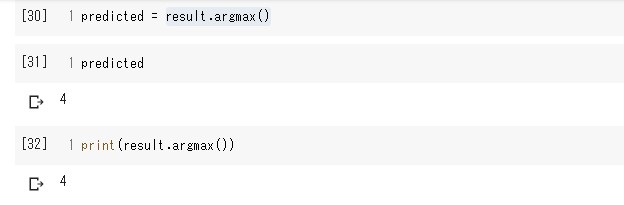
「result.argmax()」は一番大きい予測値, つまりこの場合ラベル番号4を返します。
"result.argmax()" returns the label number that is the maximum value from the array of predicted values. In this case, the label number is 4.
predicted = result.argmax()
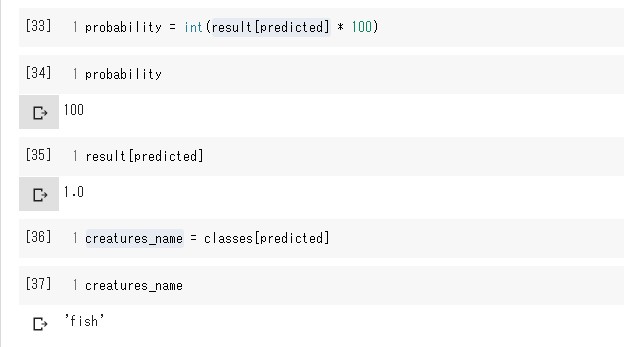
結果は予測値の配列の4番目、つまり「魚」の確率が100%ということになります。
The result is the 4th position in the predicted array, so the "fish" probability is 100%.
probability = int(result[predicted] * 100)

creatures_name = classes[predicted]
if creatures_name != 'fish':
    creatures_name = creatures_name[:-1]

print(f'The probability that this {image_file} is a {creatures_name} is {probability}%.')

ということでこのCNNシリーズは一旦終了DESU。
So, this CNN series is over.