Published Date : 2019年10月30日0:26
Google Cloud Speech APIとPythonを使って日本語音声を文字に変換する(前半)
Converting Japanese Audio Voice to Text Using the Google Cloud Speech API and Python (First half)
This blog has an English translation
Google Cloud Speech APIとPythonを使って日本語音声を文字に変換してくださいという架空の依頼を受けました。すぐにでも取り掛かりたいと思います。
I received a fictitious request to use the Google Cloud Speach API and Python to convert Japanese Audio Voice to text. I'll get right to it.
目次
Table of Contents
概要 Summary |
Google Cloud Speech APIのセットアップ Setting Up the Google Cloud Speech API |
音声ファイルの準備 Preparing audio files |
後半へ To the second half |
概要
Summary
架空のお仕事をしてみる企画(5)です。
It's a project to try a fictitious job(5).
仮に自分がフリーランスで、 ある依頼者から適当な仕事を振られてみたら、 果たしてクリアできるのか?といった企画。
If i am a freelance programmer, When a client assigns a suitable job, Can I clear it? That's the plan.
この企画は架空のものですが、日本のクラウドソーシング市場に氾濫しているよくある案件と値段と工数を参考にしてます。
This project is a fictitious one, but it is based on common cases, prices and man-hours flooding the Japanese crowdsourcing market.
依頼者からの要望
Request from the client
仕事の依頼内容は、Google Cloud Speech APIとPythonを使って日本語音声を文字に変換です。
My job is to use the Google Cloud Speach API and Python to convert Japanese Audio Voice to text.
Requierments
1 |
Google Cloud Speech APIとPythonを使って日本語音声を文字に変換してくだちぃ。 Using the Google Cloud Speech API and Python, Please convert the Japanese Audio Voice prepared by our company to text. |
|---|---|
2 |
支払い金額は60分の音声で10000円です。 The payment amount is 10000 yen ($95) for 60 minutes audio voice. |
3 |
期間は3日以内です。 Please finish it within 3 days. |
4 |
納品物はソースコードとテキストファイルです。 Deliverables are source code and text file. |
Google Cloud Speech APIのセットアップ
Setting Up the Google Cloud Speech API
GCSのAPIを利用できるようにします。
Enables access to GCS APIs.
Google Cloud Platform Consoleへアクセスする。
Access the Google Cloud Platform Console.

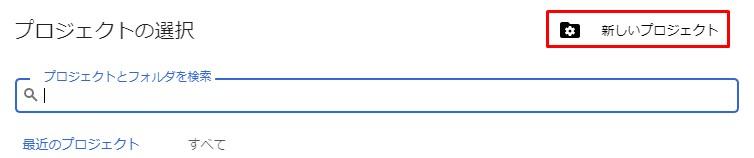
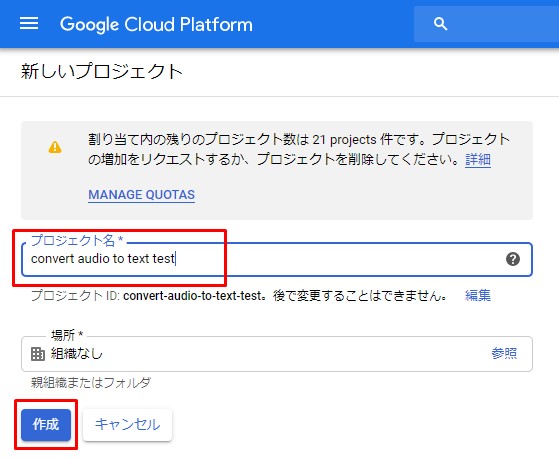
コンソールのダッシュボードから、新しいプロジェクトを作成します。
Create a new project from the console dashboard.
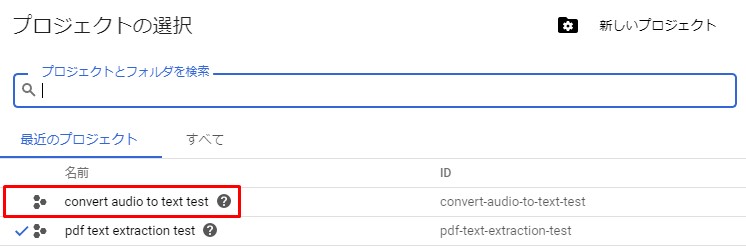
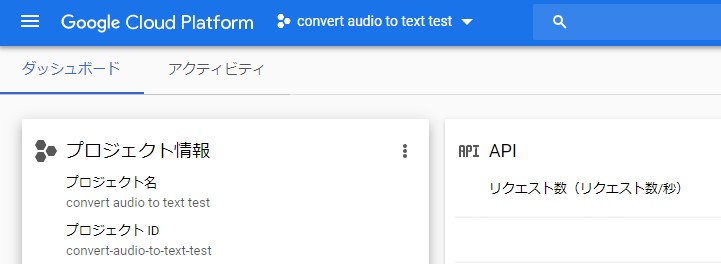
作成したら、プロジェクトを切り替える。
Once create, switch projects.

Speech API を有効化する。
Enable the Speech API.
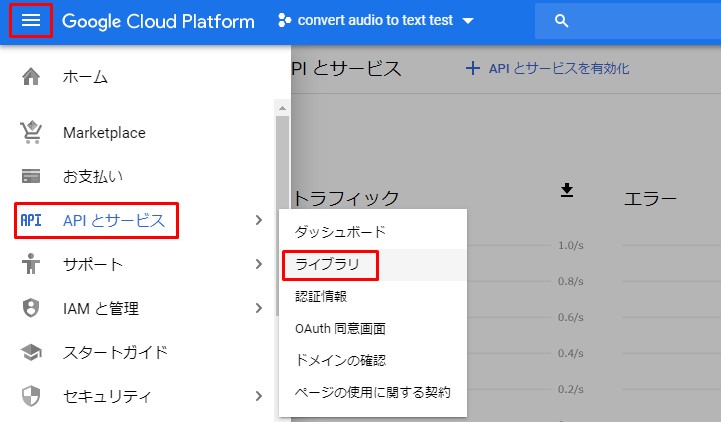
左上のハンバーガーメニューをクリック。
Click the hamburger menu in the upper left.
[APIとサービス] ー> [ライブラリ]をクリック。
Click [APIs and Services] ー> [libraries].
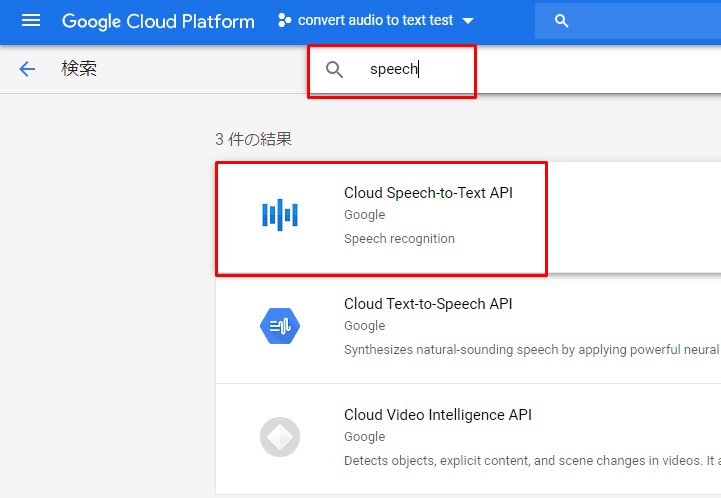
検索窓に「speech」と打ち込む。
Type [speech] into the search box.
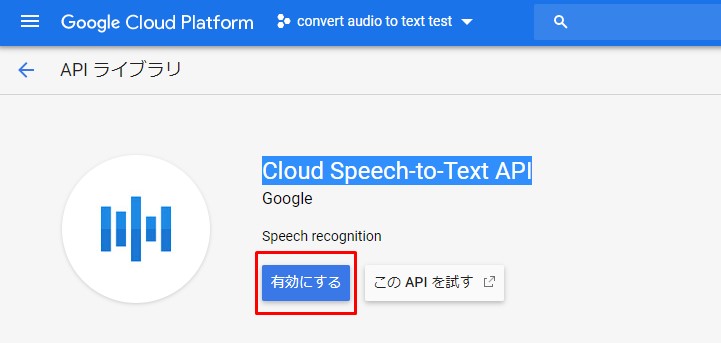
今回は音声からテキストに変換なので、 出てきたサービスから「Cloud Speech-to-Text API」を選択して、「有効にする」をクリック。
This time, the service will convert audio voice to text, so select [Cloud Speech-to-Text API] and click [Enable].
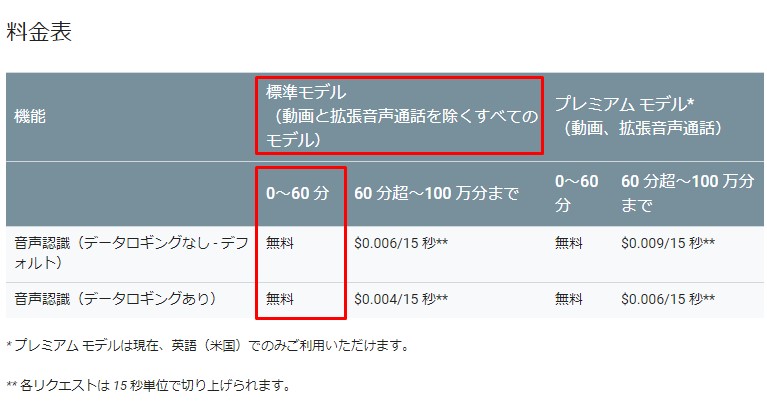
一応料金の確認。
Let's check the price just in case.
60分までなら無料なようでごわす。
It seems free up to 60 minutes.
一安心したところで、認証情報の作成へ。
With a sense of relief, let's create the authentication information.
左上のハンバーガーメニューをクリック。
Click the hamburger menu in the upper left.
[APIとサービス] ー> [認証情報]をクリック。
Click [APIs and Services] ー> [credentials].
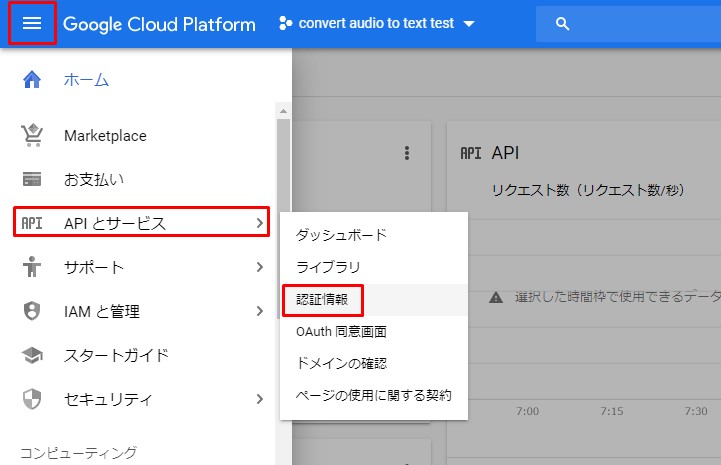
[認証情報の作成]、[サービスアカウント]をクリック。
Click [Create Credentials] and [Service Account].

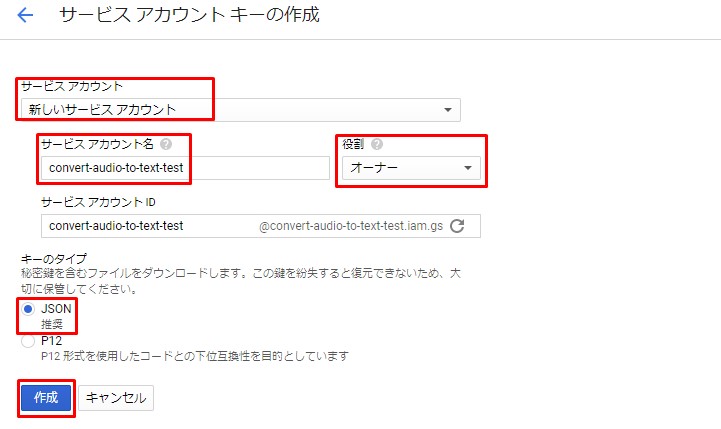
アカウント名等を入力して、JSONファイルを作成。
Create a JSON file by entering an account name.
音声ファイルの準備
Preparing audio files
続いて音声ファイルの準備をします。今回もGoogle Cloud Storageを使います。
Next, prepare the audio file. Again, Google Cloud Storage.
まず、テスト用の音声ファイルを作ります。今回はフリーの音声読み上げソフト「SofTalk」を使用します。
First, create a test audio file. This time, I will use a free software [SofTalk] that reads out text containing kanji by text-to-speech.
こちらからダウンロードしますが、Windowsオンリーになってしまうので、MacやLinuxを使っている方はこちらのリンク(フリー音声素材)から適当にダウンロードしてくだちぃ。
You can download it here, but it's Windows only, so if you're on a Max or Linux, you can download it here (free audio voice material)
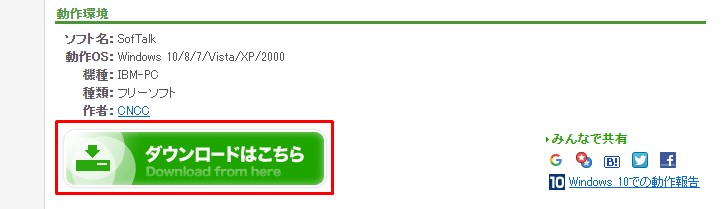
SofTalkをダウンロード。
Download SofTalk.
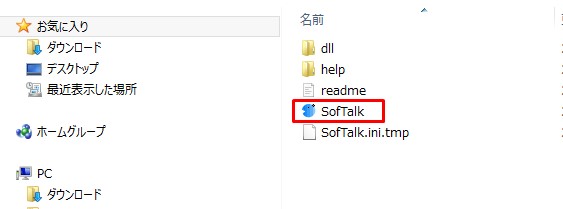
ダウンロードした圧縮フォルダを解凍して、アプリケーションファイルをダブルクリック。
Unzip the compressed folder and double-click the application file.
アプリケーションが起動したら、適当に読み上げて欲しい文字を入力。 今回はこのようなセリフを入力してみた。 「今朝の天気は曇り時々雨でしょう。 これで、あってます?」
When the application starts up, input the characters you want to be read. Here's what I typed. [The weather this morning will be cloudy with occasional rain. Is this right?]
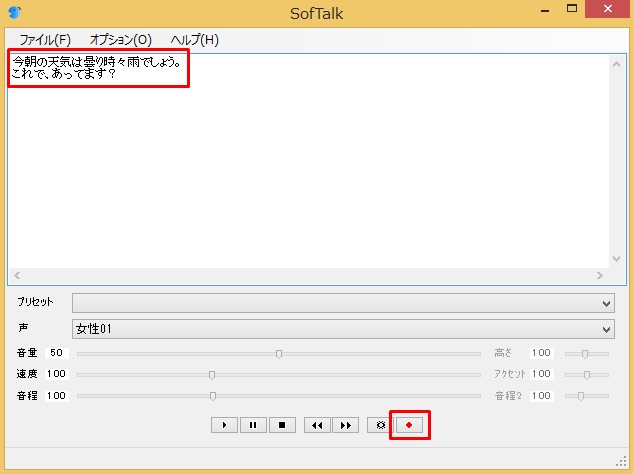
録音ボタンを押せば、WAVEファイルとして保存されます。
Press the Record button to save as a WAVE file.

さて、WAVEファイルとして保存しましたが、Google Cloud Speech APIのベストプラクティスに書かれている文言には、FLAC形式のファイルが推奨らしいです。 さらに、サンプリングレートは16000Hz以上推奨。(再サンプリングは避ける) あと、そこには書かれていませんが、ステレオはモノラルにしたほうが良いみたいです。
Well, I saved it as a WAVE file, but according to the Google Cloud Speech API Best Practices, the FLAC format is recommended. In addtion, a sampling rate of 16,000 Hz or higher is recommended. (Avoid resampling) Also, it's not written there, but it seems better to set the stereo to mono.
Pydubを使用して、変換してしまいましょう。そうしよう。
Use Pydub to convert, Let's do that.
Pydubをインストール.
Install Pydub.
pip install pydub
現在の設定を確認する。
Review the current settings
import pydub

AUDIO_FILE = "reading_weather_news.wav"

sound = pydub.AudioSegment.from_file(AUDIO_FILE, 'wave')

channel_count = sound.channels
fps = sound.frame_rate

# (1:mono, 2:stereo)
print(channel_count)
print(fps)
channels -> 1(mono) frame_rate -> 8000 (Hz)
最初からモノラルなので、ファイル形式だけ変換しましょう。
It's mono from the start, so let's convert only the file format.
import pydub

AUDIO_FILE = "reading_weather_news.wav"

sound = pydub.AudioSegment.from_wav(AUDIO_FILE)

sound.export("reading_weather_news.flac", format="flac")
さて、ようやくGoogle Cloud Storageの設定に入ります。
Now, it's time to start configuring Google Cloud Storage.
左上のハンバーガーメニューをクリック。
Click the hamburger menu in the upper left.
[Storage] ー> [ブラウザ]をクリック。
Click [Storage] ー> [Browser].

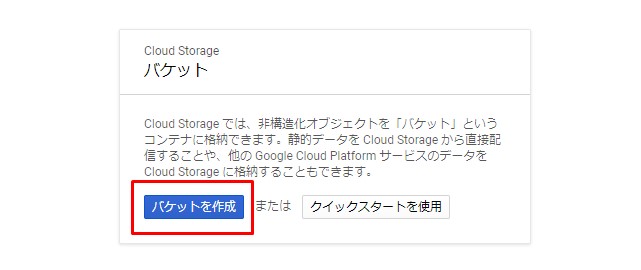
バケットを作成をクリック。
Click [Create Bucket].
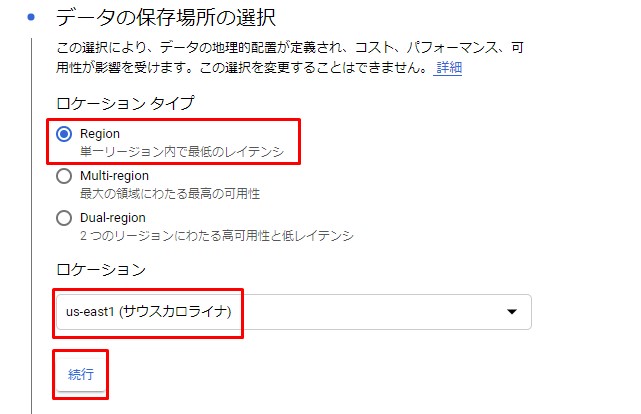
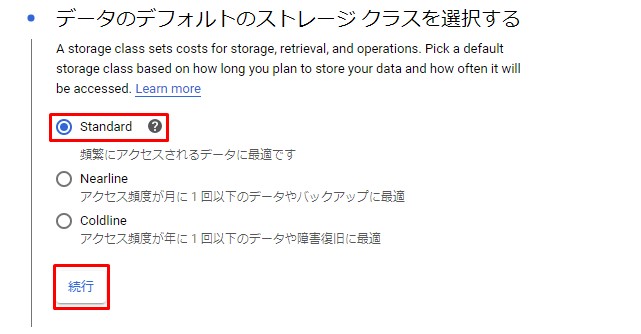
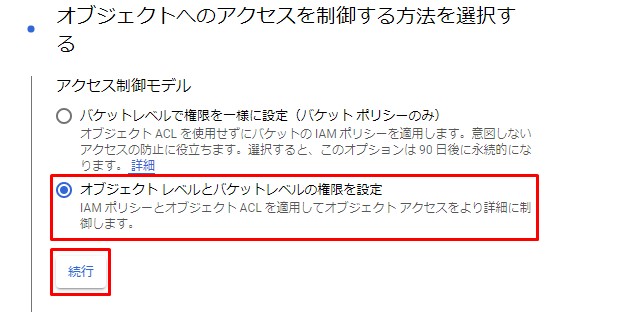
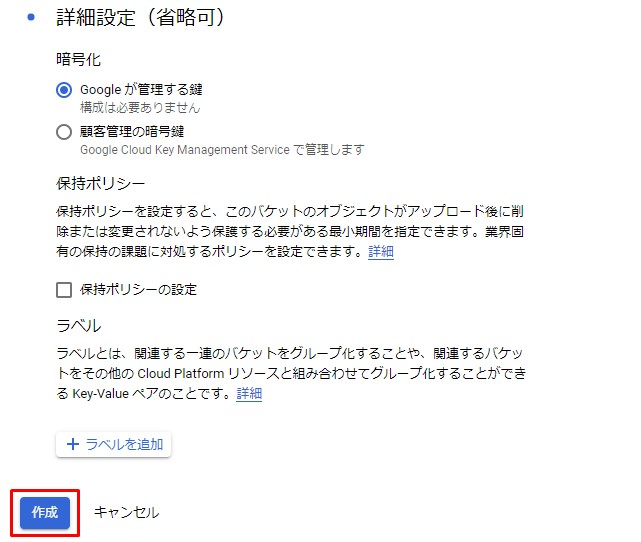
バケットの設定をしていきます。
Set the bucket.

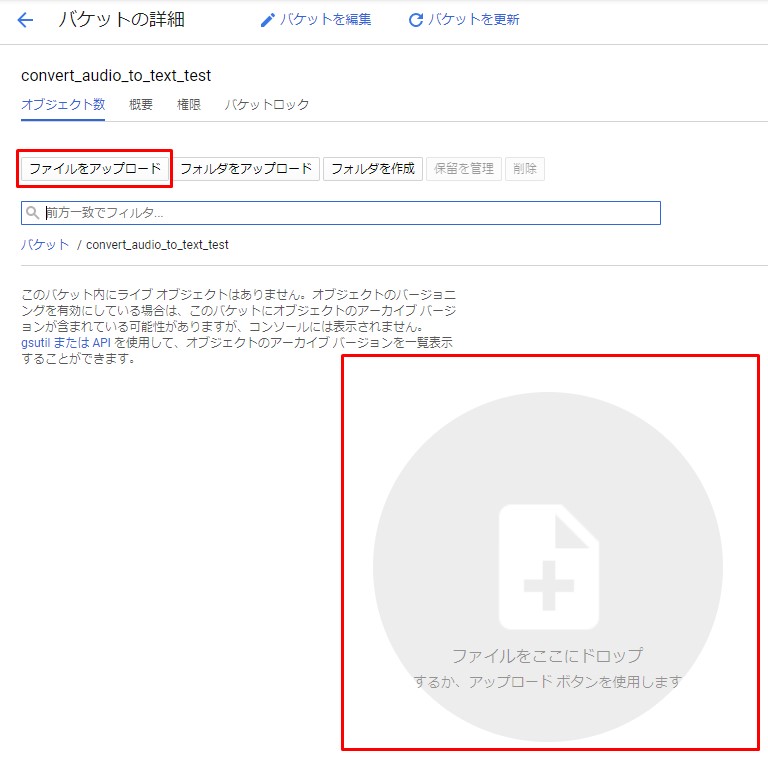
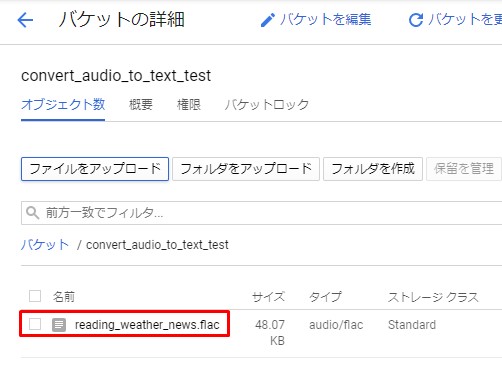
ファイルをアップロードします。
Upload the file.
さて、長くなってしまったので、後半へ続きます。
Well, it's gotten long, so let's continue to the second half.