Published Date : 2019年9月20日11:02
Pythonで画像から3Dデータを作成する
Create 3D data from images in Python
This blog has an English translation
3Dのモデリング作業はしんどいです。 おまけにリアルな人の造形は辛辣を極めます。 そんな中こんな記事を発見。 コード必要なし!2Dの顔画像を3D化するPythonコード(PRNet) 素晴らしい! さっそく試してみます。
Modeling in 3D is tedious. In addition, realistic human figures are extremely harsh. In the meantime, I found this article. コード必要なし!2Dの顔画像を3D化するPythonコード(PRNet) Great! I'll try it right away.
PRNet
PRNetというものを使います。 Githubのページはこちら。 YadiraF/PRNet 大感謝です! 以下手順を先に紹介すると、
It uses something called PRNet. Check out Github's page here. YadiraF/PRNet I'm so grateful! The following procedure begins with,
1
リポジトリをクローンして、ダイレクトリへ移動
clone the repository and move it to the directory
git clone https://github.com/YadiraF/PRNet
cd PRNet
2
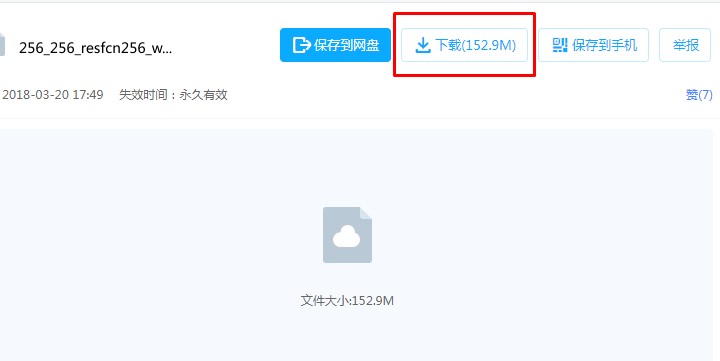
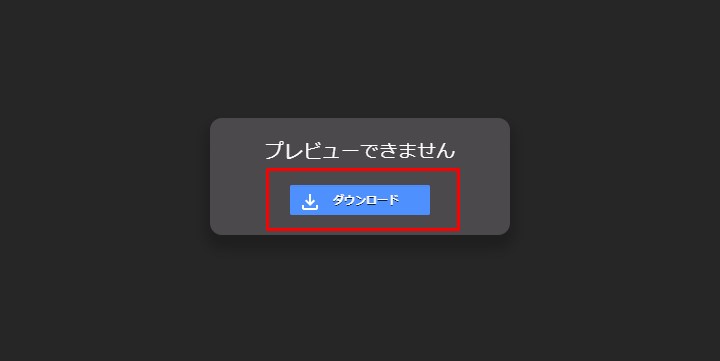
学習済みのモデルをBaiduDrive か GoogleDriveからダウロードして、Data/net-data以下に配置する。
Download the PRN trained model at BaiduDrive or GoogleDrive, and put it into Data/net-data
3
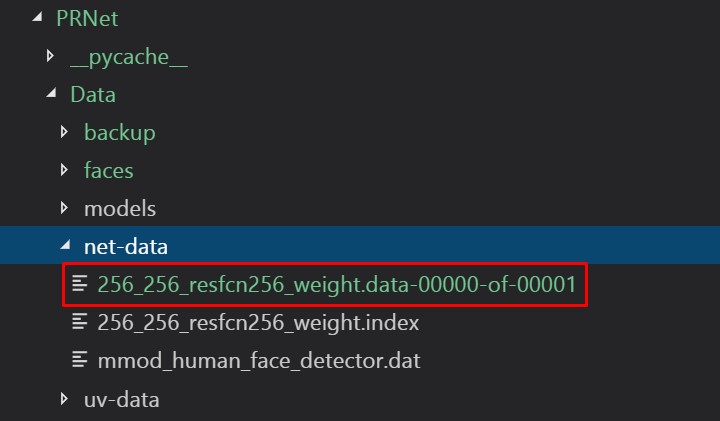
ダウンロードした256_256_resfcn256_weight.data-00000-of-00001ファイルを以下のように配置。
Place the downloaded 256 _ 256 _ resfcn 256 _ weight.data-00000-of-00001 file as follows.
4
必要なライブラリをインポートする
Import required libraries
pip install numpy
pip install scikit-image
pip install scipy
pip install tensorflow
5
dlibのセットアップ
dlib Setup
pip install dlib
CMake must be installed to build the following extensions: dlibというエラーが出たら、 CMakeをインストールしてパスを通してください。 以下Windows(各自の環境によって方法が異なりますので、調べてください。)
If you get the error CMake must be installed to build the following extensions: dlib, Please install CMake and follow the path. Windows (The method varies depending on your environment, so please check.)
Go to the Cmake download page. https://cmake.org/download/
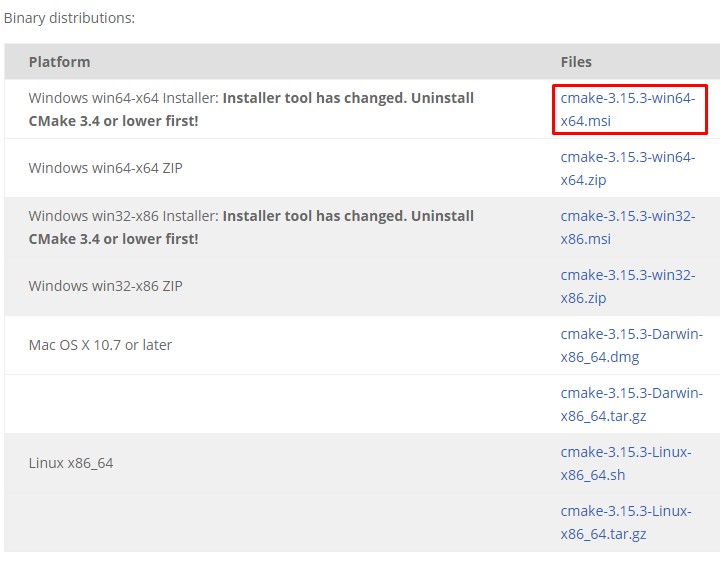
バイナリをダウンロードしたら、実行する。
After downloading the binaries, run them.
「コントロールパネル」ー>「システム」ー>「システムの詳細設定」ー>「環境変数」ー>「Pathを選択」ー>「編集」
"Control Panel" ー> "system" ー> "Advanced System Settings" ー> "Environment Variables" ー> "Select Path" ー> "Edit"
C:\xxx\xxx\xxx;C:\Program Files\CMake\bin
6
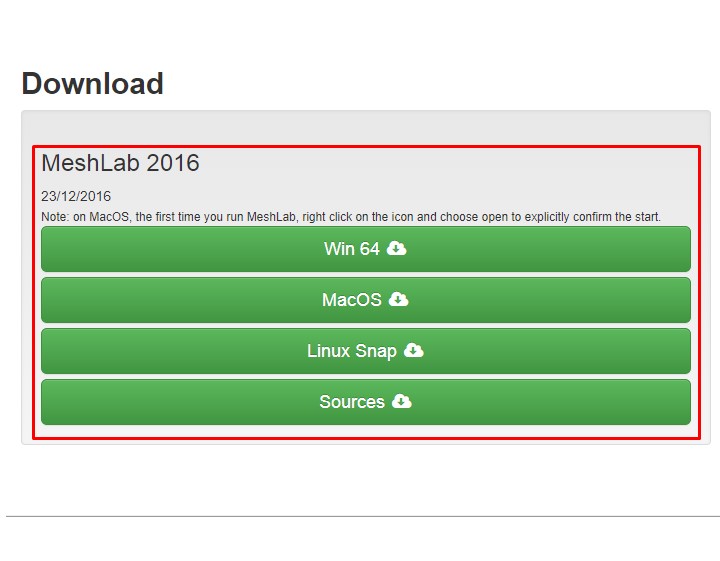
meshlab http://www.meshlab.net/のインストール
Install meshlab http://www.meshlab.net/
7
画像の用意と実行
Image Preparation and Execution
今回はpixabayのこの画像を使わせて頂きました。ありがとう。
This time I used this image of pixabay . Thank you.

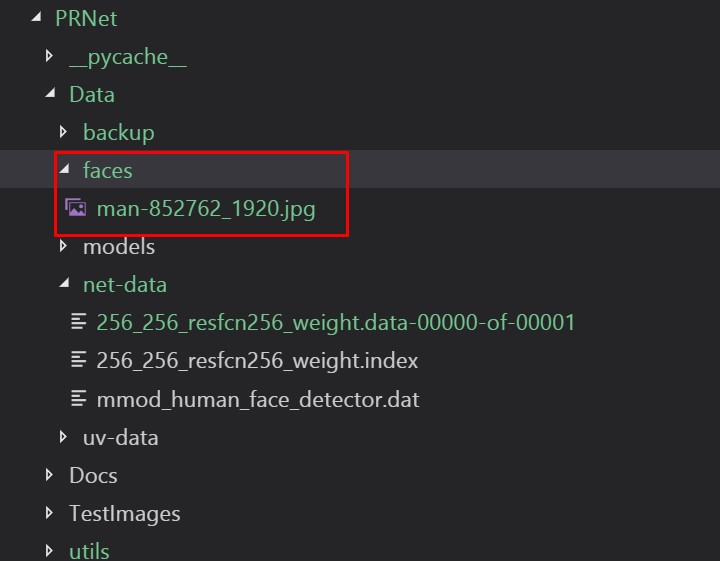
Dataフォルダにfacesフォルダを作って、ダウンロードした画像を入れてくだちぃ。
Create a faces folder in the Data folder and place the downloaded images in it.
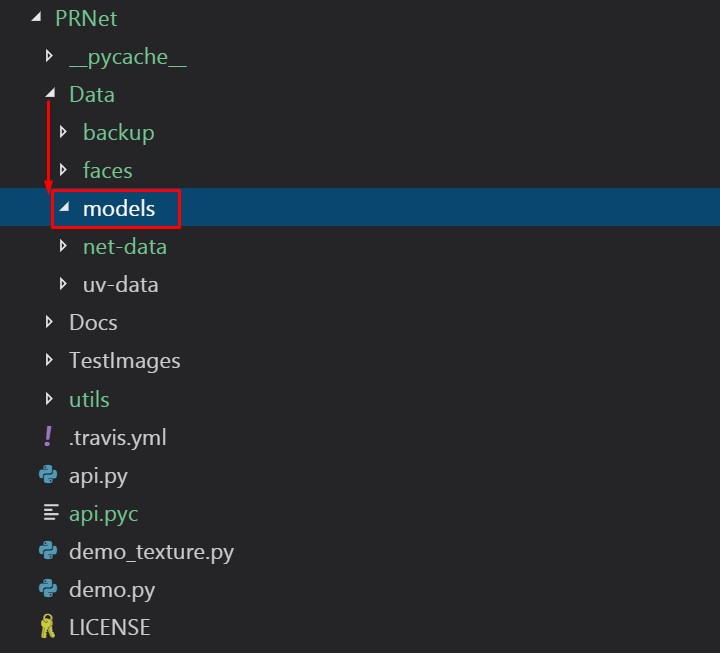
3Dデータ用のフォルダ、modelsの作成。
Create a folder, models, for 3d data.
準備ができたらdemo.pyを実行します。
When ready, run demo.py.

ちなみに、リポジトリのREADMEには実行環境でPython2.7と書かれていますが、 Python3.7でも実行できます。 (というよりTensorflowはPython3でしかインストールできなかった気がする)
By the way, the README in the repository says Python 2.7 in the runtime. You can also run it in Python 3.7. (Or rather, Tensorflow could only be installed with Python 3.)
コマンドプロンプトかターミナルを起動して、プロジェクトのフォルダへ移動。 以下を実行。
XXXの部分は各自のパスに置き換えてください。
Open a command prompt or Terminal and navigate to the project folder. Do the following.
Replace XXX with your own path.
python demo.py -i c:/xxx/xxx/PRNet/Data/faces -o c:/xxx/xxx/PRNet/Data/models --isDlib True
8
Meshlabで確認
Check with Meshlab
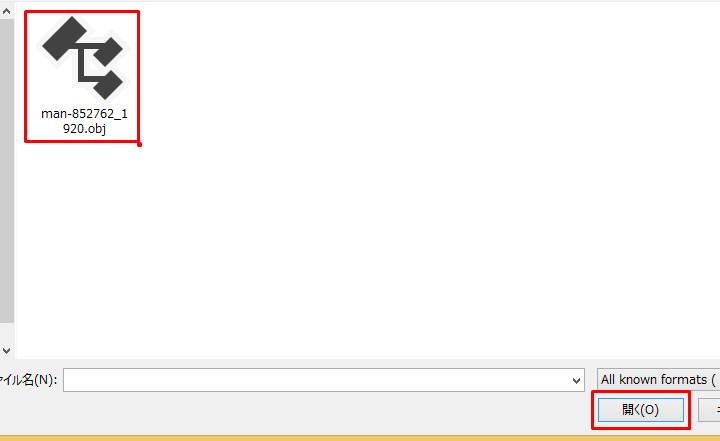
Meshlabを起動して、ファイルからインポートメッシュを選択
Launch Meshlab and select import mesh from file
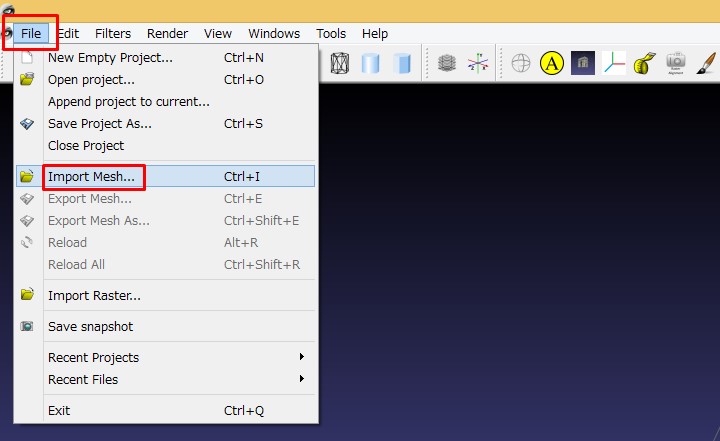
今回PRNetで作成したOBJファイルを選択
Select the OBJ file created by PRNet this time
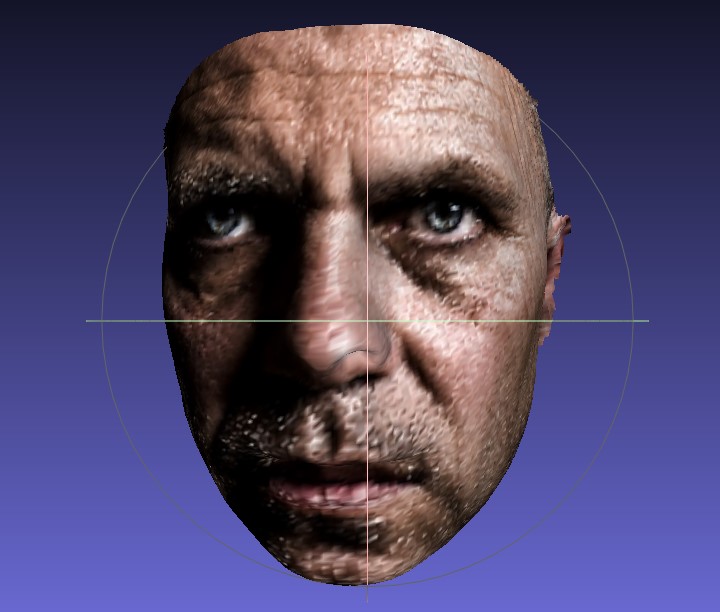
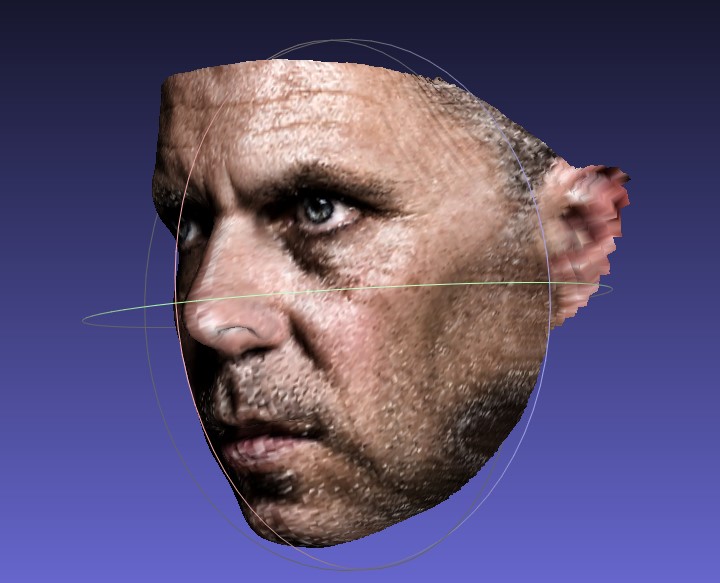
このように画像から作り出された3Dデータが表示される。
In this way, the 3D data generated from the image is displayed.
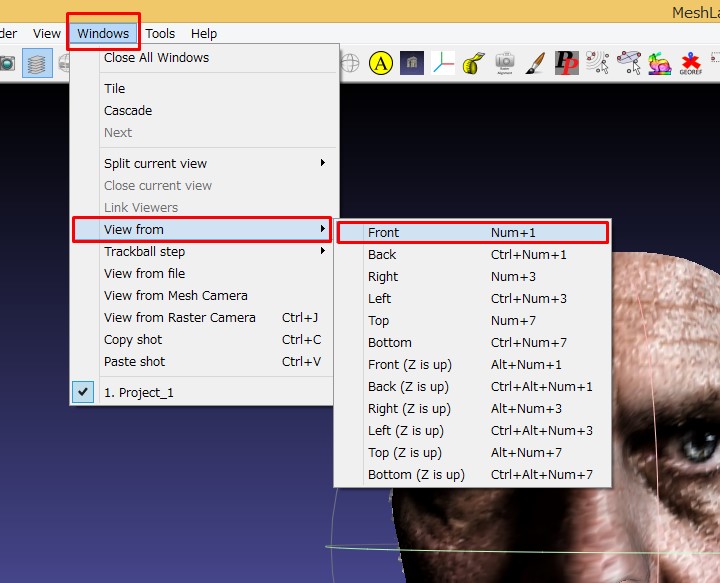
見え方が不自然なので、以下のように設定すると自然に見える。
It looks unnatural, so it looks natural if you set it as follows.
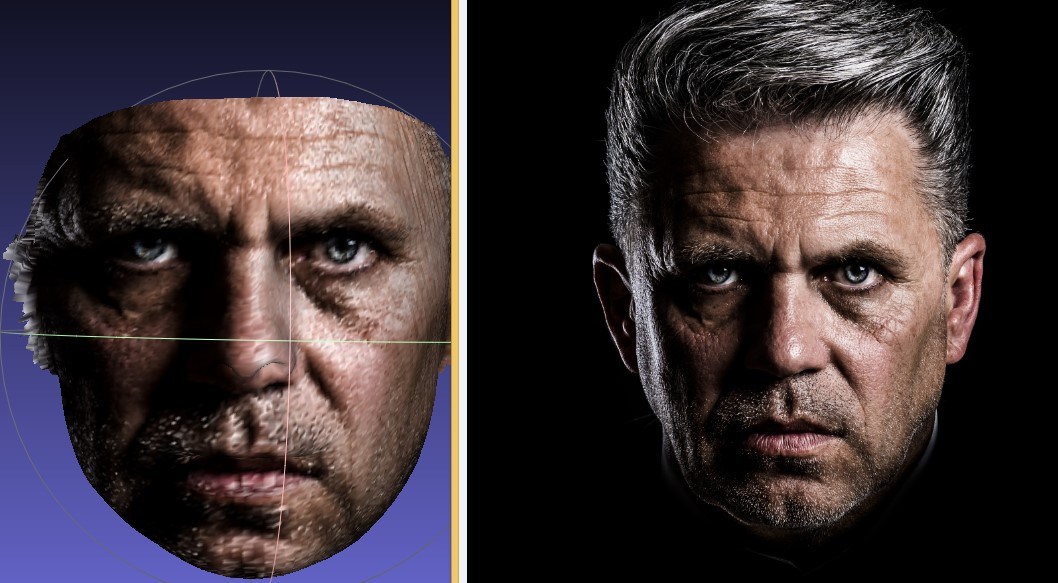
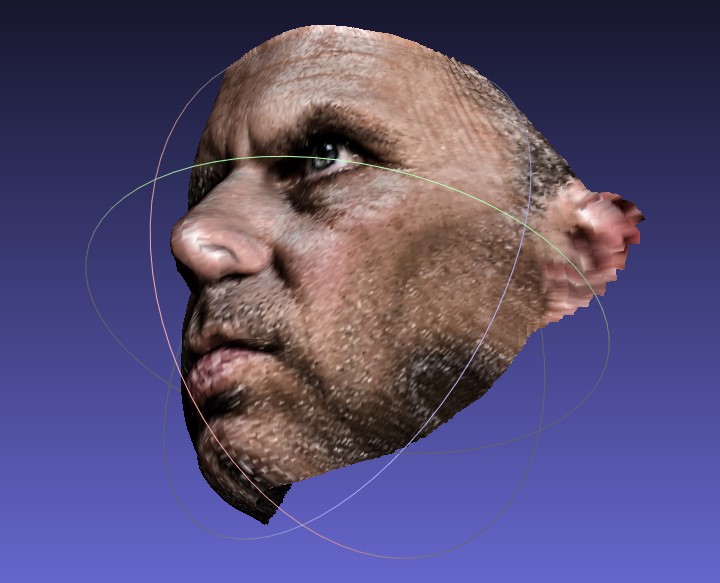
左横や斜め下もきちんと作られている。
The left side and diagonal bottom are also well made.
9
Blenderとmanuelbastionilab(人のモデルを簡単に作成してくれるアドオン)を使ってみる
Try Blender and manuelbastionilab (An add-on that makes it easy to human model)
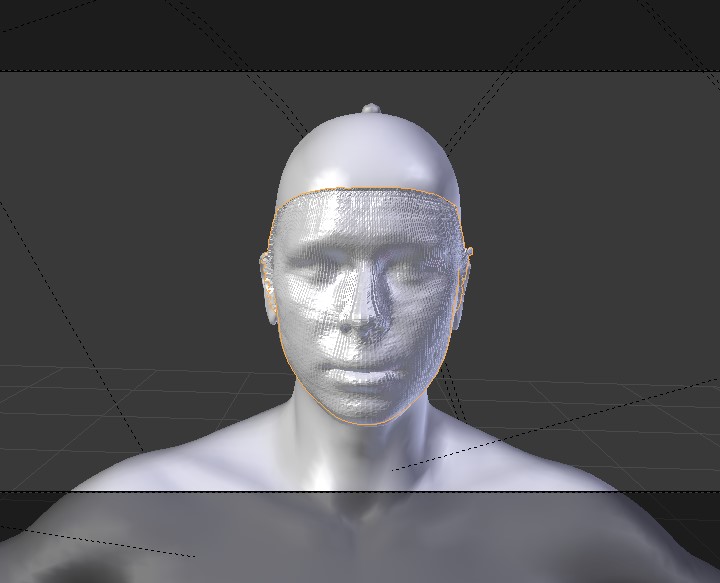
デスマスクみたいになってる...HA☆HA☆HA
It's like a death mask. haha.
アイデア
to propose ideas
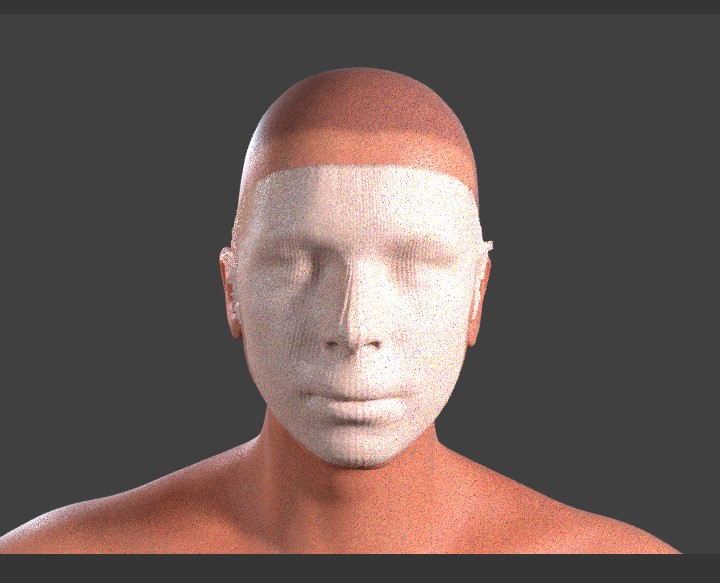
今回はBlender2.79とmanuelbastionilabで簡単に試してみましたが、 Makehumanと組み合わせてもいいかもしれません。 (ちなみにmanuelbastionilabは開発中止らしいです。残念。)
I tried it out with Blender2.79 and manuelbastionilab this time. Makehuman might work with this. (By the way, manuelbastionilab seems to be discontinued.)
さらに、きちんとメッシュを整えて、フェイスリグを入れる、肌の質感と色の調整、髪を整える などすれば、好みの顔を画像等からモデリングするより、理想像に近づけることができるかもしれません。レッツトライ!
In addition, it neatly arranges the mesh, adds facial lag, adjusts the texture and color of the skin, and arranges the hair. That way, you might be able to get closer to the ideal image than modeling your favorite face from an image or something.
See You Next Page!