Published Date : 2020年3月21日11:16
【Part2】Djangoで簡単なブログを作ろう
【Part 2】Let's create a simple blog with Django
This blog has an English translation
YouTubeにアップした動画、「【Python】Part 2 - Let's create a simple blog with Django : Djangoで簡単なブログを作ろう」の補足説明の記事です。
Here's a little more about the "【Python】Part 2 - Let's create a simple blog with Django : Djangoで簡単なブログを作ろう" video I uploaded to YouTube.
この動画を作った理由は、初期のブログ記事にある「Djangoのシンプルなブログシリーズ」を動画にしてみたらどうなるか試してみたかったからです。
The reason I made this video is because I wanted to see what it would look like if I turned my early blog post "Django's simple blog series" into a video.
同時に、暫くPythonから遠ざかっていたので、Djangoも含めた復習のつもりで動画とこのブログ記事を作成しました。
At the same time, having been away from Python for a while, I wanted to relearn Python, including Django, so I created this video and blog post.
シリーズの第2部の内容は、モデルにタイトル、記事本文、画像、投稿日などを設定した後、データベースに反映させます。 次にスーパーユーザーを作成し、Django管理者画面からブログの記事を投稿できるようにします。 次にJinja2を使用して、PythonオブジェクトをHTMLで扱えるようにして、ブラウザにブログの記事を表示させるところまでを説明します。
The second part of the series sets the title, article body, image, and posting date in the model, and then incorporates that into the database. Next, create a superuser so that you can post blog posts from the Django Administrator screen. Next, I'll show you how to use Jinja2 to make Python objects work in HTML so you can view blog articles in a browser.
全体の説明は動画に任せるとして、補足が必要だろうと思われる部分を説明していきます。
I'll leave the entire explanation to the video, but I'll explain the parts that I think need to be supplemented.
目次
Table of Contents
Models.pyを作成しデータベースへ移行する
Creating Models.py and Migrating to the Database
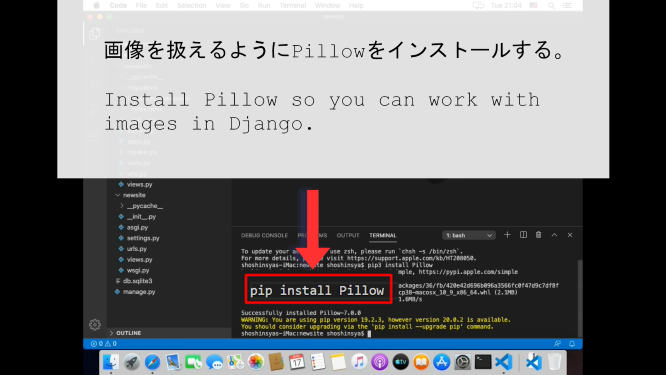
Pillowのインストール
Installing Pillow
まず画像を扱えるようにPillowをインストールする。
First, Install Pillow so you can work with image in Django.
newposts/models.py
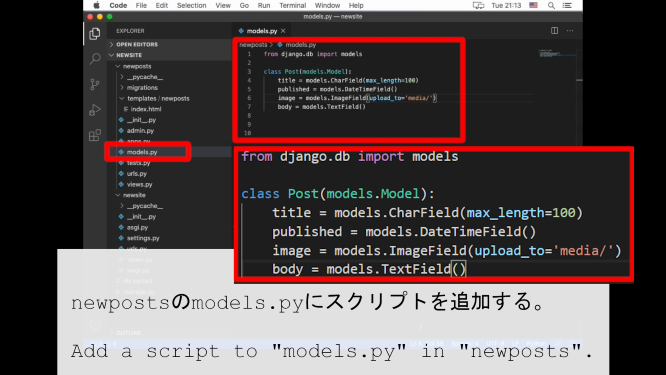
from django.db import models

class Post(models.Model):
    title = models.CharField(max_length=100)
    published = models.DateTimeField()
    image = models.ImageField(upload_to='media/')
    body = models.TextField()
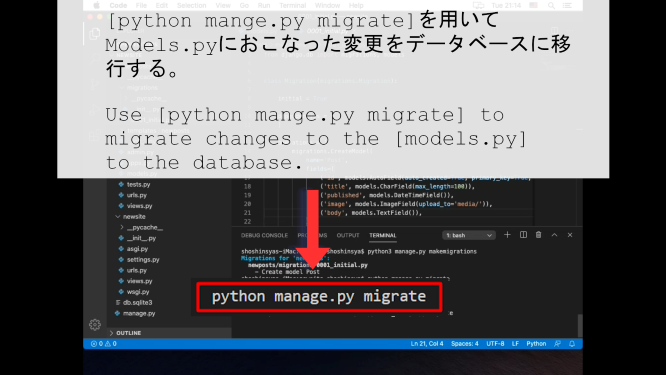
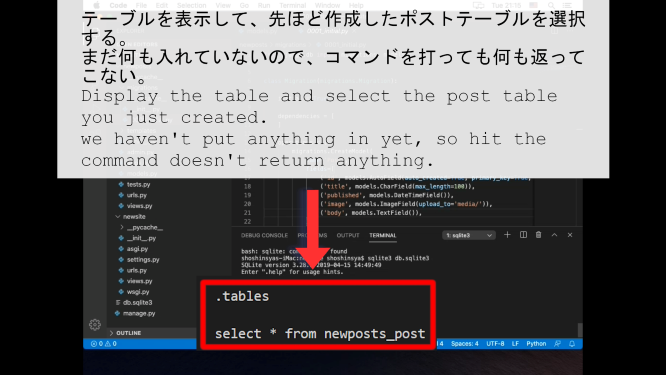
migrate
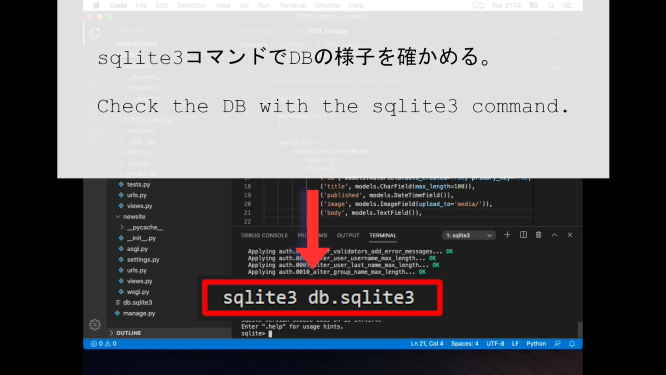
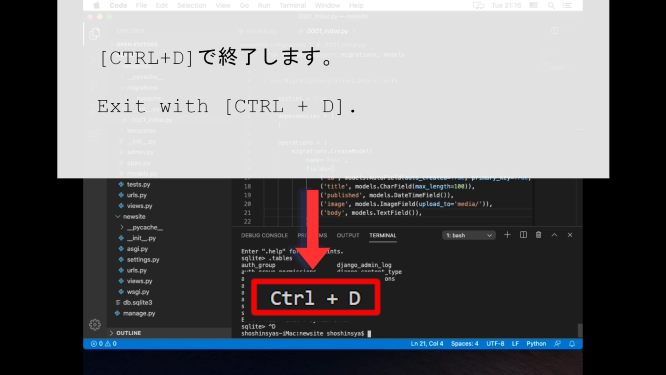
sqlite3
スーパーユーザーを作成してブログ記事を投稿できるようにする
Create a superuser so that you can post blog posts
スーパーユーザーを作る
Create a superuser
続いて、管理者ページからブログ記事を投稿できるようにする。
Next, create a superuser so that you can post blog posts from the administration pages.
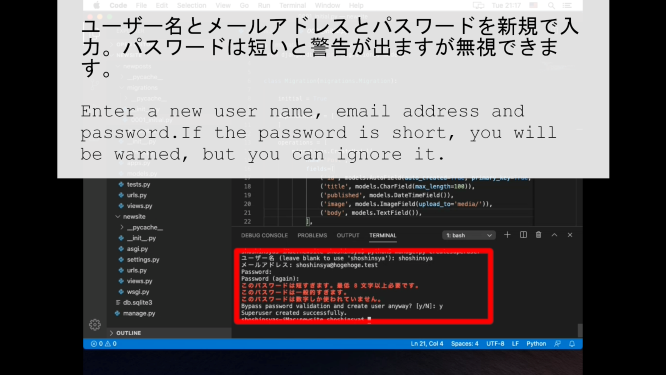
入力するメールアドレスも適当で構いません。
Also, it doesn't matter if the email address you entered doesn't exist.
newposts/admin.py
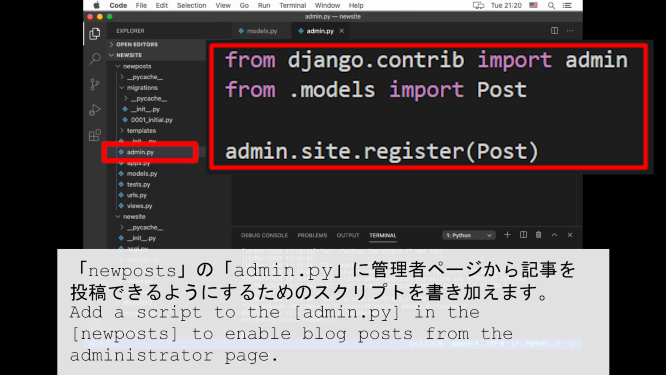
from django.contrib import admin
from .models import Post

admin.site.register(Post)
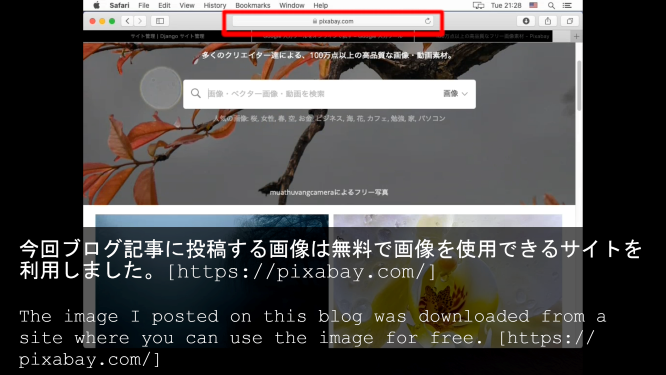
https://pixabay.com/
ブログ記事に使用する画像をネットで探してきます。
I will look for pictures for my blog on the Internet.
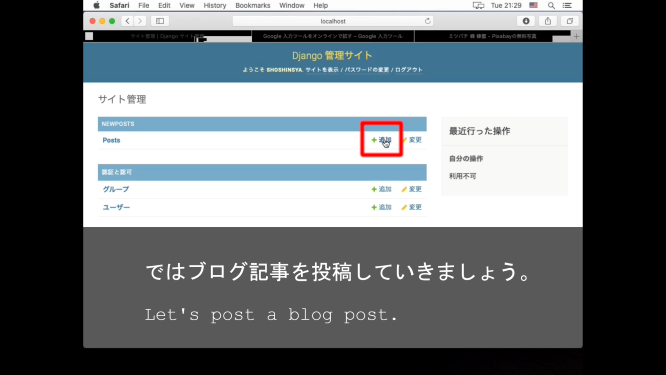
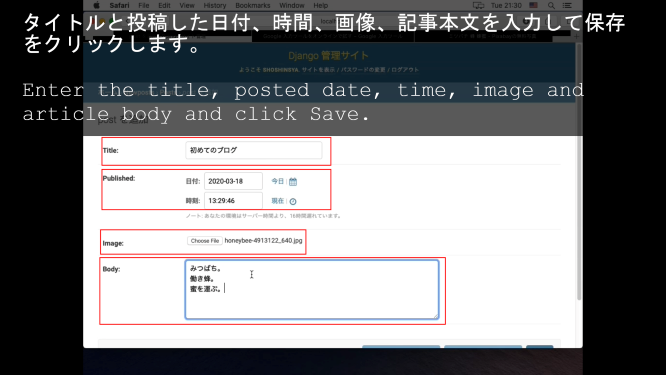
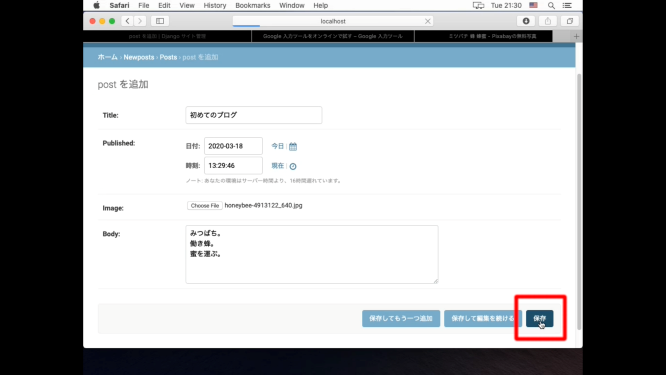
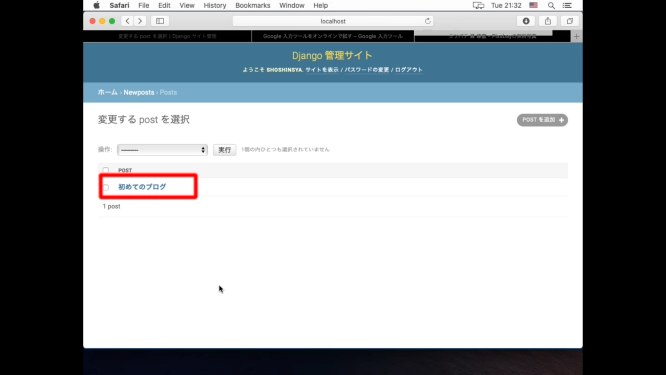
記事の投稿
post a blog post
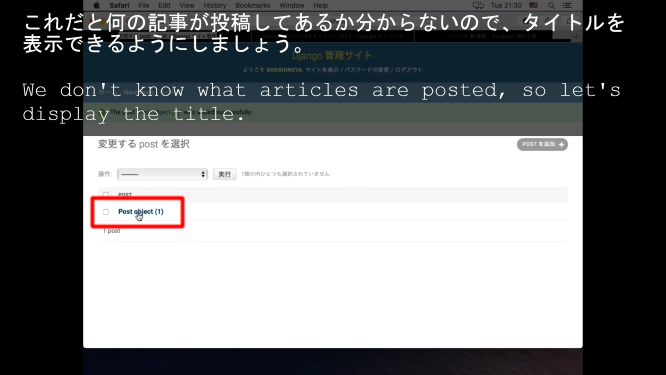
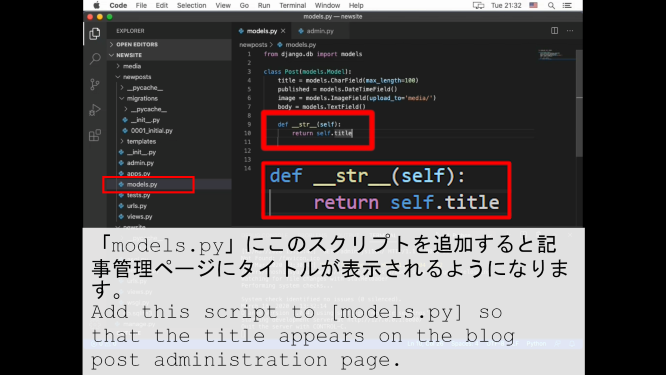
def __str__(self):
    return self.title
Jinja2を利用したブラウザへの表示
Using Jinja 2 to View Blog Posts in a Browser

from django.shortcuts import render
from .models import Post

def index(request):
    posts = Post.objects.order_by('-published')
    return render(request, 'newposts/index.html', {'posts':posts})
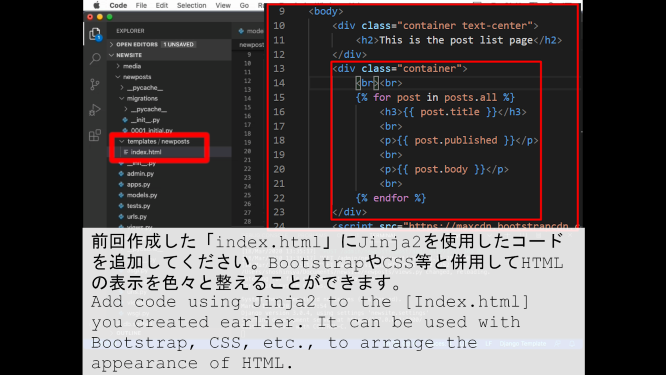
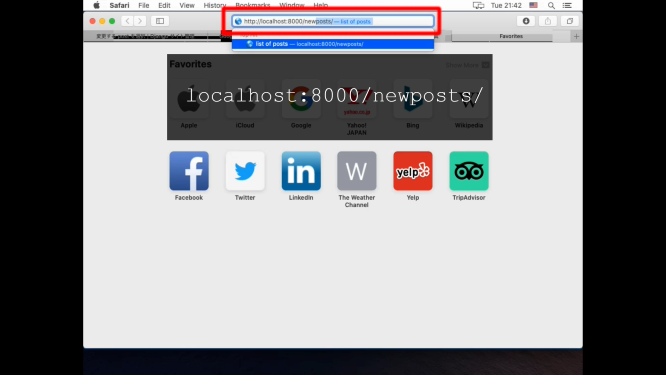
ではPythonの変数や配列等をHTMLで扱えるようにするため、Jinja2を利用して、前回作成した「index.html」を修正しましょう。
Using Jinja2, you'll modify the "index.html" you created in the previous article to handle Python variables, arrays, and so on, in HTML.
<!DOCTYPE html>
<html lang="jp-ja">
<head>
  <meta charset="UTF-8">
  <meta name="viewport" content="width=device-width, initial-scale=1.0">
  <title>投稿の一覧:List of posts</title>
  <link href="https://stackpath.bootstrapcdn.com/bootstrap/4.4.1/css/bootstrap.min.css" rel="stylesheet" integrity="sha384-Vkoo8x4CGsO3+Hhxv8T/Q5PaXtkKtu6ug5TOeNV6gBiFeWPGFN9MuhOf23Q9Ifjh" crossorigin="anonymous">
</head>
<body>
  <div class="container text-center">
    <h2>投稿の一覧ページです<br>This is the post list page</h2>
  </div>
  <div class="container">
    {% for post in posts.all %}
      <h3>{{ post.title }}</h3>
      <br>
      <p>{{ post.published }}</p>
      <br><br>
      <p>{{ post.body }}</p>
      <br>
    {% endfor %}
  </div>
  <script src="https://stackpath.bootstrapcdn.com/bootstrap/4.4.1/js/bootstrap.min.js" integrity="sha384-wfSDF2E50Y2D1uUdj0O3uMBJnjuUD4Ih7YwaYd1iqfktj0Uod8GCExl3Og8ifwB6" crossorigin="anonymous"></script>
</body>
</html>
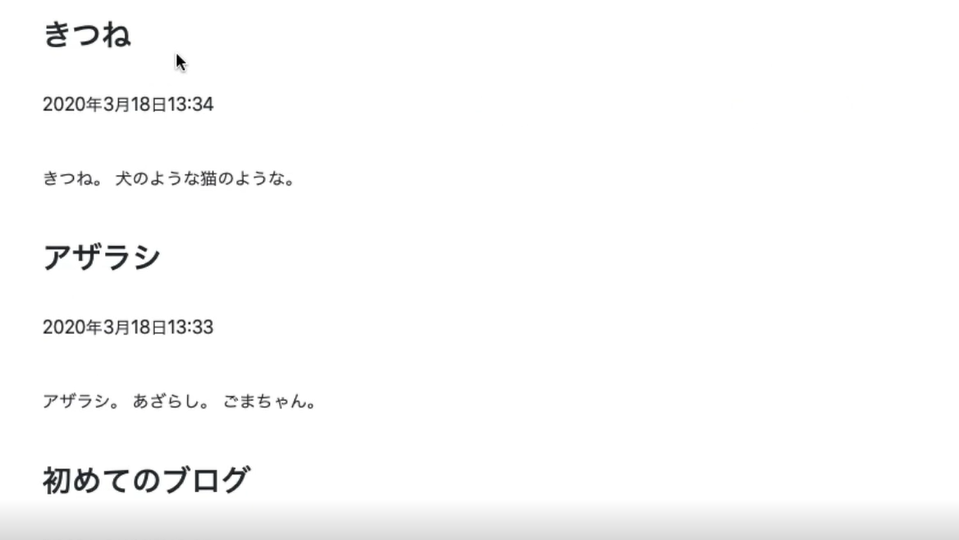
そして、ブラウザを更新します。
Then refresh your browser.
この記事のさらに詳しい説明は初期のブログ記事を参考にしてください。
For more information on how to upload your blog to CORESERVER and more on the content of this article, see my previous blog posts.
CORESERVERでDjangoのBLOGを作る 〜 後半 (Part 5) 〜