Published Date : 2019年11月6日16:31
Google Colaboratoryを利用した画像データの水増しの準備編
Preparation of augmentation of image data using Google Colaboratory
This blog has an English translation
画像認識シリーズ第3弾です。前回のブログ記事。
This is the third image recognition series. Last blog post.
前回はPexels APIとPythonを使って画像データを取得しました。 そして前処理として、不要な画像の選別を行いましたが、 それにより画像の数が少なくなりすぎたので、画像データを水増しして、なんとか最低限学習できるようにしたいと思います。
Last time I used the Pexels API and Python to get the image data. As a preprocessing, unnecessary images were selected. As a result, the number of images has become too small, so I would like to augmentation the image data.
この手のものはやり尽くされていますが、ただ一から全部やってみたかった。それだけです。 つーことでお次はGoogle Colaboratoryを利用して画像の水増しと学習用のデータを保存していきます。
This kind of thing is done by many people, but I just wanted to do it all from scratch. That's all. The next step is to use Google Colaboratory to augmentation the image and store the learning data.
目次
Table of Contents
概要 Overview |
Google Colaboratoryへアクセス Access to Google Colaboratory |
Google Driveの設定をする Setting up Google Drive |
ページの最後へ Go to the end of the page. |
概要
Overview
まず、Google Colaboratoryの設定をする。 次にGoogle Driveへ前回集めた画像をアップロードする。
First, set up Google Colaboratory. It then uploads the images to Google Drive.
画像は−30度から30度まで6度刻みで回転させ、 さらにその画像を反転させる。 合計10枚画像を水増しする。
The images is rotated in 6 degree increments from -30 to 30 degrees. These Images are then inverted. That is, a total of 10 images are Augmentated
最後に、画像のデータをNumpyを使い数値化して保存する。
Finally, the image data is digitized and store using Numpy.
今回はGoogle ColaboratoryとGoogle Driveの設定を行います。
This time We will set up Google Colaboratory and Google Drive.
Google Colaboratoryへアクセス
Access to Google Colaboratory
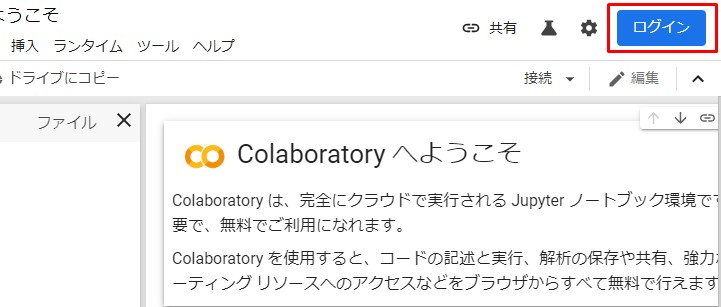
Google Colaboratoryへアクセスします。
Access Google Colaboratory.
Google Accountでログインしますが、無い人は作ってくだちぃ。
Login with your Google Account, but if you dont't have an account. let's create one.
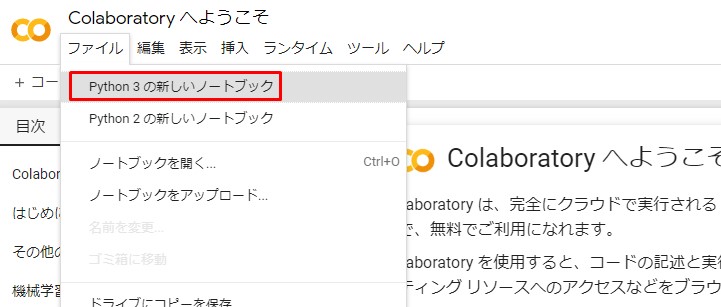
ログインできたら、「新しいPython3のノートブック」を選択して、適当な名前のファイルを作ってくだちぃ。
Once you've logged in, select [New Python3 Notebook] and create a file with the appropriate name.

Google Driveの設定をする
Setting up Google Drive
さてお次は前回集めた画像をグーグルドライブへアップロードします。
Next, We will upload the images we collected last time to Google Drive.

「右クリック」から新しいフォルダを作成して、適当な名前をつけてくだちぃ。
Create a new folder from Right-Click and name it appropriately.

同じく右クリックから画像データをアップロードしてください。
Also, please upload the image data from the right click.


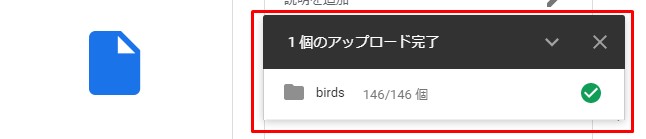
全てアップロードし終えたら、Google Colaboratoryからドライブへアクセスできるようにします。
Once you've uploaded everything, Let's set up access to the drive from Google Colaboratory.
以下のコードを貼り付けて、「Shift + Enter」を押したら実行できます。
Paste the following code and press [Shift + Enter] to execute.
from google.colab import drive
drive.mount('/content/drive')
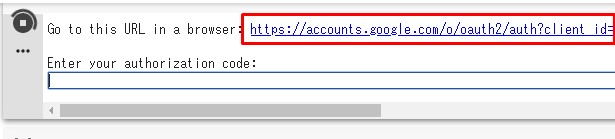
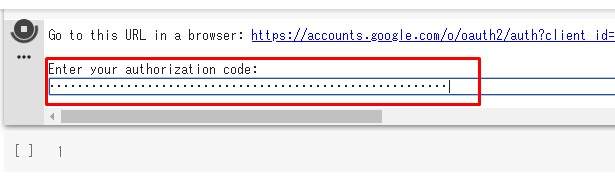
すると、以下のようにURLへアクセスして、キーを取得してくだちぃ。と言われるので、それに従う。
You are then asked to access the URL and retrieve the key as shown below, so follow that.
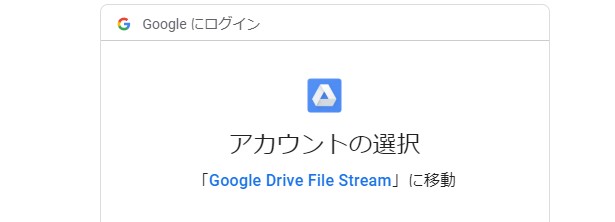
使用するアカウントを選択する。
Select your account to use.
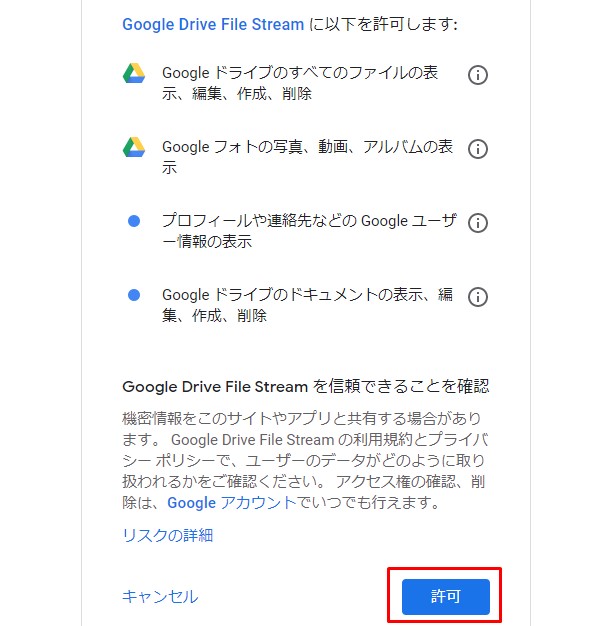
[許可]を押す.
Press [Accept].
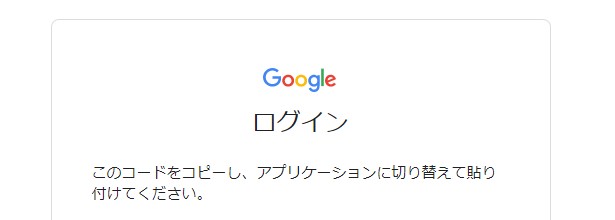
表示されたキーをコピーする。
Copy the displayed key.
キーを赤枠部分に貼り付けてENTER。
Paste the key in the red frame and hit ENTER.
成功するとこのように表示される。
This is what looks like if it succeeds.

続いて、アップロードした画像フォルダーを確認する。
Next, check the uploaded images folder.
まずdriveがマウントされているか[ls -al]を使って調べる。
First determine if drive is mounted using [ls -al]
ls -al
total 20
drwxr-xr-x 1 root root 4096 Jun  6 00:00 ./
drwxr-xr-x 1 root root 4096 Jun  6 00:00 ../
drwxr-xr-x 1 root root 4096 Jun  6 00:00 .config/
drwx------ 4 root root 4096 Jun  6 00:00 drive/
drwxr-xr-x 1 root root 4096 Jun  6 00:00 sample_data/
確認できたら[cd]を使って[drive]フォルダへ移動します。
After confirming, use [cd] to move the [drive] folder.
cd drive
/content/drive
もう一度[ls -al]を使って調べますが、出てくるフォルダー名は人によって異なる可能性があります。 自分の場合は'My Drive'でした。
we'll use [ls -al] again to check, but the name of the displayed folder may vary on the user. In my case, it was 'My Drive'
ls -al
total 6
drwx------ 3 root root 4096 Jun  6 00:00 'My Drive'/
drwx------ 3 root root 4096 Jun  6 00:00  .Trash/
また移動して、フォルダーの中身を表示する。 [data]フォルダーがあればOK。
Let's move again and display the contents of the folder. It's okay if you can check the [data] folder
cd 'My Drive'
ls -al
total 666
drwx------ 2 root root   4096 Jun  6  2019 'Colab Notebooks'/
drwx------ 2 root root   4096 Jun  6  2019  data/
drwx------ 2 root root   4096 Jun  6  2019  estateCamera/
それでは次回、Pythonスクリプトを書いて、画像の水増しと画像データの保存をしていきましょう。
Next time, let's write a Python script to augumentation the image and save the image data.