Published Date : 2019年10月26日0:56
Google Cloud Visionを使ったPDFの文章変換ツールの開発の仕事
Working on a PDF to text conversion tool using Google Cloud Vision
This blog has an English translation
架空のお仕事をしてみる企画(4)です。
It's a project to try a fictitious job(4).
仮に自分がフリーランスで、 ある依頼者から適当な仕事を振られてみたら、 果たしてクリアできるのか?といった企画。
If i am a freelance programmer, When a client assigns a suitable job, Can I clear it? That's the plan.
この企画は架空のものですが、日本のクラウドソーシング市場に氾濫しているよくある案件と値段と工数を参考にしてます。
This project is a fictitious one, but it is based on common cases, prices and man-hours flooding the Japanese crowdsourcing market.
依頼者からの要望
Request from the client
仕事の依頼内容は、Google Cloud Visionを使ったPDFの文章変換ツールの開発の仕事です。
My job is to develop a PDF to text conversion tool using Google Cloud Vision.
Requierments
1 |
Google Cloud Visionを使ったPDFから文章への変換ツール開発を検討しています。 ご応募頂いた方には設計書を送付いたします。 Cloud Vision, Python(またはGo)経験者を優遇いたします。 I am considering developing a PDF-to-text conversion tool using Google Cloud Vision. We will send the design document to the applicant. Experience with Cloud Vision and Python (or Go) is highly valued. |
|---|---|
2 |
支払い金額は5800円です。 The payment amount is 5800 yen.($53) |
3 |
期間は7日以内です。 Please finish it within 7 days. |
4 |
納品物はソースコードです。 Deliverables are source code. |
価格には触れずに先に進めていきましょう。
Let's proceed without mentioning the price.
Google Cloud Vision
Google Cloud Vision
一応GCV APIの料金を確認。
Check the price of GCV API.
階層: 画像数/月 |
正規価格 |
||
|---|---|---|---|
画像数 |
0~1,000 |
1,001~5,000,000 |
5,000,001~20,000,000 |
画像 1,000 枚あたりの予測 |
無料 |
$4.50 |
$1.80 |
画像 1,000 枚あたりのストレージ |
無料 |
$0.10 |
$0.10 |
Tier: images/ |
List price |
||
|---|---|---|---|
| Number of images | 0~1,000 |
1,001~5,000,000 |
5,000,001~20,000,000 |
Prediction per 1000 images |
free |
$4.50 |
$1.80 |
Storage per 1000 images |
free |
$0.10 |
$0.10 |
個人で遊びで使う分には金はかからなそうです。
It doesn't cost money to use it for personal play.
ツール制作開始。
Start tool production
まずGoogle Cloud Vision APIを使えるようにします。
First, we'll enable the Google Cloud Vision API.
Google Cloud Platformのコンソール画面に行きます。
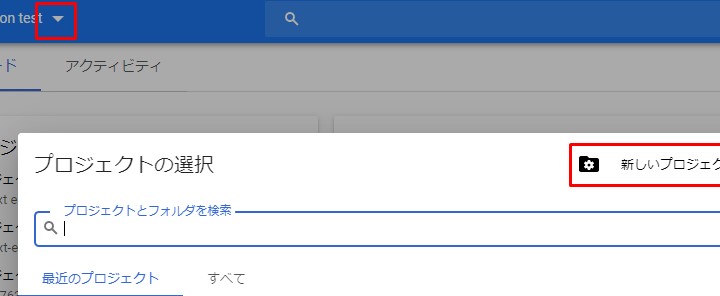
Go to the Google Cloud Platform console.
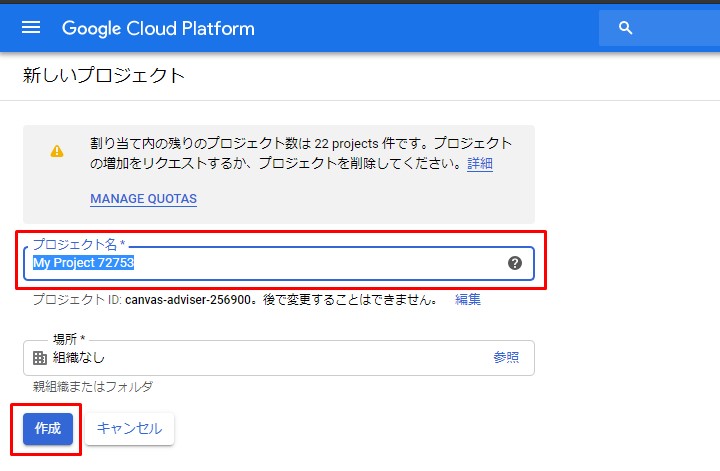
新しいプロジェクトを作成します。
Create a new project.
続いて課金を有効にします。一ヶ月1000枚程度なら無料なので、ご心配なく。
Then enable billing. Don't worry, it's free for about 1000 pages a mounth.
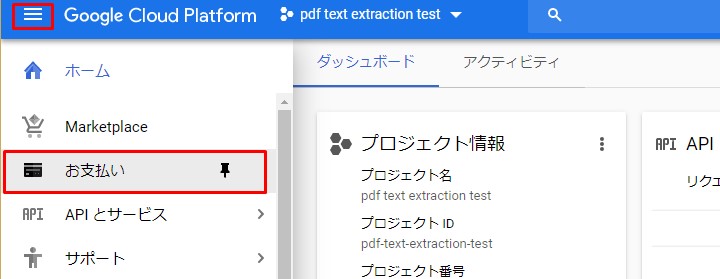
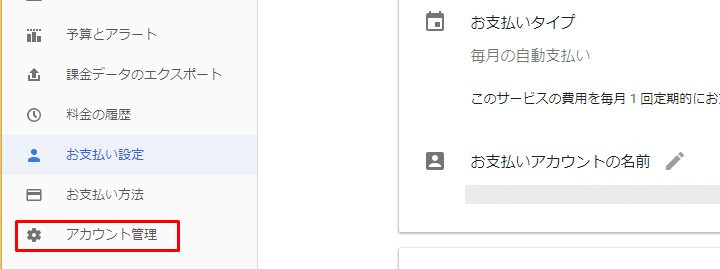
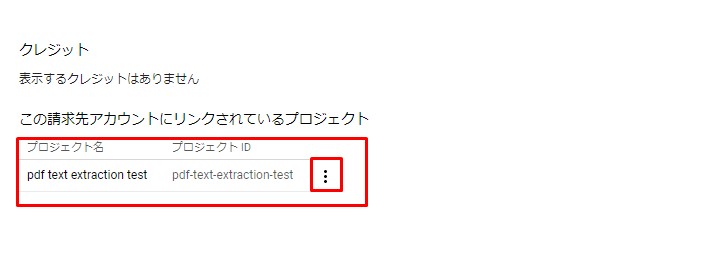
アカウント管理をクリック。
Click Account Management.
課金を有効にするプロジェクトを選択。スリードットマークをクリックして「課金を有効にする」を選択。
Select the project for which you want to enable billing. Click the three-dot mark and select "Enable Billing".
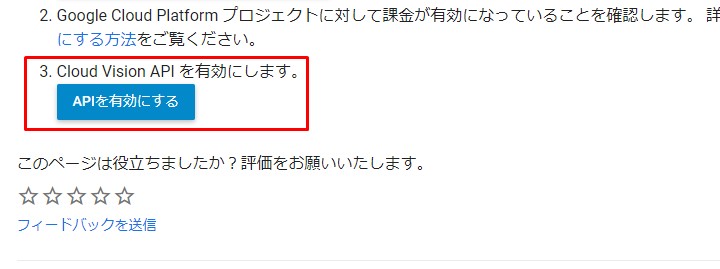
Google Cloud Vision APIを有効にする。
Enable the Google Cloud Vision API.
先程作ったプロジェクトを選択。
Select the project you just created.


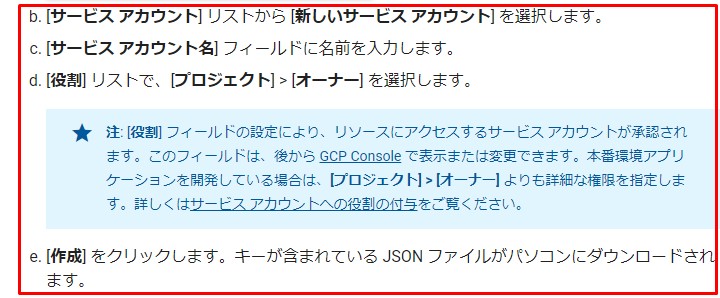
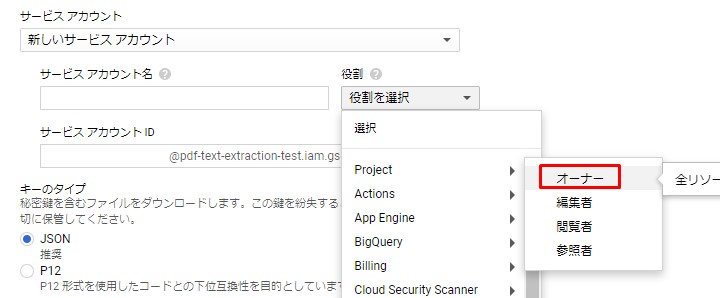
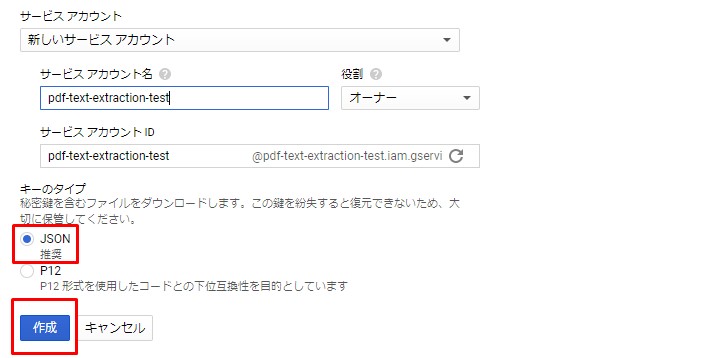
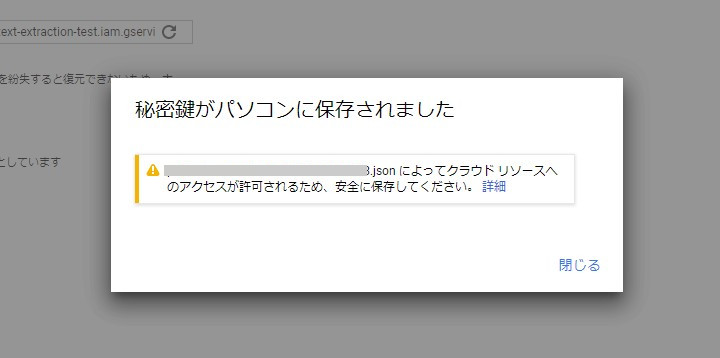
続いてサービスアカウントキーを取得する。
Next, the service account key is obtained.
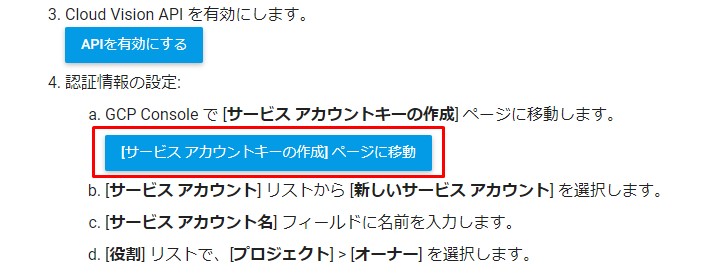
Google様公式手順に従えば無問題
According to Google's official procedure, there is no problem.
続いてGoogle Cloud Strageとファイルのやりとりができるように設定します。
Then set up the Google Cloud Storage to exchange files.
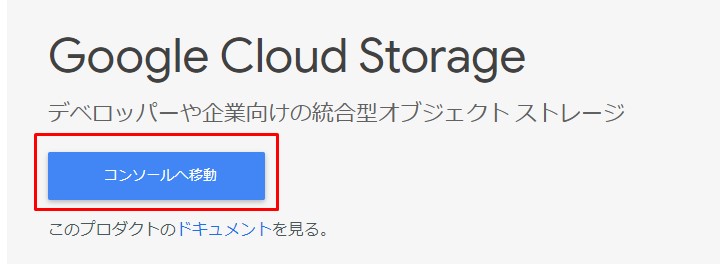
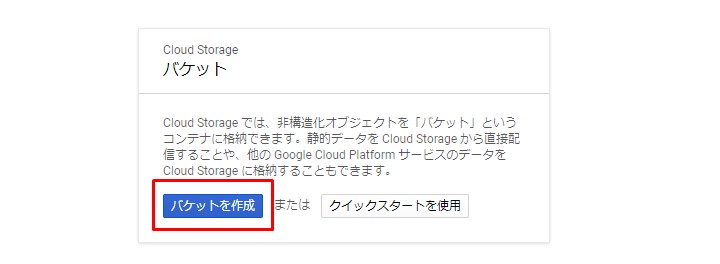
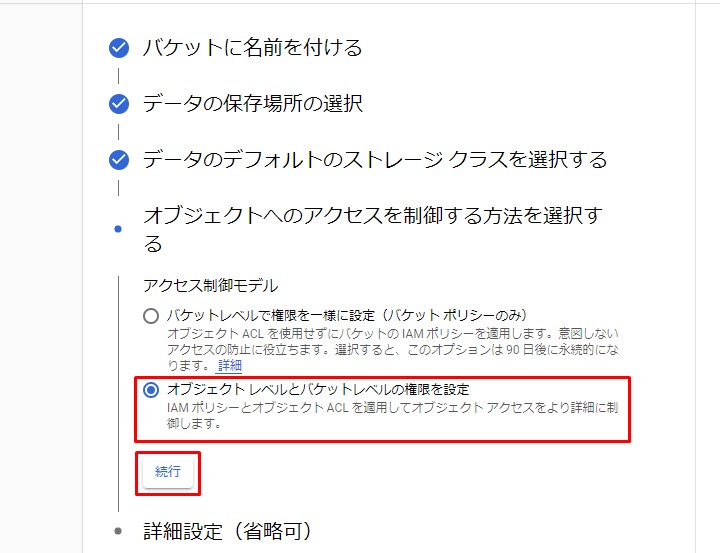
コンソールへ移動し、新しいバケットを作成します。
Go to the console and create a new bucket.
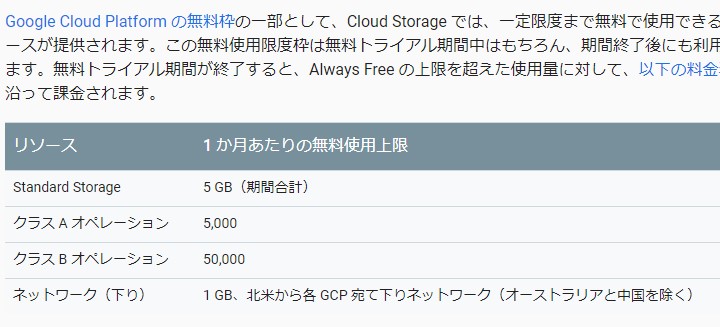
こちらも少量使う分には無問題。Standard Storageが5GBを超えなければお金はかかりません。
There is no problem with using this for a small amount. If Standard Storage does not exceed 5GB, there is no charge.
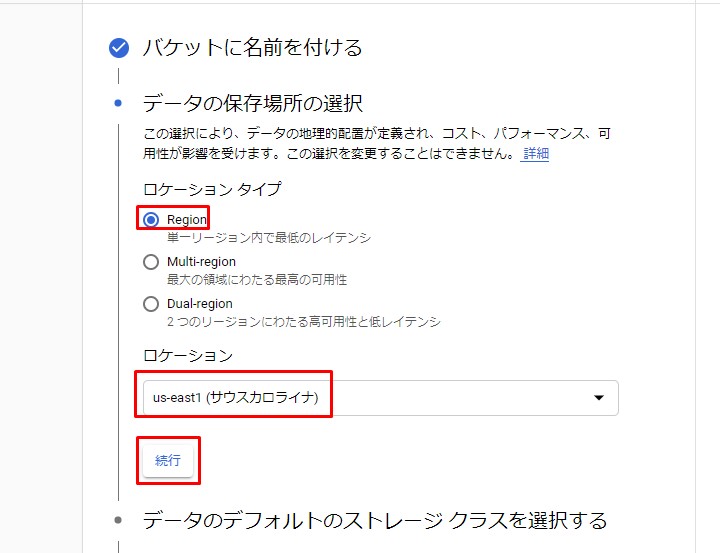
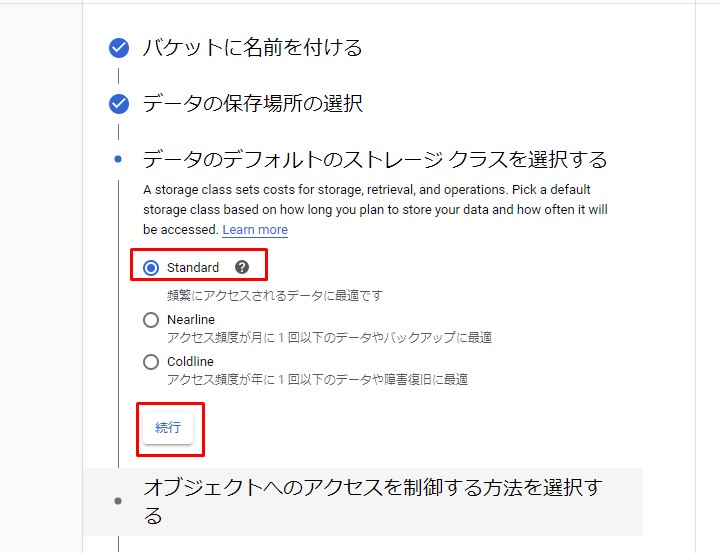
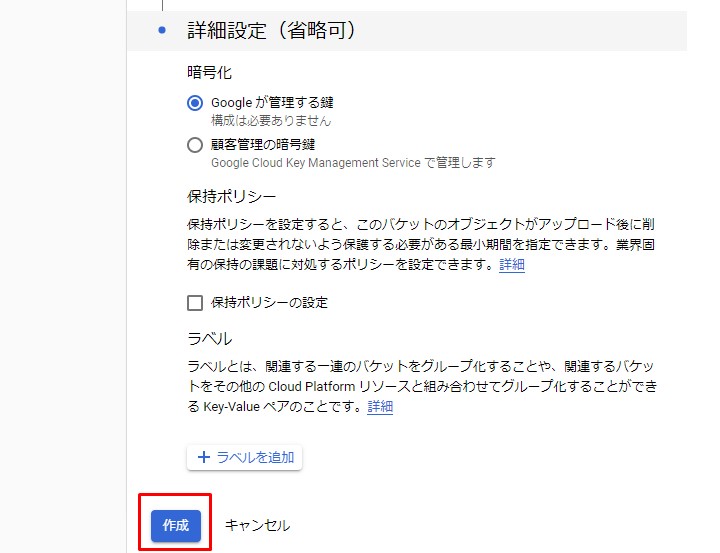
さっさと設定を済ませます。
We will finish the setting immediately.

コードはGoogle様公式のものを使用しますが、試しに使うPDFをアップロードしましょう。
I'll use Google's official code, but let's upload a PDF file to try it out.
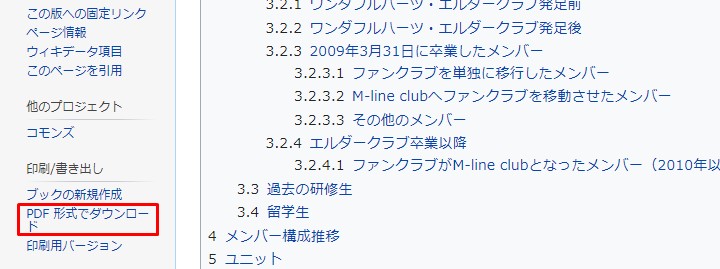
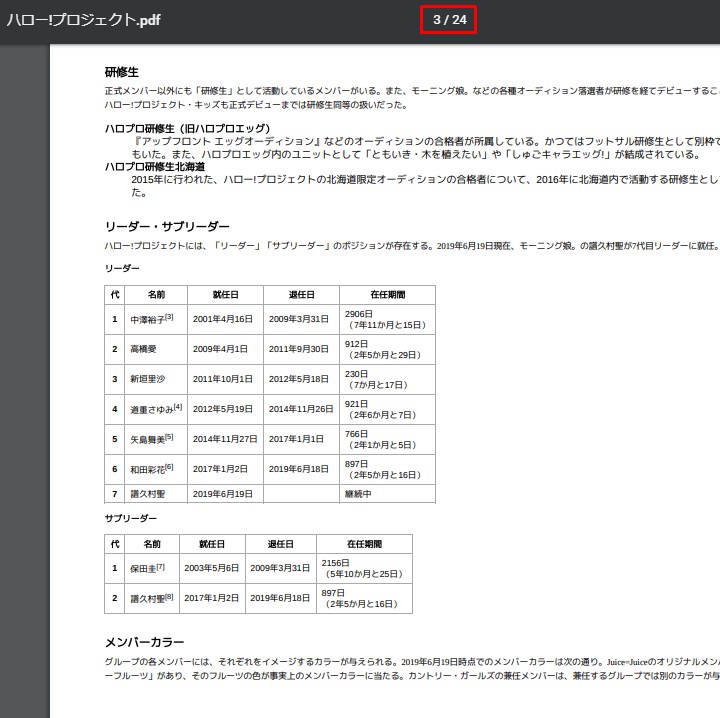
適当なWikipediaのページをPDF化してみます。
Let's convert a suitable Wikipedia page into PDF.
Wikipediaのページの左のサイドバーから「PDFで保存」を選択するとそのページがPDFとしてダウンロードされます。
Select [Save as PDF] from the left sidebar of a Wikipedia page to download it as a PDF file.
Google Cloud StorageにPDFをアップロードします。
Upload a PDF to Google Cloud Storage.

アップしたPDFの名前をクリック。
Click the name of the PDF you uploaded.

中身を見てみます。
Let's check the contents.
それではGCVとGCSを使ってPDFからテキストを抽出するコードを作成します。 といっても公式のこのコードを使うだけですけど。。。
Now I'll use GCV and GCS to write code that extracts text from the PDF file. It's just an Google's official code
pdf_document_text_detection.py
import os, io
import re
from google.cloud import vision
from google.cloud import storage
from google.protobuf import json_format

os.environ['GOOGLE_APPLICATION_CREDENTIALS'] = r'The path to the service account key that you downloaded'

mime_type = 'application/pdf'

# How many pages should be grouped into each json output file.
batch_size = 2

client = vision.ImageAnnotatorClient()

feature = vision.types.Feature(
    type=vision.enums.Feature.Type.DOCUMENT_TEXT_DETECTION)

gcs_source_uri = 'gs://pdf_det_test_bucket/ハロー!プロジェクト.pdf'
gcs_source = vision.types.GcsSource(uri=gcs_source_uri)

input_config = vision.types.InputConfig(
    gcs_source=gcs_source, mime_type=mime_type)


gcs_destination_uri = 'gs://pdf_det_test_bucket/wiki_pdf_result '
gcs_destination = vision.types.GcsDestination(uri=gcs_destination_uri)
output_config = vision.types.OutputConfig(
    gcs_destination=gcs_destination, batch_size=batch_size)

async_request = vision.types.AsyncAnnotateFileRequest(
    features=[feature], input_config=input_config,
    output_config=output_config)

operation = client.async_batch_annotate_files(
    requests=[async_request])

print('Waiting for the operation to finish.')
operation.result(timeout=180)

# Once the request has completed and the output has been
# written to GCS, we can list all the output files.
storage_client = storage.Client()
match = re.match(r'gs://([^/]+)/(.+)', gcs_destination_uri)

bucket_name = match.group(1)
prefix = match.group(2)
bucket = storage_client.get_bucket(bucket_name)

# List objects with the given prefix.
blob_list = list(bucket.list_blobs(prefix=prefix))
print('Output files:')
for blob in blob_list:
    print(blob.name)

# Process the first output file from GCS.
# Since we specified batch_size=2, the first response contains
# the first two pages of the input file.
output = blob_list[0]

json_string = output.download_as_string()
response = json_format.Parse(
    json_string, vision.types.AnnotateFileResponse())

# The actual response for the first page of the input file.
first_page_response = response.responses[0]
annotation = first_page_response.full_text_annotation

# Here we print the full text from the first page.
# The response contains more information:
# annotation/pages/blocks/paragraphs/words/symbols
# including confidence scores and bounding boxes
print(u'Full text:\n{}'.format(
    annotation.text))
若干の変更点
Minor Changes.
import re,io
コードの断片だけなので、reとioをインポートしなければならない。
Since this is just a snippet of code, you have to import re and io.
os.environ['GOOGLE_APPLICATION_CREDENTIALS'] = r'The path to the service account key that you downloaded'
公式ではサービスアカウントキーをシェルを使って環境変数として登録しなさいとあったが、上手くいかなかったので、Pythonから一時的に環境変数へと登録した。
The official suggestion was to use the shell to register the service account key as an environment variable, but this didn't work, so I temporarily registered it from Python.
r'The path ... この[r]はバックスラッシュを文字列として扱う。Windowsパスの時有効。
r'The path ... This [r] is treat a backslach as a string. Valid for Windows path.
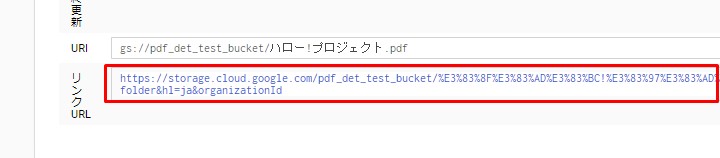
gcs_source_uri = 'gs://pdf_det_test_bucket/ハロー!プロジェクト.pdf'
このURIはどこから取ってくるかというと、以下の画像参照。
To get this URI, see the image below.
アップしたPDFの名前をクリック。
Click the name of PDF file you uploaded.
URIと書かれているこの赤枠の部分をコピペする。
Copy and paste this red box labeled URI.

続いて保存先のURI
Then, the storage destination URI is set.
gcs_destination_uri = 'gs://pdf_det_test_bucket/wiki_pdf_result '
何故か自分の環境だと一番最後にスペースを入れないとエラーになったので入れている。
For some reason, in my environment, if i don't put a space at the end, an error occurs, so I put it in.
bucket = storage_client.get_bucket(bucket_name)
最後に、この部分。
Finally, this part.
bucket = storage_client.get_bucket(bucket_name=bucket_name)
公式だとこのようにキーワードアーギュメントになっているが、このまま実行するとエラーになるので修正した。
It is officially a keyword argument like this, but it will cause an error if it is executed as it is, so I fixed it.
実食
run
pip install --upgrade google-cloud-vision google-cloud-storage
今回使うライブラリをインストールするのを忘れずに!
Don't forget to install this library.
python pdf_document_text_detection.py
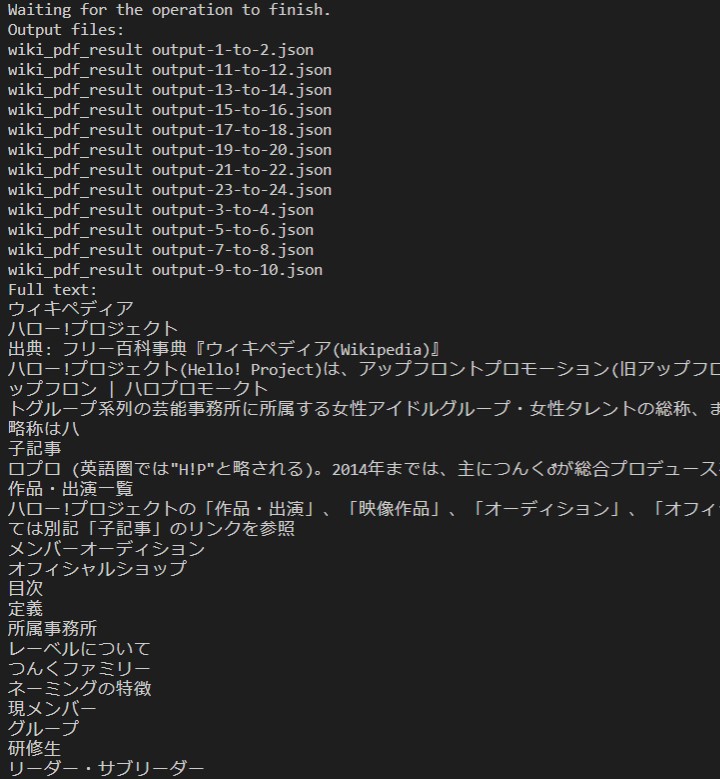
全部で24ページあるうちの1ページ目の最初と最後の文章が抽出されているのを確認。(だが100%は抽出されていない)
I checked that the first and last sentences on page 1 of the total 24 pages were extracted. (but 100% were not extracted.)

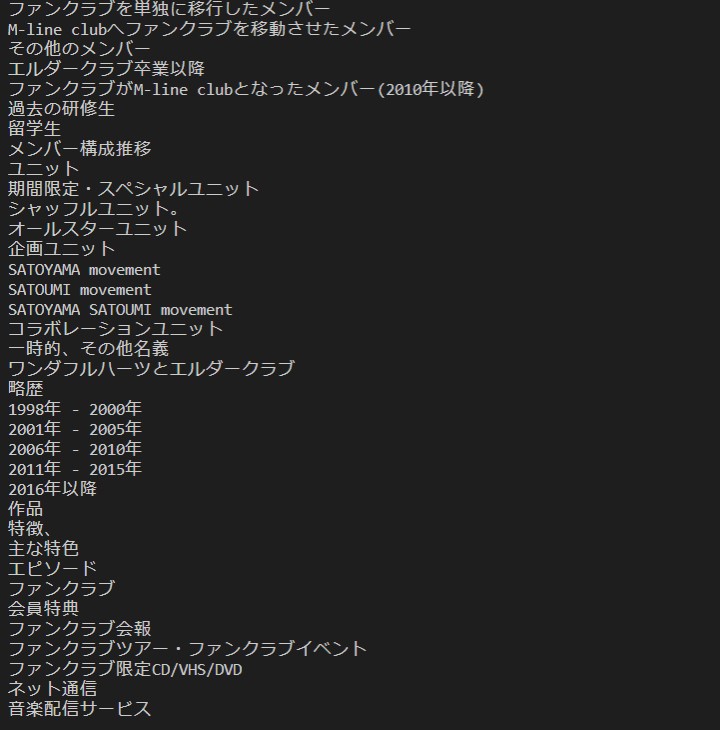
続いてアウトプットされたJSONファイルの中身を確認。
Next, check the output JSON file.
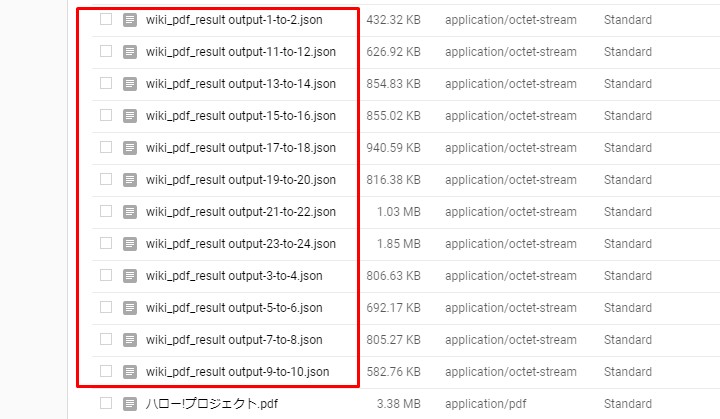
適当に選んでダウンロードして中身を見てみる。
Just download whatever you like and see what's inside.
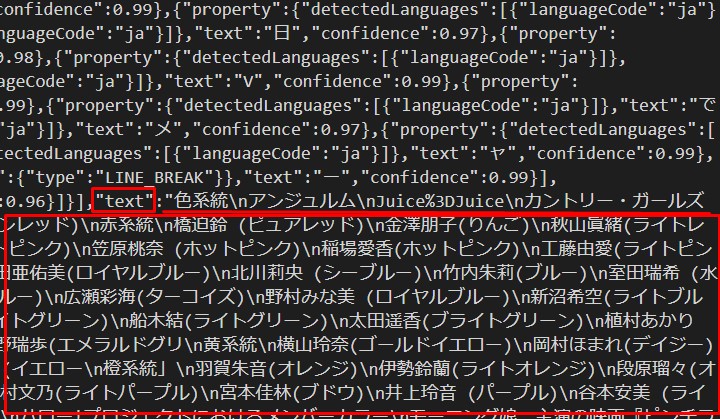
かなりの精度で抽出できている。(100%ではない)
It can be extracted with considerable accuracy. (Not 100%.)
さて、この案件は「設計書」があるみたいなので、応募しないと詳細は分かりません。 ただ、GCVを用いたPDFから文字を抽出する基本的な設定とコードは用意できたので良しとします。
Well, this case seems to have a [design document], so I don't know the details until I apply. However, the basic settings and code for extracting text from a PDF file using GCV. it's good.
GCVを使わなくても、Tesseract-ocr等ライブラリはあるので、それを試しても良いかもしれません。 ちなみに、昔仕事で(先方から渡されたPDFの内容をそのまま、HTMLにしてウェブコンテンツにするという無謀な仕事) ウェブコンテンツの校正作業をした時にTesseract-ocrを自主的に勝手に使ってみましたが、GCVほどの精度はありませんでした。GCV良いですね。
If you don't want to use GCV, you might want to try the Tesseract-osr library. By the way, when I proofread web content at work (The dumb job of inputting the contents of a PDF file submitted by a client into Web contents.), I used Tesseract-ocr on my own and it wasn't as accurate as GCV. GCV is good.
ただ、GCPの設定って凄く分かり辛いです。初心者泣かせですよほんと。
However, the setting of GCP is very difficult to understand. it makes beginners cry, really. haha.
See You Next Page!