Published Date : 2019年10月6日18:23
Djangoで作ったブログにページ送り機能を追加する
Add page feed function to Django blogs
This blog has an English translation
記事が多くなってきたので、表示速度と視認性をアップさせる為に、Djangoブログにページ送り機能を付けたいと思います。
As the number of articles increases, I would like to add a page feed function to the Django blog to improve the display speed and visibility.
今回はブログ記事を1ページに10タイトル表示させる方法を取ります。 ブログ記事単体をページ送りする方法は過去記事を参照してくだちぃ。
This time, we will take a method to display 10 titles on 1 page of blog articles. See the previous article for how to page a blog post.
全体の流れ
overall flow
| 1 | views.pyにページ送り用関数を作る。 Create a page feed function in views.py. |
|---|---|
| 2 | 作ったページ送り関数をIndex関数に反映させる。 The created page feed function is reflected in the Index function. |
| 3 | DjangoのHTMLテンプレートで表示させる。 Display in Django HTML template. |
views.pyにページ送り用関数を作る。
Create a page feed function in views.py.
Demo Project
    demoblog
        __init__.py
        settings.py
        urls.py
        wsgi.py
    blogposts
        migrations
        static
        templates
        __init__.py
        admin.py
        apps.py
        models.py
        tests.py
        urls.py
        views.py <- #このviews.pyにpaginate_query関数を作ります。
                    #Create a paginate_query function in views.py.
    db.sqlite3
    manage.py
views.py
from django.shortcuts import render, get_object_or_404
from django.http import HttpResponse
from .models import Post

from taggit.models import tag

# add
from django.core.paginator import Paginator, EmptyPage, PageNotAnInteger

# add
def paginate_query(request, queryset, count):
    paginator = Paginator(queryset, count)
    page = request.GET.get('page')
    try:
        page_obj = paginator.page(page)
    except PageNotAnInteger:
        page_obj = paginator.page(1)
    except EmptyPage:
        page_obj = paginatot.page(paginator.num_pages)
    return page_obj
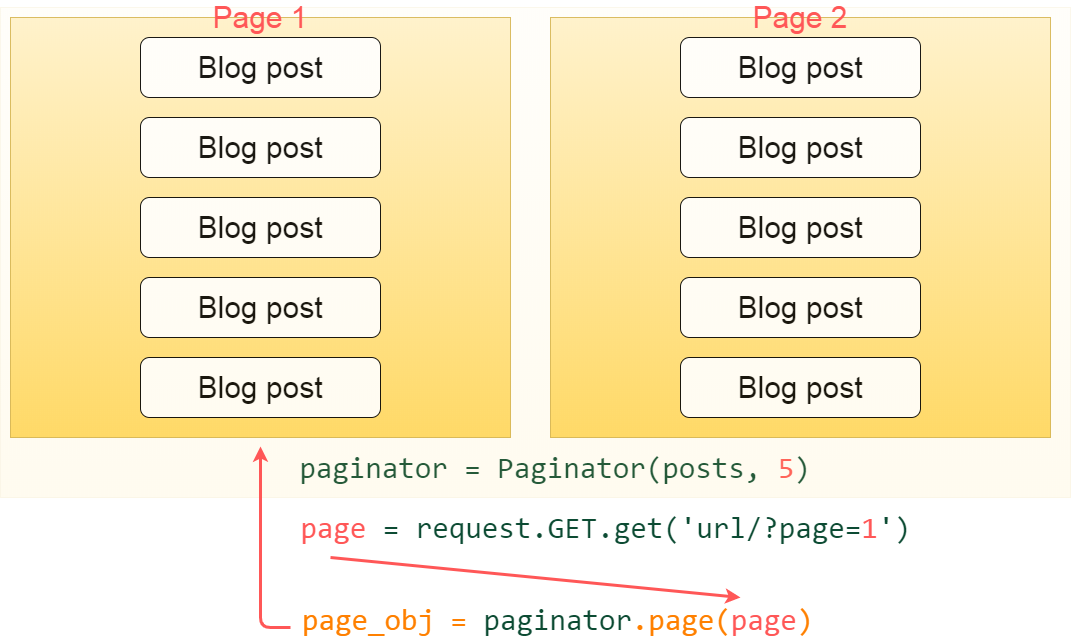
paginator = Paginator(queryset, count)
Paginatorはmodels.pyから取り出した、ブログ記事と1ページにいくつ記事を表示させるかの引数を受け取り、ページ送りオブジェクトを作ります。
The Paginator takes a blog post and an argument for how many posts to display per page from models.py and creates a page feed object.
page = request.GET.get('page')
このget('page')はURLのパラメーター(例えば:'/posts/?page=2')の場合、 (page=2)の(2)の部分を受け取り、2ページ目の記事一覧を取り出すしてくれます。
If get('page') is a URL parameter (For example: '/posts/?page=2'), It takes the (2) part of (page=2) and retrieves the list of articles on page 2.
あとは、正常なリクエストなら、該当ページの記事一覧全ての情報が詰まったオブジェクトリストを返し、 ページが無い等の例外を受け取ったら、その処理を行うようにします。
Then, if the request is successful, it returns an object list containing all the information in the article list of the corresponding page. If you receive an exception, such as a missing page, do so.
作ったページ送り関数をIndex関数に反映させる。
The created page feed function is reflected in the Index function.
views.py
def index(request):
    posts=Post.objects.order_by('-published')
    tags, tag_names = taglist()

    # add paginate function
    page_obj = paginate_query(request, posts, 10)

    context = {
        'posts':posts,
        'tags':tags,
        'tag_names':tag_names,
        'page_obj':page_obj, # add
        }
    return render(request,'posts/index.html', context)
page_obj = paginate_query(request, posts, 10)
ブログ記事のクエリーセットを渡し、1ページにいくつ記事を表示させるかを指定します。 requestには何ページ目を表示させるかの情報が入っています。
Pass a query-set of blog posts and specify how many posts to display per page. The request contains information about which page to display.
'page_obj':page_obj,
context内に'page_obj':page_obj,を加えてあげます。
Add 'page_obj':page_obj, to context.
DjangoのHTMLテンプレートで表示させる。
Display in Django HTML template.
Demo Project
    demoblog
        __init__.py
        settings.py
        urls.py
        wsgi.py
    blogposts
        migrations
        static
        templates
            index.html <- #index.htmlにページネーション機能を反映させます。
                          #Applies pagination to index.html.
        __init__.py
        admin.py
        apps.py
        models.py
        tests.py
        urls.py
        views.py
    db.sqlite3
    manage.py
index.html
    <!-- 変更 Change -->
    {% for post in page_obj %}
        <br /><br />
        <h4><a href="{% url 'post_detail' post.id %}">{{post.title}}</a></h4>
        {{post.published}}
        <br /><br />
        <hr>
    {% endfor %}
    </div>

    <!-- page nation -->
    <div class="container-fluid">
        <nav aria-label="Page navigation example">
            <ul class="pagination justify-content-center">
                {% if page_obj.has_previous %}
                    <li><a class="page-link text-primary d-inline-block" href="?page={{ page_obj.previous_page_number }}"><<</a></li>
                {% else %}
                    <li class="disabled"><div class="page-link text-secondary d-inline-block disabled" href="#"></div></li>
                {% endif %}

                {% for link_page in page_obj.paginator.page_range %}
                    {% if link_page %}
                        {% if link_page == page_obj.number %}
                            <li class="disabled"><div class="page-link text-secondary d-inline-block disabled" href="#">{{ link_page }}</div></li>
                        {% else %}
                            <li><a class="page-link text-primary d-inline-block" href="?page={{ link_page }}">{{ link_page }}</a></li>
                        {% endif %}
                    {% else %}
                        <li class="disabled"><a class="page-link text-secondary d-inline-block text-muted" href="#">・・・</a></li>
                    {% endif %}
                {% endfor %}

                {% if page_obj.has_next %}
                    <li><a class="page-link text-primary d-inline-block" href="?page={{ page_obj.next_page_number }}">>></a></li>
                {% else %}
                    <li class="disabled"><div class="page-link text-secondary d-inline-block disabled" href="#"></div></li>
                {% endif %}
            </ul>
        </nav>
    </div>
    <!-- -->
{% for post in page_obj %}
page_objはページ毎に取り出させれた(今回は1ページ10記事)記事のオブジェクトリストです。 これをDjangoテンプレートのForループで回してHTMLに反映させるだけです。
page _ obj is an object list of articles fetched per page (This time it is 10 articles on 1 page.). All you have to do is turn this around in the For loop of the Django template and reflect it in the HTML.
実際のページネーション表示の部分はBootstrapのページネーションにDjangoテンプレートを組み合わせているだけです。 この部分は各自でカスタマイズしてくだちぃ。
The actual pagination display is just a combination of Bootstrap pagination and the Django template. You can customize this part by yourself.
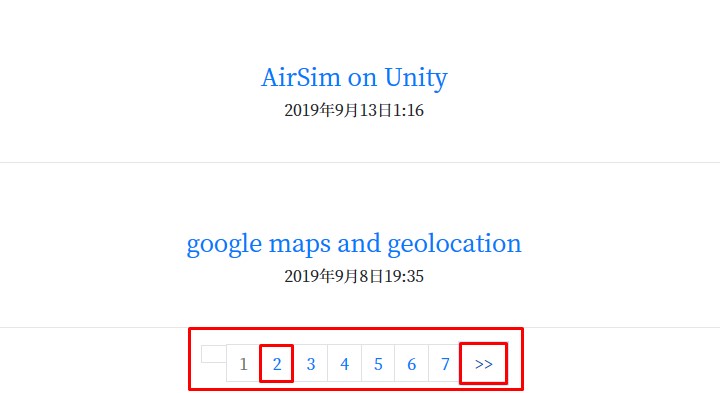
成功すれば、以下のようにページネーションが表示されます。
If successful, pagination appears as follows.
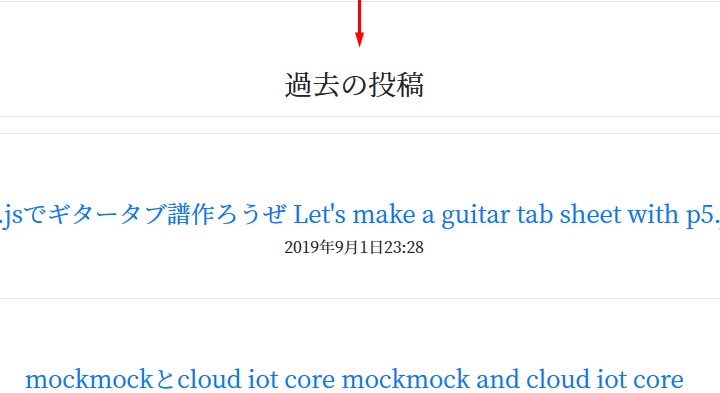
試しに一覧ページの一番最後をクリックします。
Click the bottom of the list page to try.
試しに一覧ページの一番最後をクリックします。
Click the bottom of the list page to try.
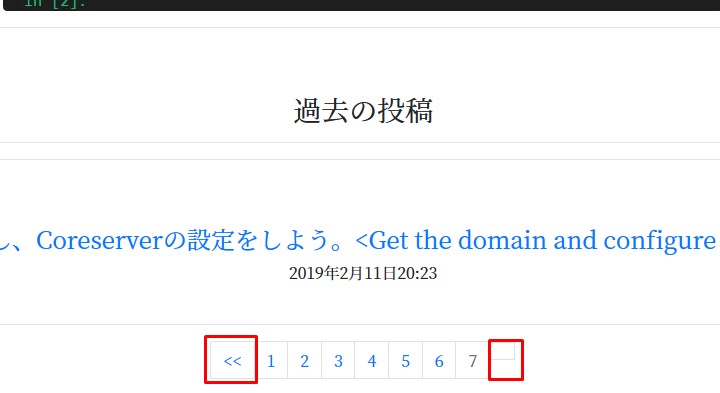
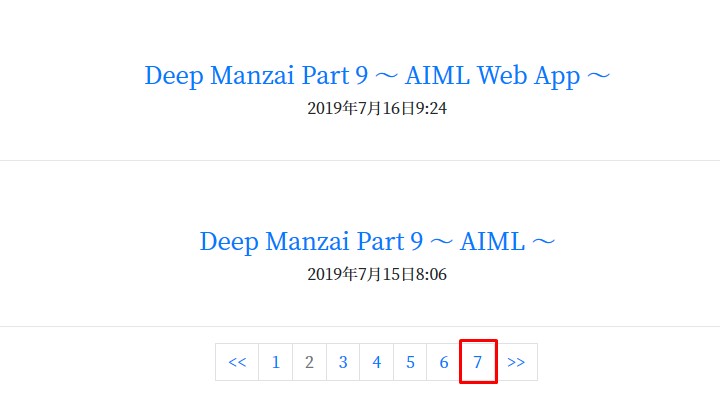
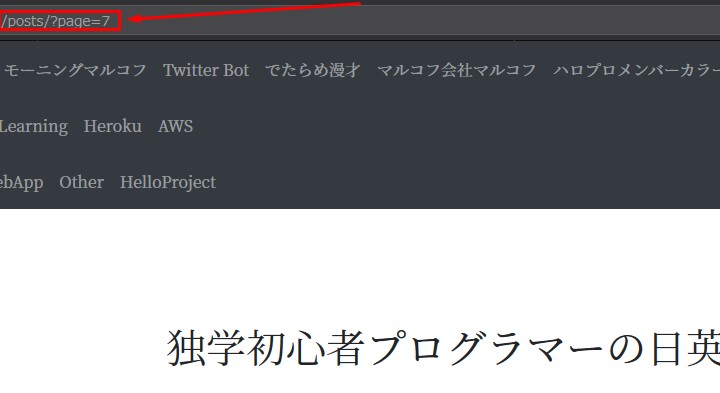
パラメーターに正しく「7ページ」が渡されています。 記事一覧の最後まできたので、NEXTページ送りボタンが消えています。
The parameter is correctly passed "Page 7". I've reached the end of the article list, so the next page forward button is gone.
前回ページネーション機能を付けた時はまだブログ記事がそんなになかったですが、 やはり多くなってくると、この記事一覧でページ送りする機能は便利ですね。以上。
The last time I added pagination, I didn't have many blog posts. As the number of articles increases, the function to page in this article list is convenient. That's it.
See You Next Page!