Published Date : 2021年5月12日16:51
パート1: 複利計算アンドロイドアプリ
Part 1: Android app for compound interest
calculation
This blog has an English translation
ニコニコ動画にアップした動画のまとめ記事です。
This is a summary blog post about a video I uploaded to NicoNico.
細かい部分は動画を参考にしてください。
Please refer to the video for details.
目次
Table of Contents
① 動画の説明
① Video
Description
警告:
このアプリは大雑把に大体の見積りを計算して楽しむ為のツールです。
計算の詳細や、端数の処理等は各金融機関等によって異なります。
このアプリを使って何かしらの損害が発生したとしても、私は一切の責任を負いません。
Warning:
This application is used to calculate rough estimates and enjoy them.
The details of calculations and the treatment of fractions differ depending on the financial institution.
I will not be liable for any damage caused by using this app.
複利計算アンドロイドアプリ パート1
Android app for compound interest calculation Part 1
前回の動画でPythonとFlaskを使用して作成したWebアプリのアンドロイドバージョンです。
This is the Android version of the web app we created in the previous video using Python and Flask.
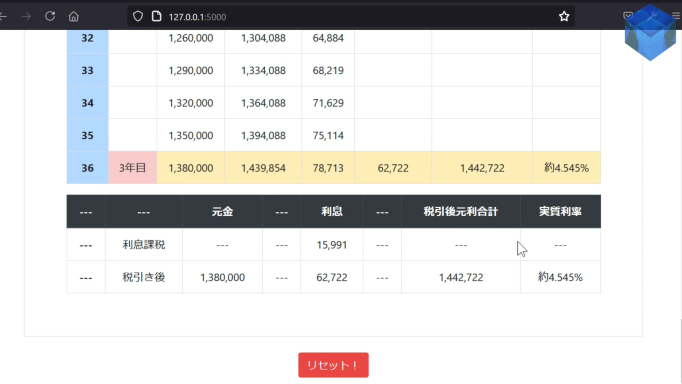
今回作り直すアンドロイドアプリバージョンはこのようになります。
This is the Android app version that we're going to create looks like this.

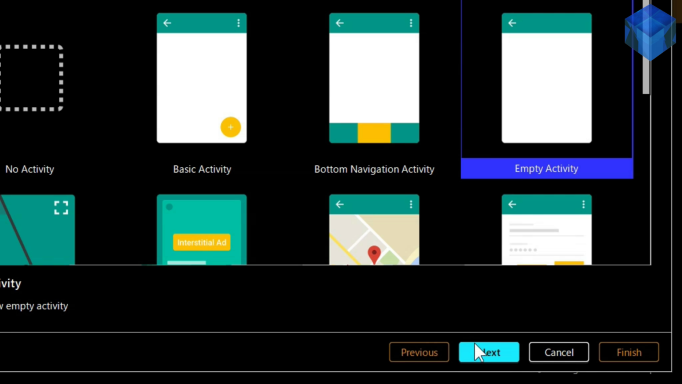
ではいつも通りにアンドロイドスタジオを立ち上げて、空のアクティビティを選択して、新しいプロジェクトを作成してください。
Start your Android studio as usual, select an empty activity, and create a new project.
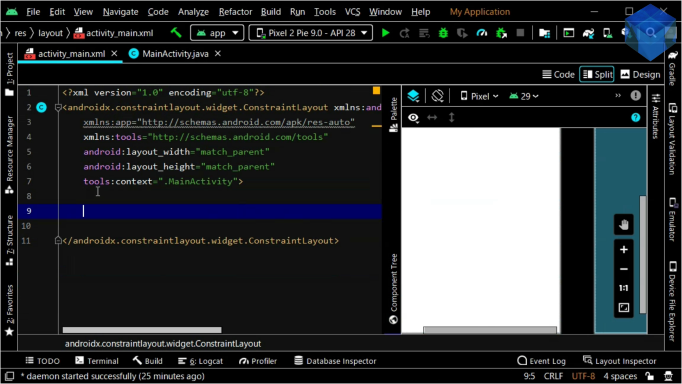
まずはアプリのレイアウトを作成していきましょう。
First, let's create the layout of the application.
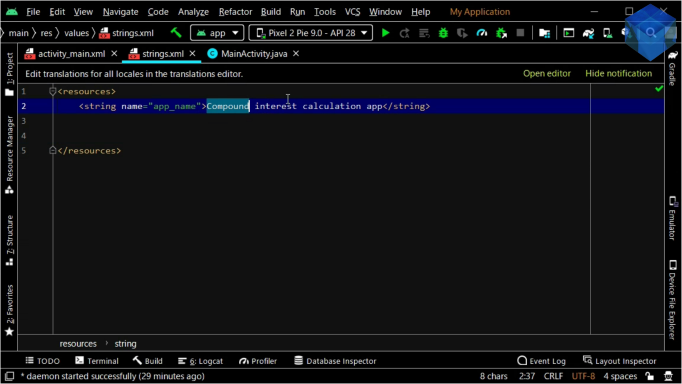
では、補足説明やボタンのテキストを[strings.xml]ファイル内に書いていきましょう。
Now, let's write supplementary explanation and button text in the [strings.xml] file.
<resources>
    <string name="app_name">Compound interest calculation app</string>

    <string name="reserveEveryMonthText">毎月積立(利払毎課税)</string>
</resources>
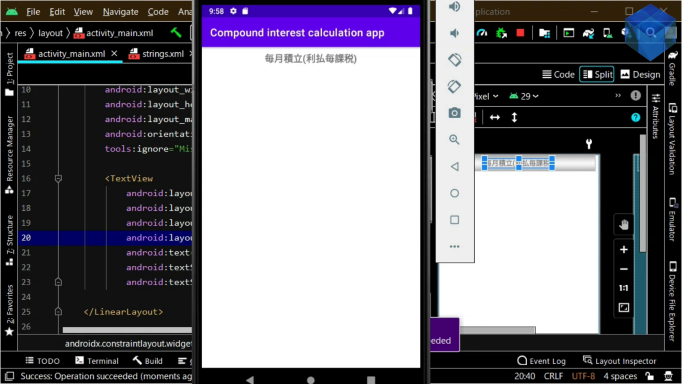
エミュレーターでレイアウトがどのように見えるか確認します。
See what the layout looks like in the android device emulator.
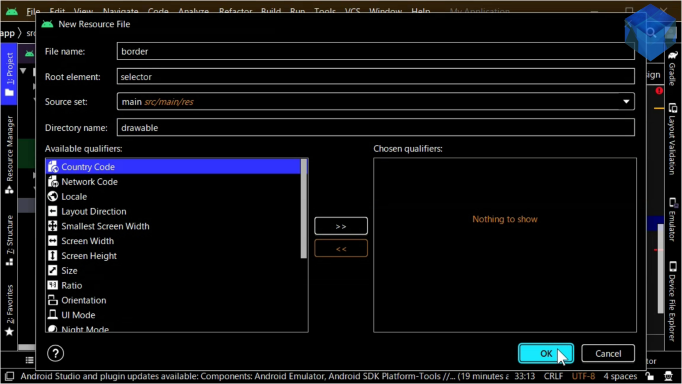
今度は[border.xml]ファイルを[res]フォルダ内の[drawable]フォルダ内に作成して外枠表示ができるようにします。
Now create a [border.xml] file in the [drawable] folder in the [resources] folder so that the border can be displayed in the layout.
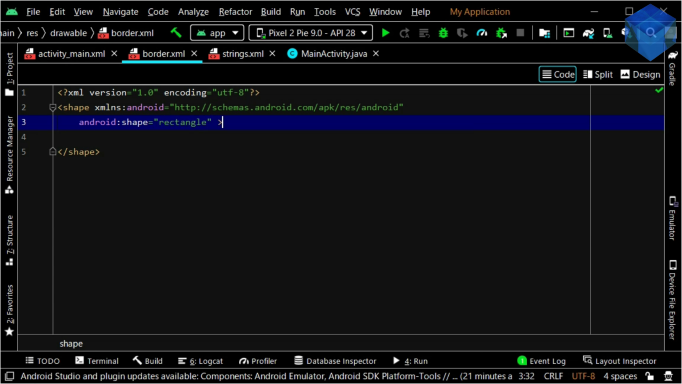
シェイプ属性にレクトアングルを指定します。
Specifies a rectangle as the attribute value for the shape.
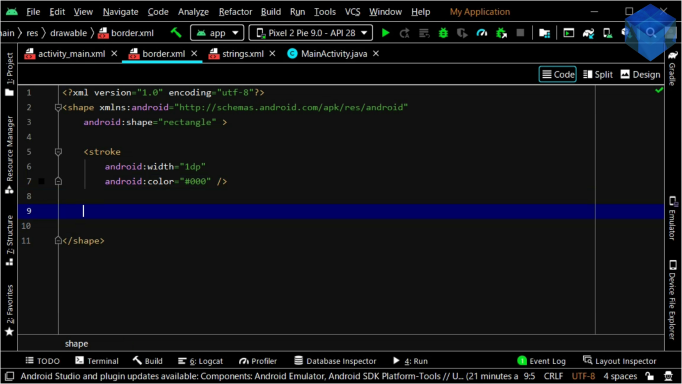
ストロークに線の太さや色を指定します。
Specifies a line weight or color for the stroke.
<?xml version="1.0" encoding="utf-8"?>
<shape xmlns:android="http://schemas.android.com/apk/res/android"
    android:shape="rectangle" >

    <stroke
        android:width="1dp"
        android:color="#000" />

    <padding
        android:top="3dp"
        android:bottom="3dp"
        android:left="3dp"
        android:right="3dp" />

    <corners
        android:radius="3dp" />

</shape>
それではまたメインアクティビティのレイアウトファイルに戻りレイアウトの作成の続きを開始しましょう。
Let's return to the layout file of the main activity and continue with the creation of the layout.
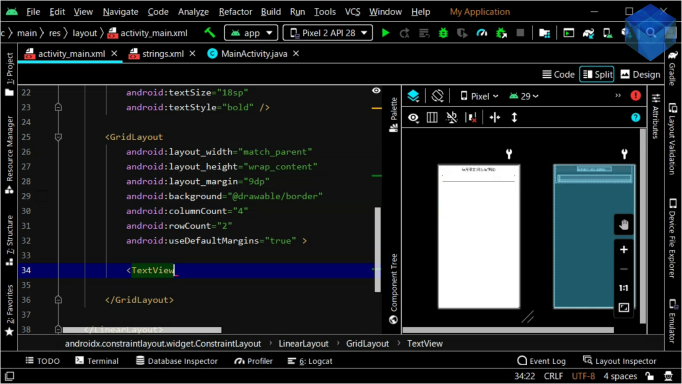
コードの内容は今まで作成してきたアンドロイドアプリの時と殆ど同じなので細かい説明は省きます。
The content of the code is almost the same as the Android application we have created so far, so I will leave out the details.
<?xml version="1.0" encoding="utf-8"?>
<androidx.constraintlayout.widget.ConstraintLayout
    xmlns:android="http://schemas.android.com/apk/res/android"
    xmlns:tools="http://schemas.android.com/tools"
    android:layout_width="match_parent"
    android:layout_height="match_parent"
    tools:context=".MainActivity">

    <LinearLayout
        android:layout_width="match_parent"
        android:layout_height="wrap_content"
        android:layout_margin="9dp"
        android:orientation="vertical"
        tools:ignore="MissingConstraints">

        <TextView
            android:layout_width="wrap_content"
            android:layout_height="wrap_content"
            android:layout_gravity="center"
            android:layout_margin="9dp"
            android:text="@string/reserveEveryMonthText"
            android:textSize="18sp"
            android:textStyle="bold" />

        <GridLayout
            android:layout_width="match_parent"
            android:layout_height="wrap_content"
            android:layout_margin="9dp"
            android:background="@drawable/border"
            android:columnCount="4"
            android:rowCount="2"
            android:useDefaultMargins="true" >

            <TextView
                android:layout_width="wrap_content"
                android:layout_height="wrap_content"
                android:layout_row="0"
                android:layout_column="0"
                android:layout_columnWeight="1"
                android:layout_gravity="center"
                android:text="@string/annualInterestRateText"
                android:textStyle="bold" />
パート2へ続く。
Continue to Part 2.
以上です。お疲れ様です。
That's all. Thank you for your hard work.