Published Date : 2019年3月3日20:11
CORESERVERでDjangoのBLOGを作る
〜 準備編 〜
Create a BLOG of Django with CORESERVER ~ Preparation ~
この記事の続きです。
Continued from this article.
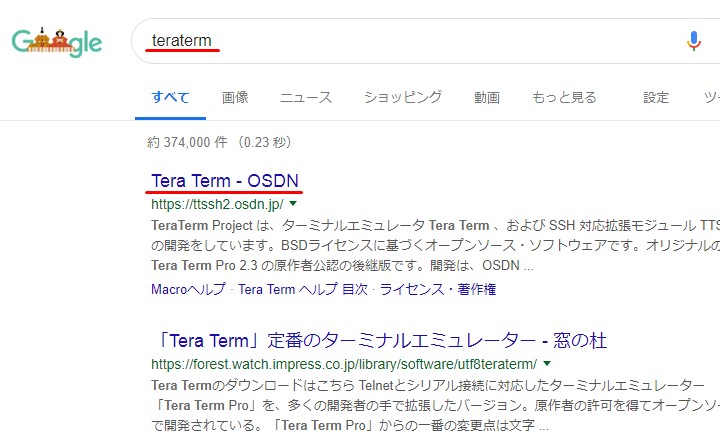
まずTeraTermを検索。
First, search for TeraTerm.
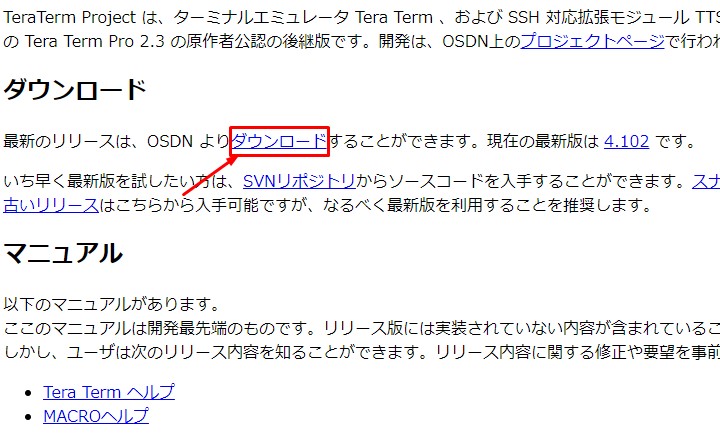
ダウンロードをクリック。
Click Download.
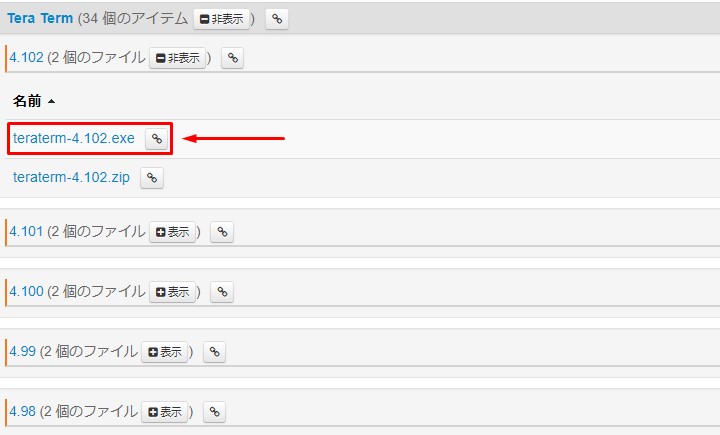
最新版のexeファイルをダウンロード。
Downloaded the latest version of the exe file.
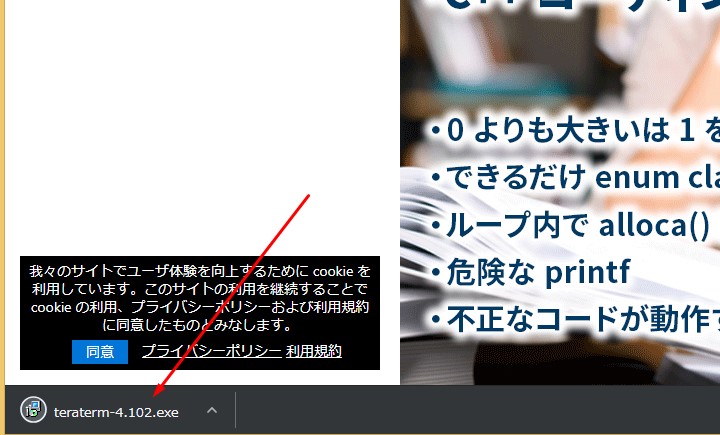
ダウンロードしたexeファイルをクリックして開く。
Click the downloaded exe file to open it.
好みの言語に設定してOKをクリック。
Set it to your preferred language and click OK.

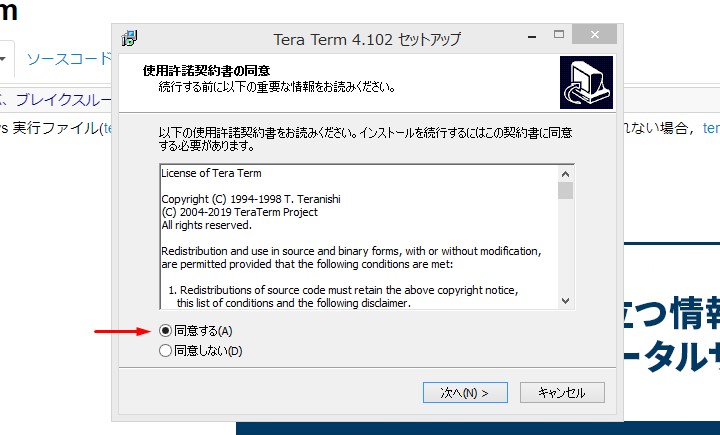
同意するにチェックして次へをクリック。
Check Accept and click Next.
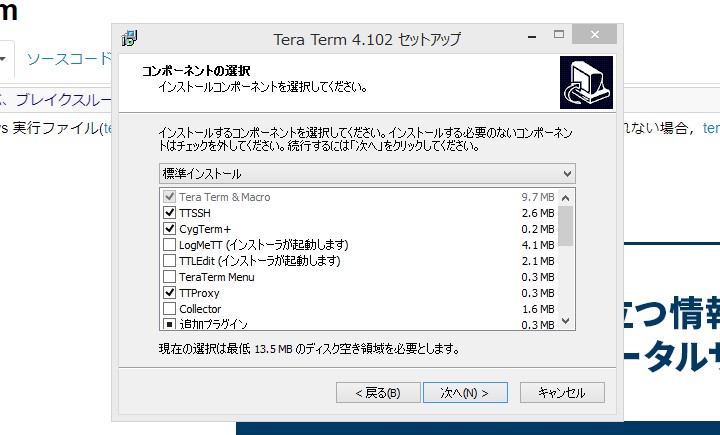
特にこだわりがなければ標準インストールで次へをクリック。
If you are not particular about it, click Next in the standard installation.
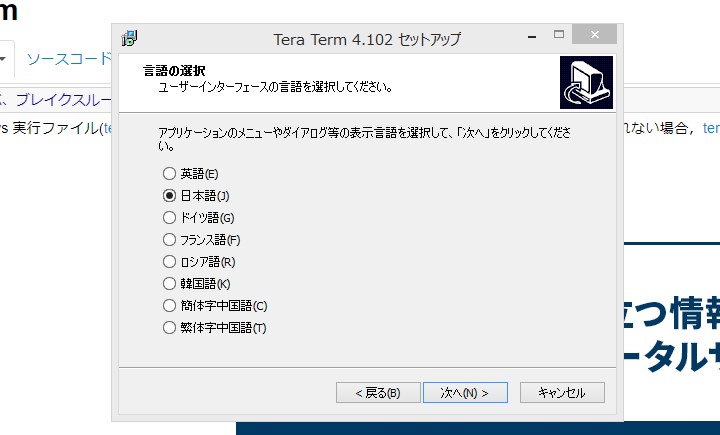
ユーザーインターフェースを好みの言語に設定して次へをクリック。
Set the user interface to your preferred language and click Next.
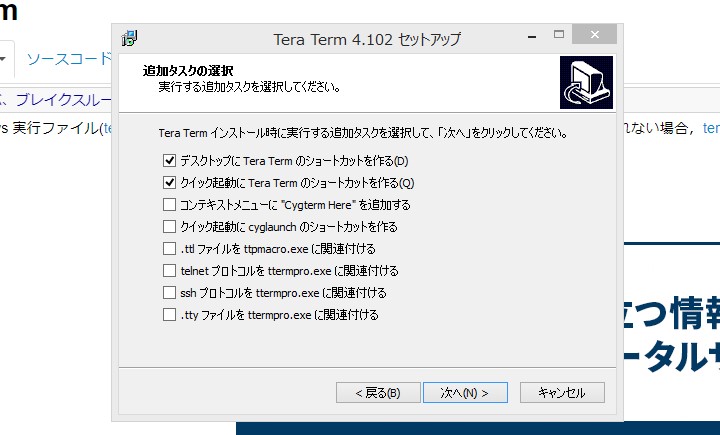
特にこだわりがなければ標準のチェックで次へをクリック。
If you are not particular, click Next in the standard check.
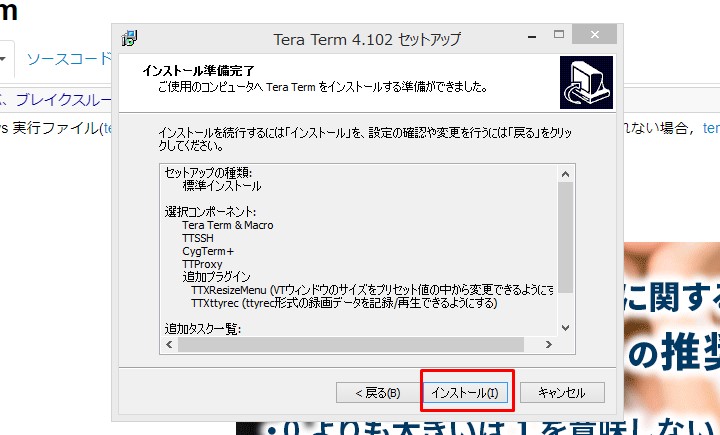
確認してOKならインストールをクリック。
If it is OK, click Install.
前回の記事のSSH接続の許可を出してから、同じタグ欄のFTP設定をクリック。
Click FTP Settings in the same tag field after granting SSH connection permission from the previous article.
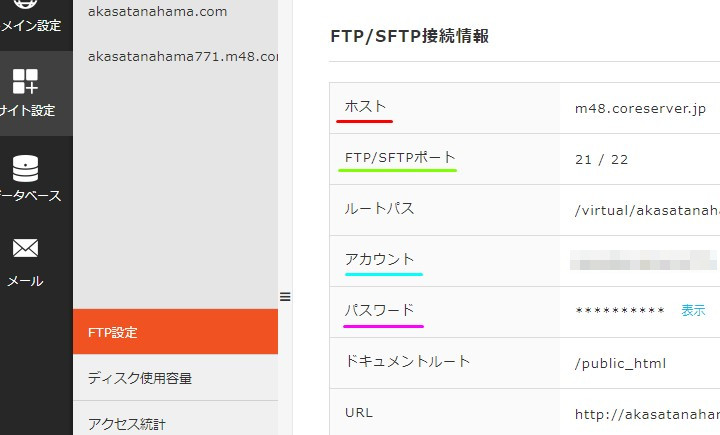
TeraTermからSSH接続するために必要な項目を確認する。
Verify what is required to SSH from TeraTerm.
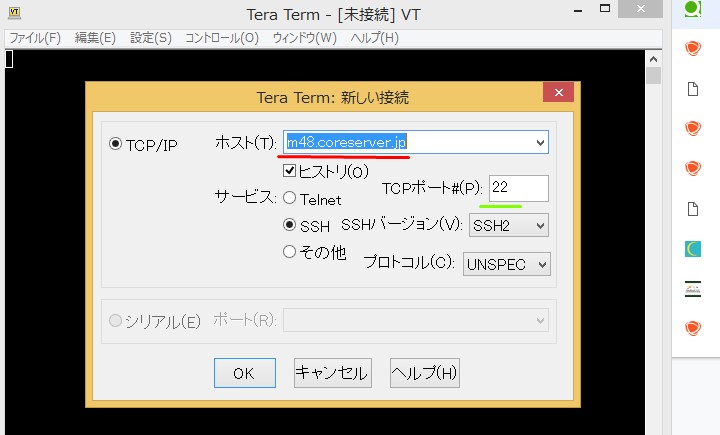
インストールしたTeraTermを開き、先程の項目のホストとポートを入力してOKをクリック。
Open your TeraTerm installation, enter the host and port from the previous entry, and click OK.
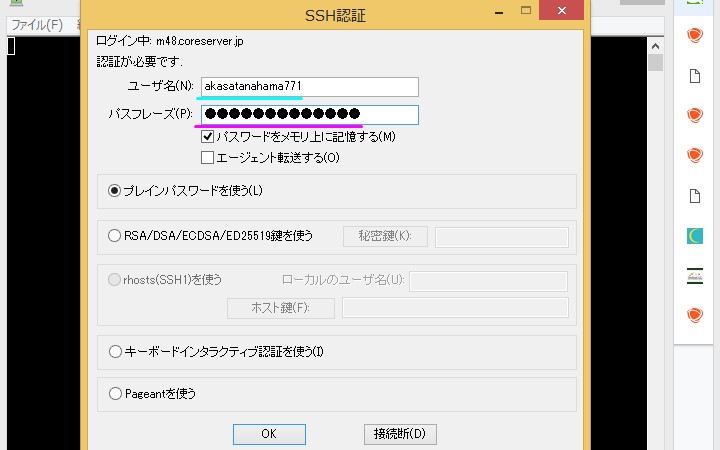
次にユーザー名(アカウント)とパスフレーズ(パスワード)を先程の項目から入力。
Then enter your username (Account) and passphrase (Password) from the previous entry.
パスワードは「表示」をクリックすれば見られるようになる。
Passwords can be viewed by clicking on "View".
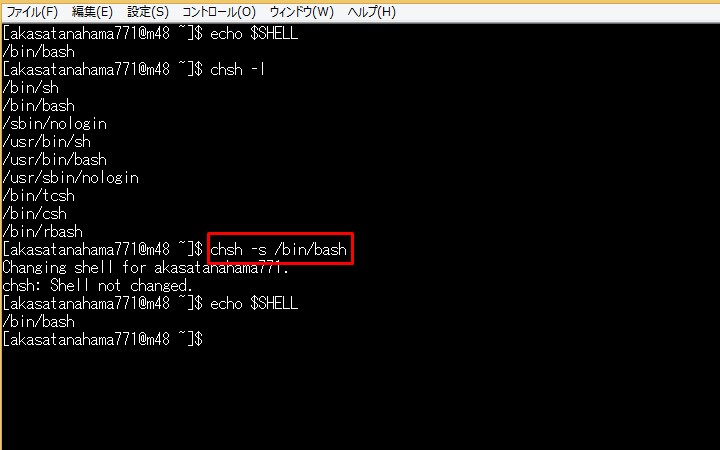
どうやらCoreserverは、デフォルトでシェルがbashではなくrbashになっているらしい。
(自分は最初からbashだった)
Apparently Coreserver defaults to rbash instead of bash. (I was bash from the beginning.)
なので、
$ echo $SHELLで現在のシェルを確認し、rbashなら、
$ chsh -s /bin/bashでbashに設定する。
So check your current shell and if rbash, set it to bash.
一度ログアウトし、ログインし直す。
シェルの変更が適用されるので、
次にPythonの設定をしていきます。
Log out and log back in. The shell changes are applied. Next, you'll set up Python.
https://github.com/pyenv/pyenv
詳しくは上のGithubのREADMEを参考に。
For more information, check out the Github README above.
まずはpyenvをローカルにコピー。
First, copy pyenv locally.
$ git clone https://github.com/pyenv/pyenv.git ~/.pyenv.bash_profileに以下を追加。
Added the following to .bash_profile.
export PYENV_ROOT=$HOME/.pyenv
export PATH=$PYENV_ROOT/bin:$PATH
eval "$(pyenv init -)"
.bash_profileの内容を変更する場合は標準装備のviを使う。
To change the contents of .bash_profile, use the standard vi.
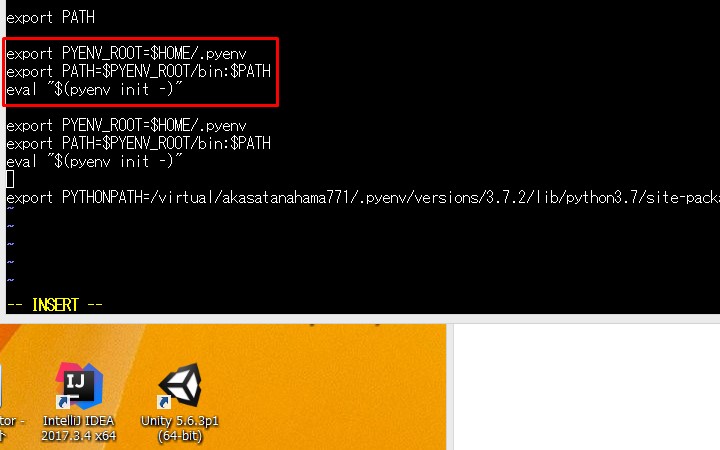
$ vi .bash_profileこれでファイルを開いたら、
Insert Mode にする。「キーボードの”I”を押す」
Now that you have opened the file, click Set to Insert Mode. Press [I] on the keyboard.
赤枠で囲っている部分みたいに、
スクリプトをコピペする。
like the red box, Copy and paste the script.
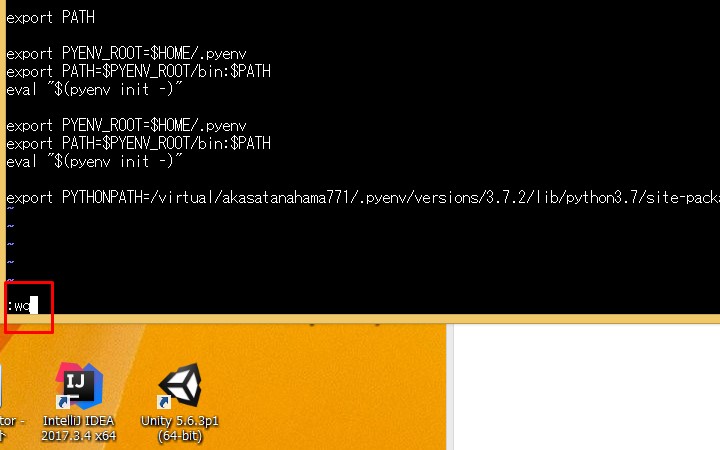
「キーボードの”ESC”ボタン」を押してから。
「:qw」を入力してエンターを押すと保存されて外にでる。
「:」はいまから入力を受け付けること。
「q」はQuit。
「w」はWrite。
Press [ESC] button on the keyboard. Enter [: qw] and press Enter to save and go outside. [:] means accept input now. [q] is Quit. [w] is Write.
インストール可能なPython のバージョンを確認。
最新版をインストール。
Determined which version of Python is available for installation. Installed the latest version.
$ pyenv install --list
私の場合、Python 3.7.2だったので、Python 3.7.2をインストール。
Since I was running Python 3.7. 2, I installed Python 3.7. 2.
$ pyenv install 3.7.2
全体に反映させるため global をつけてPythonのバージョンを指定してあげる。
Specify the version of Python with global to be global.
$ pyenv global 3.7.2
$ pyenv version
3.7.2 (set by /virtual/akasatanahama771/.pyenv/version)
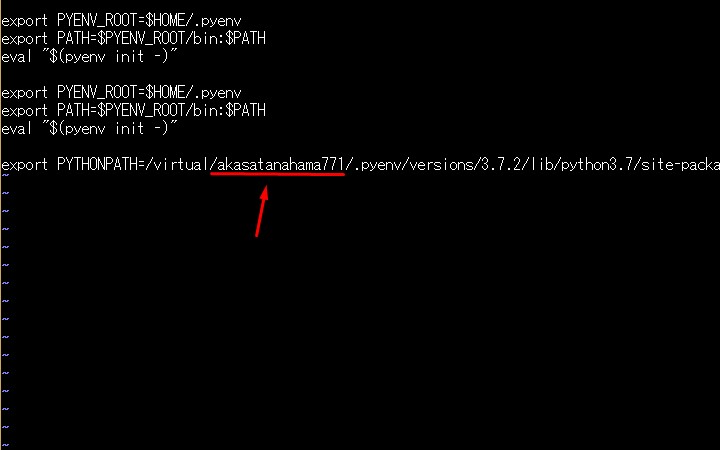
pyenv をデフォルトで有効にするため、viで .bashrcに以下を追加。
To enable pyenv by default, vi adds the following to your .bashrc.
export PYTHONPATH=/virtual/akasatanahama771/.pyenv/versions/3.7.2/lib/python3.7/site-packages
矢印の部分は各自のアカウント名。
The arrow shows the name of each account.
Django をインストールするため、まずpipをアップグレードする。
To install Django, upgrade pip first.
$ pip install --upgrade pipDjango をセットアップ。
Set up Django.
$ pip install django
お疲れ様でした。
Thank you for your hard work.
Ubuntu・PostgreSQL・Nginx Amazon EC2(AWS)
でやってみたい。という方はこちらの動画がオススメです。
Udemyで有料ですが、丁寧で分かりやすいです。
Ubuntu, PostgreSQL, Nginx Amazon EC2 (AWS) So I want to try. Check out the video below to see it in action. There is a charge for Udemy, but it is polite and easy to understand.
【3日でできる】はじめての Django 入門 ( Python 3 でウェブアプリを作って AWS EC2 で公開!)次はDjangoでこのブログと同じブログを作っていきたいと思います。
I would like to create the same blog in Django next time.
See You Again !