Published Date : 2020年5月13日14:37
【アンドロイドアプリ】簡単なお遊びAndroidアプリの作り方 ~準備編~
How to make a simple Android app ~ Preparation ~
This blog has an English translation
YouTubeにアップした動画、「【アンドロイドアプリ】How to make a simple Android app ~ Preparation ~」の補足説明の記事です。
Here's a little more about the 「【アンドロイドアプリ】How to make a simple Android app ~ Preparation ~」 video I uploaded to YouTube.
単純なAndroidアプリを作って遊んでみよう。
Make and play with a simple Android app.
無駄な説明を省いて、忙しい時でも短時間で理解できるような動画です。
It's a video that can be understood in a short period of time even when you're busy, without any unnecessary explanation.
目次
Table of Contents
アプリに使う画像と音楽ファイルをダウンロードして加工する Download and process images and music files for use in apps |
Android Studioを立ち上げてアプリのUIを作る Launch Android Studio to create an app UI |
ページの最後へ Go to the end of the page. |
アプリに使う画像と音楽ファイルをダウンロードして加工する
Download and process images and music files for use in apps
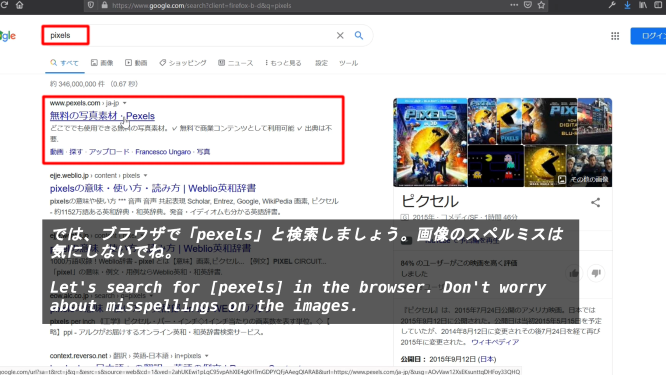
では、ブラウザで「pexels」と検索しましょう。画像のスペルミスは気にしないでね。
Let's search for [pexels] in the browser. Don't worry about misspellings on the images.
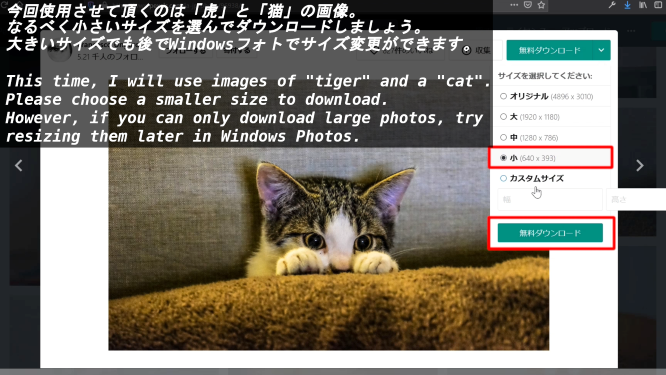
今回使用させて頂くのは「虎」と「猫」の画像。 なるべく小さいサイズを選んでダウンロードしましょう。 大きいサイズでも後でWindowsフォトでサイズ変更ができます。
This time, I will use images of "tiger" and a "cat". Please choose a smaller size to download. However, if you can only download large photos, try resizing them later in Windows Photos.
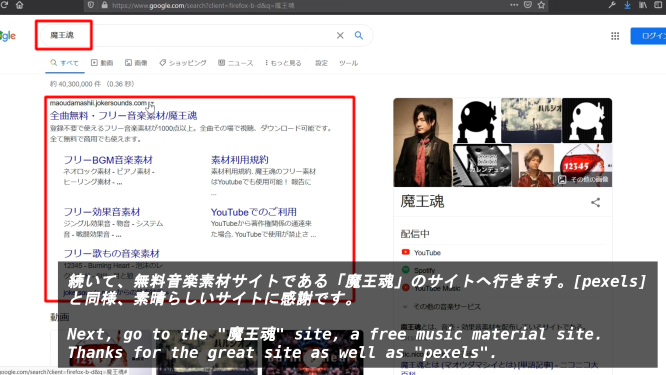
続いて、無料音楽素材サイトである「魔王魂」のサイトへ行きます。[pexels]と同様、素晴らしいサイトに感謝です。
Next, go to the "Devil's Soul" site, a free music material site. Thanks for the great site as well as "pexels".
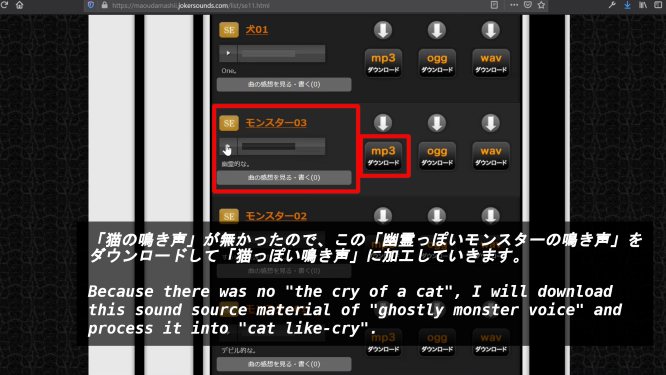
「猫の鳴き声」が無かったので、この「幽霊っぽいモンスターの鳴き声」をダウンロードして「猫っぽい鳴き声」に加工していきます。
Because there was no "the cry of a cat", I will download this sound source material of "ghostly monster voice" and process it into "cat like-cry".
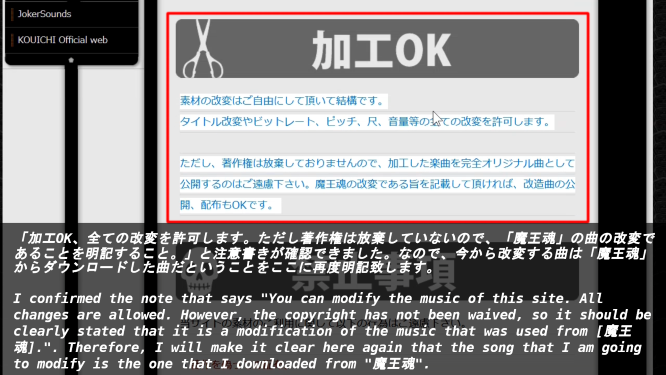
「加工OK、全ての改変を許可します。ただし著作権は放棄していないので、「魔王魂」の曲の改変であることを明記すること。」と注意書きが確認できました。なので、今から改変する曲は「魔王魂」からダウンロードした曲だということをここに再度明記致します。
I confirmed the note that says "You can modify the music of this site. All changes are allowed. However, the copyright has not been waived, so it should be clearly stated that it is a modification of the music that was used from 魔王魂.". Therefore, I will make it clear here again that the song that I am going to modify is the one that I downloaded from "魔王魂".
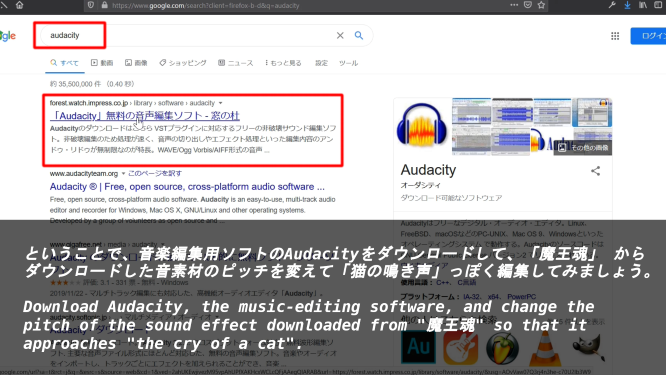
ということで、音楽編集用ソフトのAudacityをダウンロードして、「魔王魂」からダウンロードした音素材のピッチを変えて「猫の鳴き声」っぽく編集してみましょう。
Download Audacity, the music-editing software, and change the pitch of the sound effect downloaded from "魔王魂" so that it approaches "the cry of a cat".
ですが、Audacityによる音源編集は今回のテーマと関係が無いので、説明はしません。ま、簡単だから動画を見ながらトライしてみてくだちぃ。
However, the sound editing by Audacity has nothing to do with this theme, so I will not explain it. Well, it's easy, so try it while watching the video.
Android Studioを立ち上げてアプリのUIを作る
Launch Android Studio to create an app UI
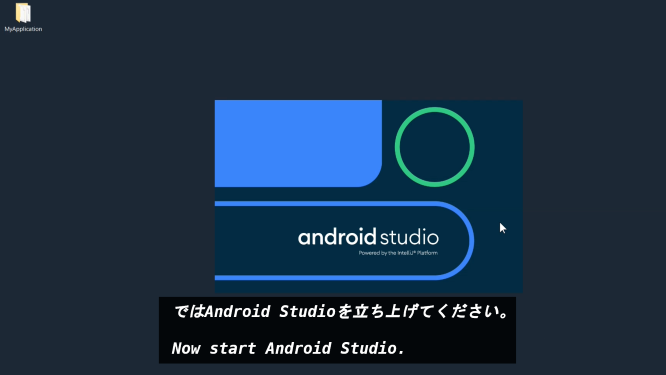
ではAndroid Studioを立ち上げてください。
Now start Android Studio.
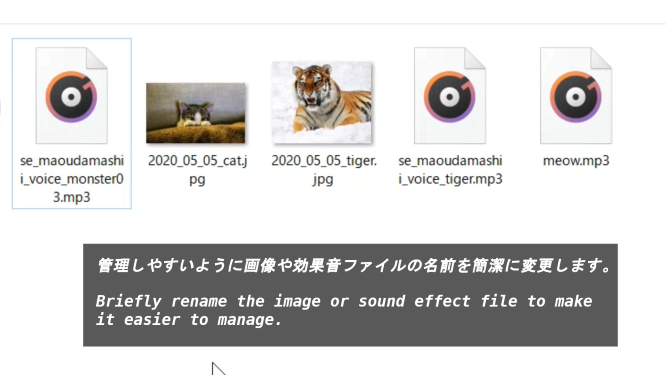
管理しやすいように画像や効果音ファイルの名前を簡潔に変更します。
Briefly rename the image or sound effect file to make it easier to manage.
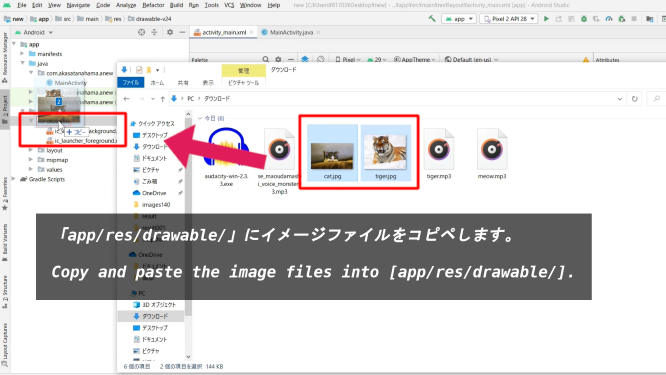
「app/res/drawable/」にイメージファイルをコピペします。
Copy and paste the image files into "app/res/drawable/".
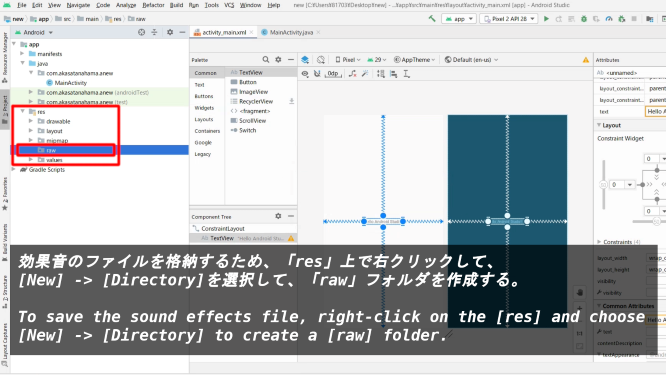
効果音のファイルを格納するため、「app/res/」上で右クリックして、New->Directoryを選択して、「raw」フォルダを作成する。
To save the sound effects file, right-click on the [app/res/] and choose [New] -> [Directory] to create a [raw] folder.
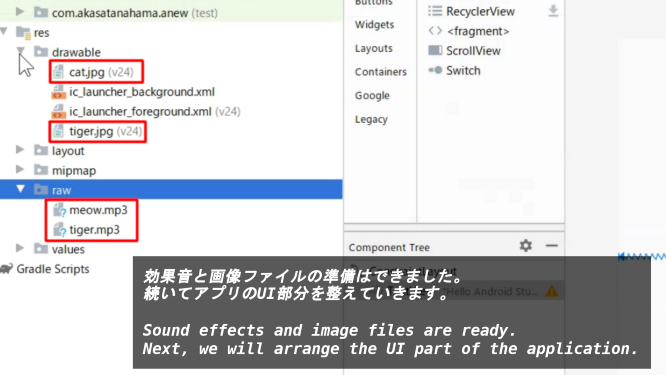
効果音と画像ファイルの準備はできました。続いてアプリのUI部分を整えていきます。
Sound effects and image files are ready. Next, we will arrange the UI part of the application.
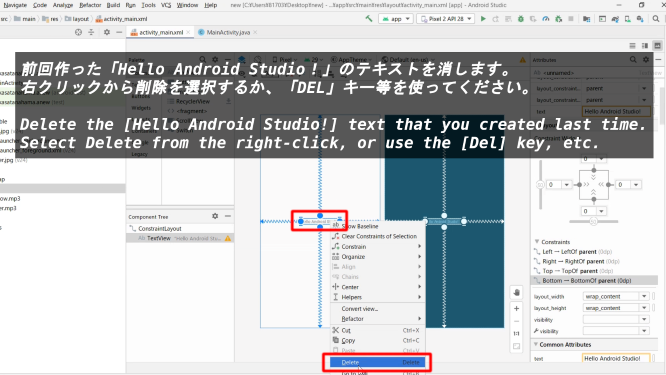
前回作った「Hello Android Studio!」のテキストを消します。右クリックから削除を選択するか、「DEL」キー等を使ってください。
Delete the [Hello Android Studio!] text that you created last time. Select Delete from the right-click, or use the [Del] key, etc.
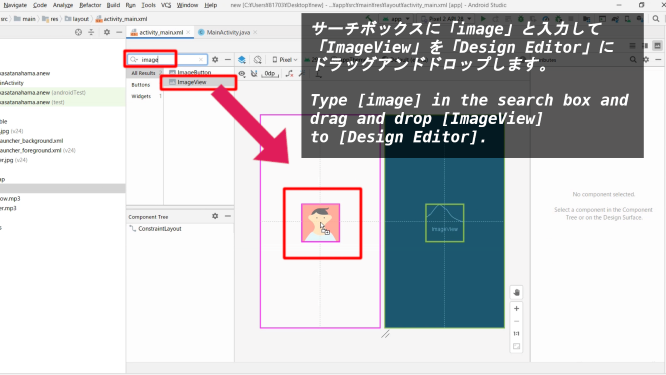
サーチボックスに「image」と入力して「ImageView」を「Design Editor」にドラッグアンドドロップします。
Type [image] in the search box and drag and drop [ImageView] to [Design Editor].
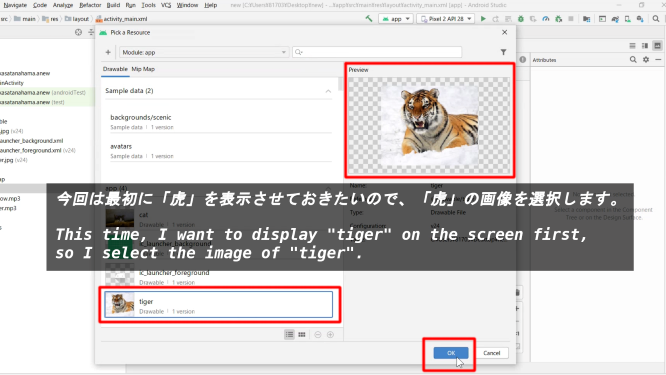
今回は最初に「虎」を表示させておきたいので、「虎」の画像を選択します。
This time, I want to display "tiger" on the screen first, so I select the image of "tiger".
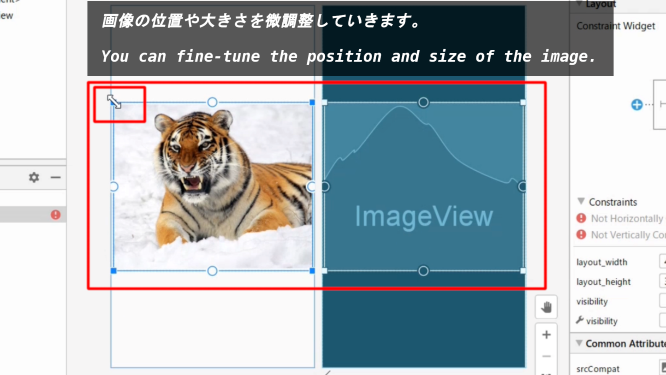
画像の位置や大きさを微調整していきます。
You can fine-tune the position and size of the image.
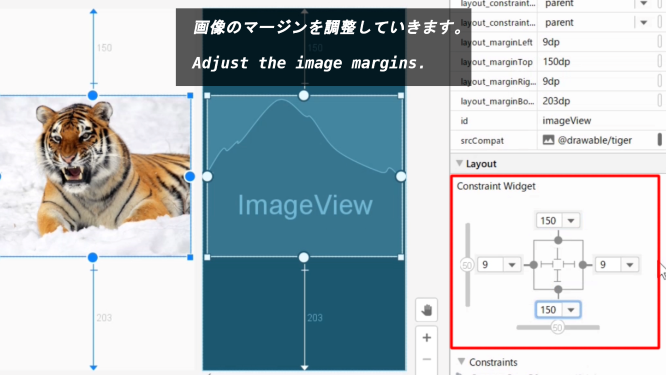
画像のマージンを調整していきます。
Adjust the image margins.
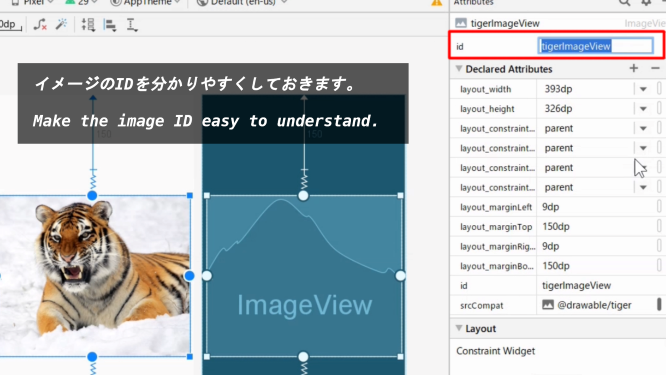
イメージのIDを分かりやすくしておきます。
Make the image ID easy to understand.
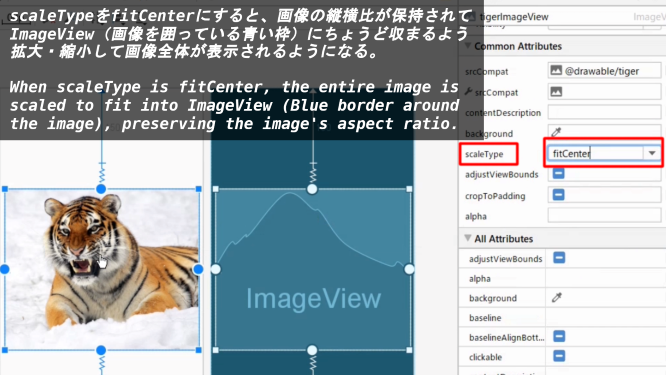
scaleTypeをfitCenterにすると、画像の縦横比が保持されてImageView(画像を囲っている青い枠)にちょうど収まるよう拡大・縮小して画像全体が表示されるようになる。
When scaleType is fitCenter, the entire image is scaled to fit into ImageView (Blue border around the image), preserving the image's aspect ratio.
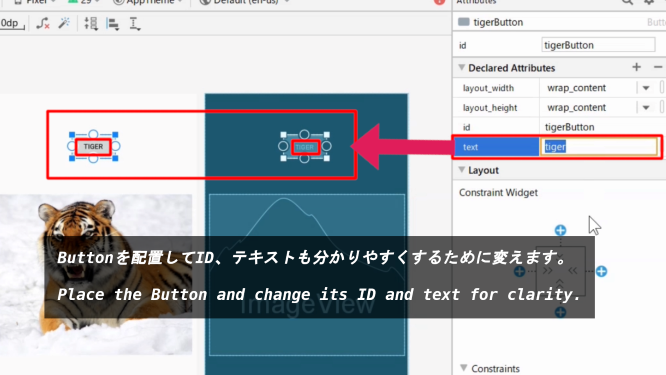
Buttonを配置してID、テキストも分かりやすくするために変えます。
Place the Button and change its ID and text for clarity.
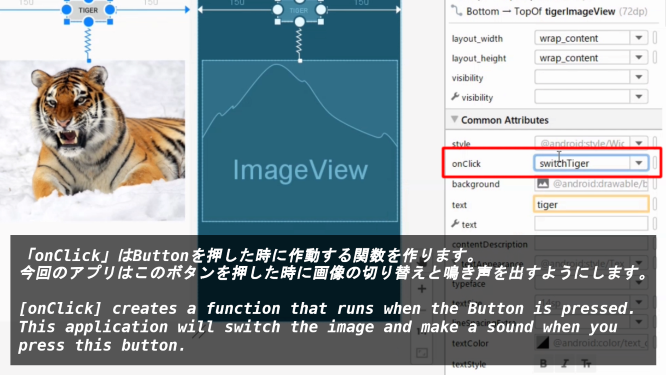
「onClick」はButtonを押した時に作動する関数を作ります。今回のアプリはこのボタンを押した時に画像の切り替えと鳴き声を出すようにします。
[onClick] creates a function that runs when the Button is pressed. This application will switch the image and make a sound when you press this button.
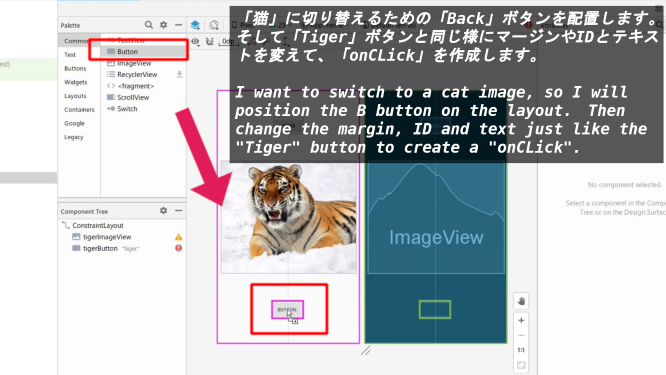
「猫」に切り替えるための「Back」ボタンを配置します。そして「Tiger」ボタンと同じ様にマージンやIDとテキストを変えて、「onCLick」を作成します。
I want to switch to a cat image, so I will position the B button on the layout. Then change the margin, ID and text just like the "Tiger" button to create a "onCLick".
以上です。お疲れ様です。次回はアプリの操作を担当するMainActivity.javaを完成させていきましょう。
That's all. Thank you for your hard work. In the next video and blog, we will complete the [MainActivity.java] in charge of the application operation.