Published Date : 2019年8月25日20:20
mockmockとcloud iot core
mockmock and cloud iot core
This blog has an English translation
代替案
an alternative plan
手元に数年前ちょっといじったきり 全然使っていないArduino UNOがあります。 勿体ないからこれで今流行のIOTでもやろっかなと思ってた矢先、 Arduino IoT Cloudなるものを見つけていいなと思っていました。
A few years ago, I had a little bit of tinkering with it. There is an Arduino UNO that I don't use at all. It was a waste, so I thought I could use this for the current trend IOT. I was hoping to find something called Arduino IoT Cloud.
ですが、日本の電波法という法律で、Arduino Iot Cloudで対応するデバイスが使えない。
But the Japanese Radio Law doesn't allow devices to work on the Arduino Iot Cloud.
仕方が無いので、代替案として面白いサービスを見つけたので、紹介していきます。
I found an interesting service as an alternative, so I will introduce it to you.
mockmock(仮想 IoT デバイス作成サービス)で Cloud IoT Core を使ってみる
この2つの記事が参考になりましたので、ほぼこの記事の内容通りです。熱烈にサンキューです!
These two articles were helpful, so they're pretty much the same. Thank you so much!
一気に画像で説明
I will explain with pictures at once.
mockmockとは株式会社 Fusicが提供している仮想 IoT デバイス作成サービス。 AWS Iot Core、Kinesis Data Streams、Azure Iot Hub、Cloud Iot Core、SORACOMと連携が可能。
Mockmock is a virtual IoT device creation service from Fusic Corporation. AWS Iot Core, Kinesis Data Streams, Azure Iot Hub, Cloud Iot Core, SORACOM Works with.
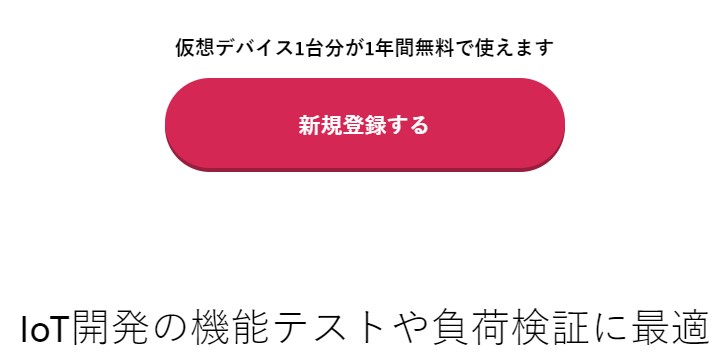
IOTデバイスとIOTクラウドサービスがどのように連携するかふんわりと知るためには最適です。 デバイス一台なら1年間無料でクレジットカード登録不要で使用できます。
Ideal for learning more about how IOT devices and IOT cloud services work together. One device can be used for one year for free without a credit card.
そしてクラウドサービスはGCPのCloud Iot Coreを使用します。 こちらは有名で情報は沢山あるので各自調べてください。
Cloud services use the GCP Cloud Iot Core. This is famous and has a lot of information, so please check by yourself.
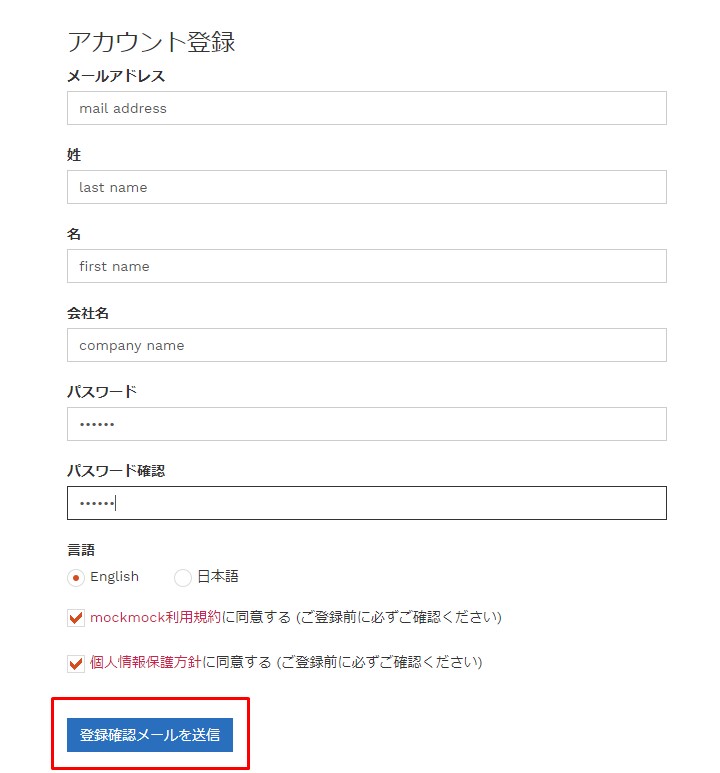
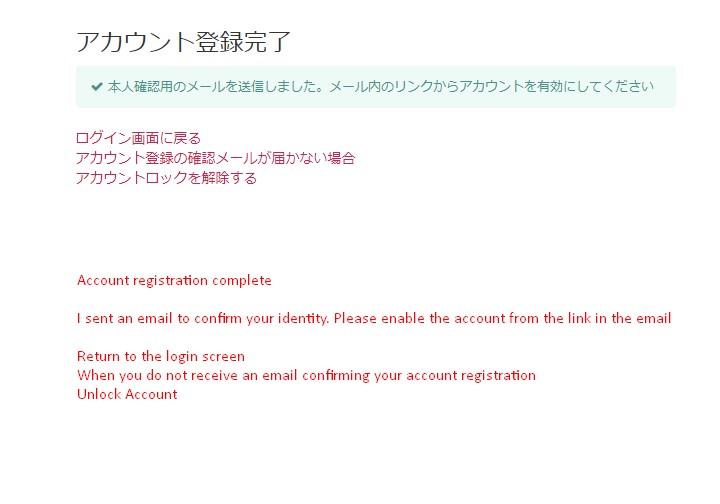
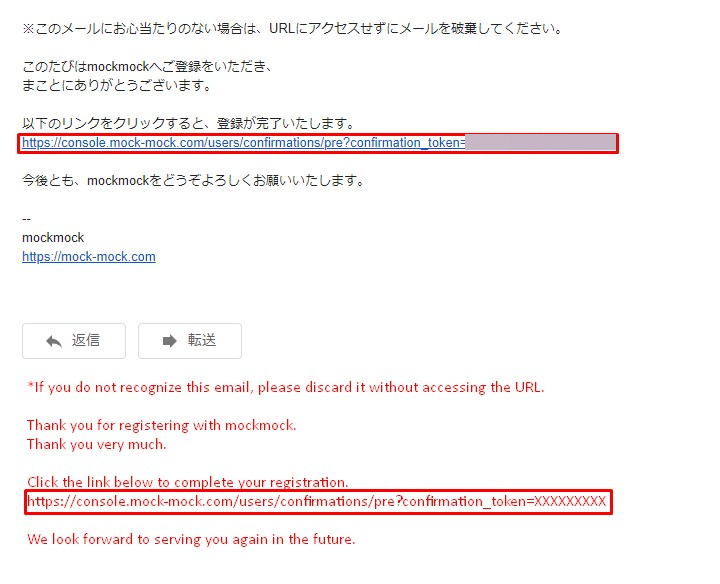
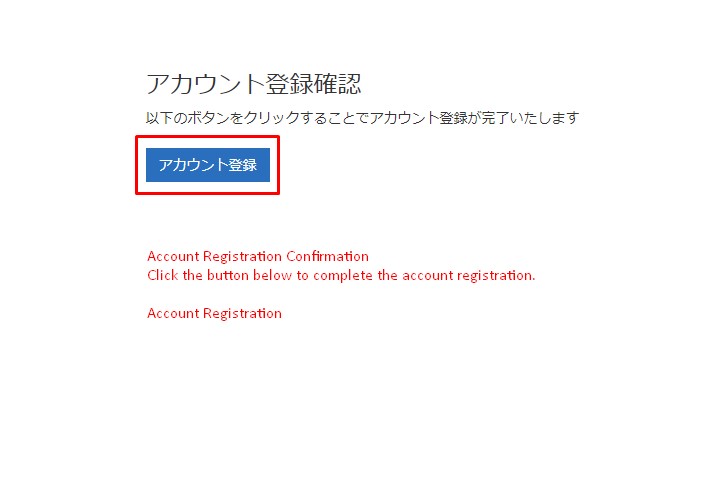
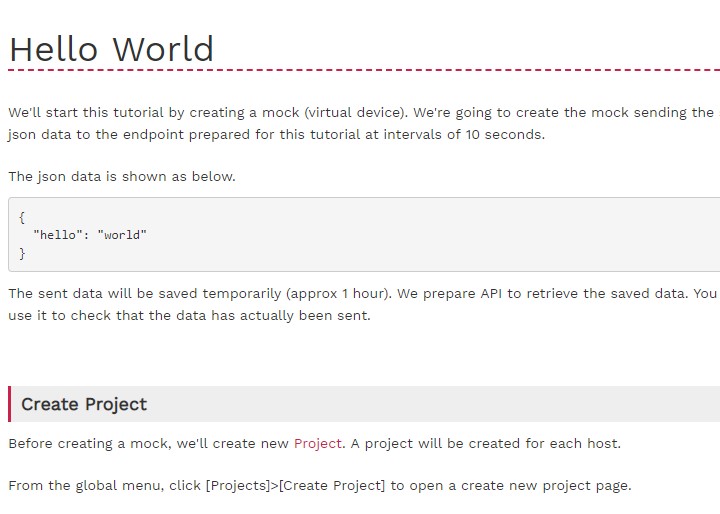
まずMockmockに新規登録して設定をしていきます。
First, you need to register and set up Mockmock.
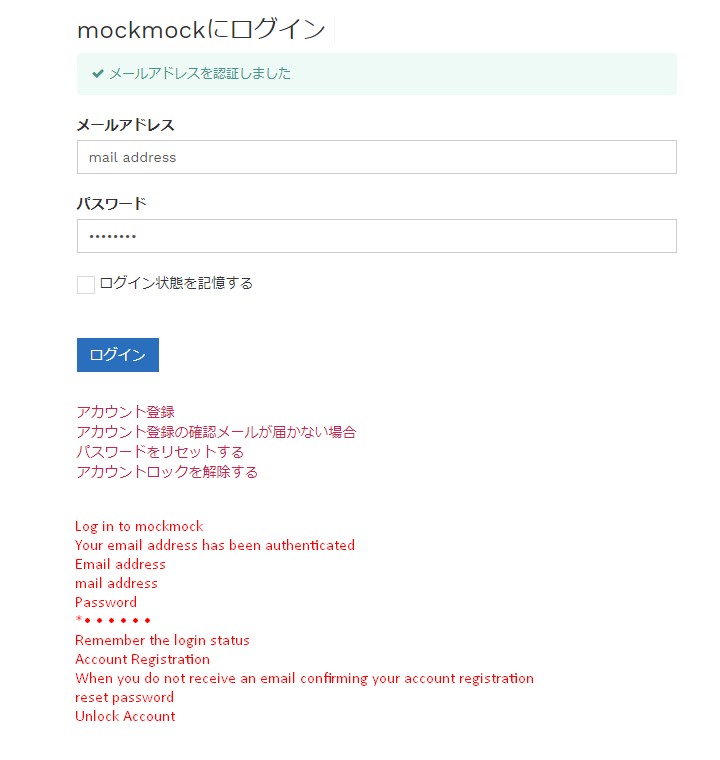
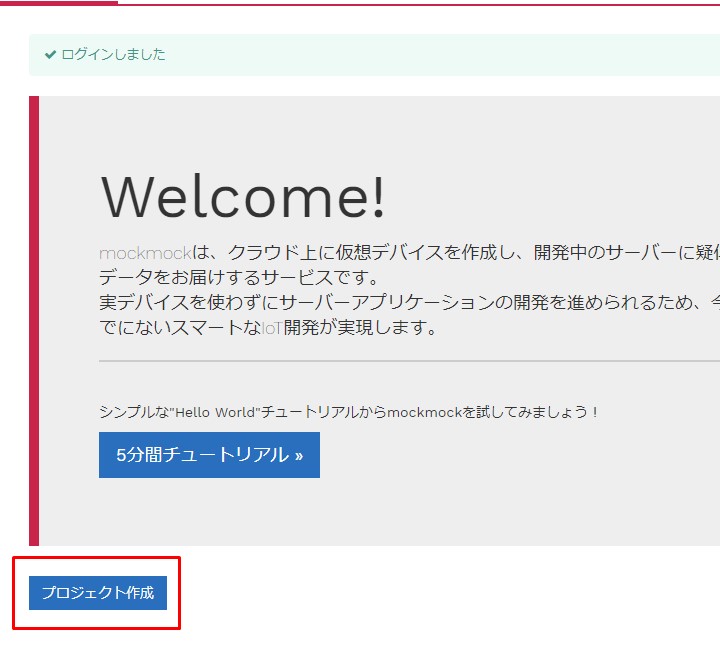
ログインできたら、プロジェクトを作成する。
Once logged in, create a project.
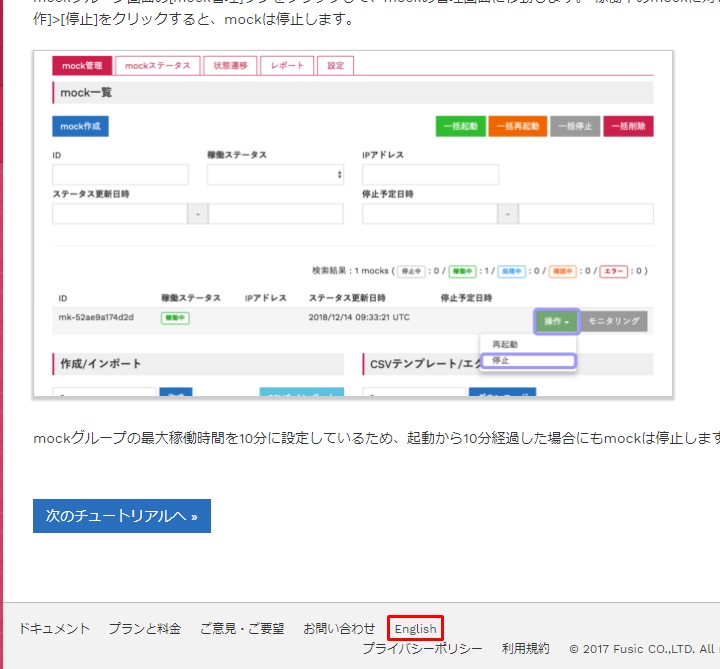
このブログは見ないでもOKなほど、便利なチュートリアルがあります。
You don't have to look at this blog to see some useful tutorials. You can also convert it to English.
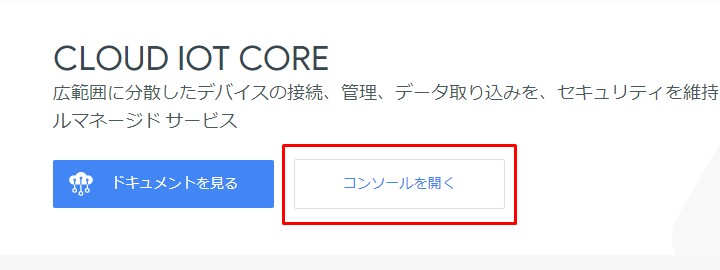
続いてGCPのCloud Iot Coreの設定をしていきます。 Googleのアカウントでログインします。
Next, we will configure Cloud Iot Core of GCP. Log in with your Google account.
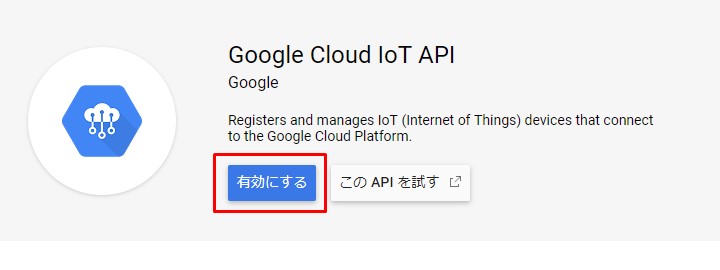
APIを有効にする。
Enable the API.
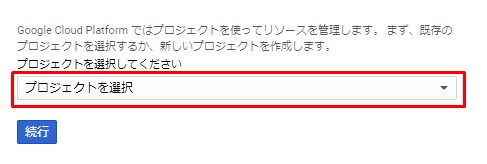
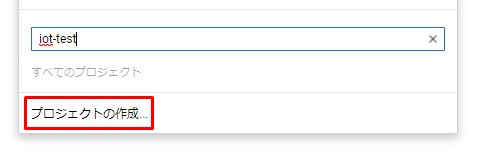
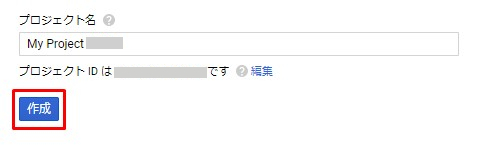
プロジェクトを選択からプロジェクトを作成する。
Create a project from a selection of projects.
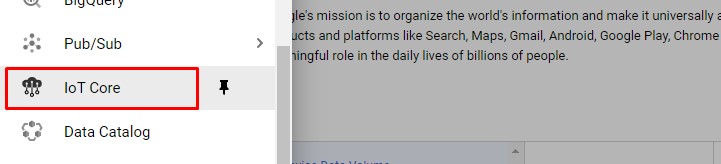
続いて左上のバーガーメニューからIot Coreをクリック。
Then click on Iot Core from the burger menu in the upper left.

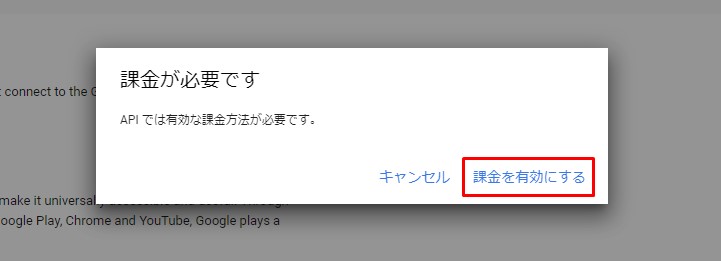
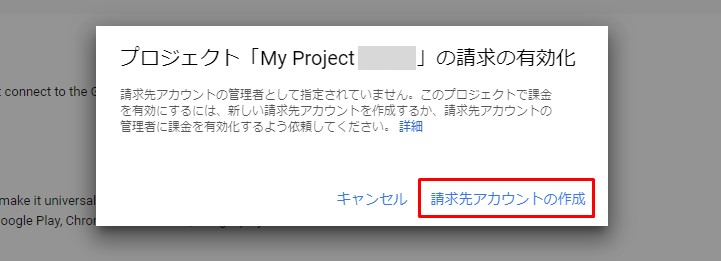
課金を有効にする。クレジットカードやVISAデビットカード等を登録する。 大量のデバイス(10000台)を一日30回ほどレスポンスとリクエストをしなければ ほぼ無料で使えるので心配する必要がない。
Enable Billing. Register your credit card or VISA debit card. If you don't respond and request a lot of devices (10,000 units) about 30 times a day, It's almost free, so don't worry.
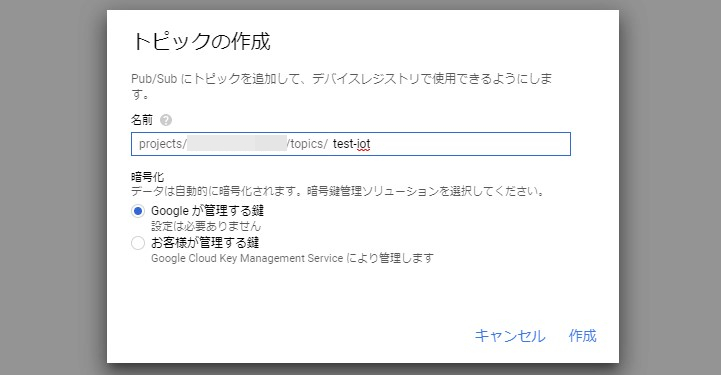
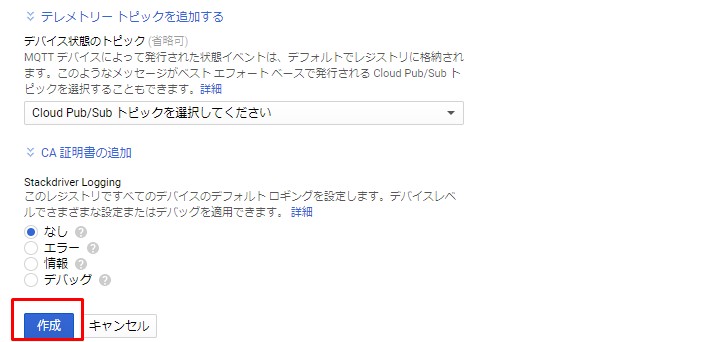
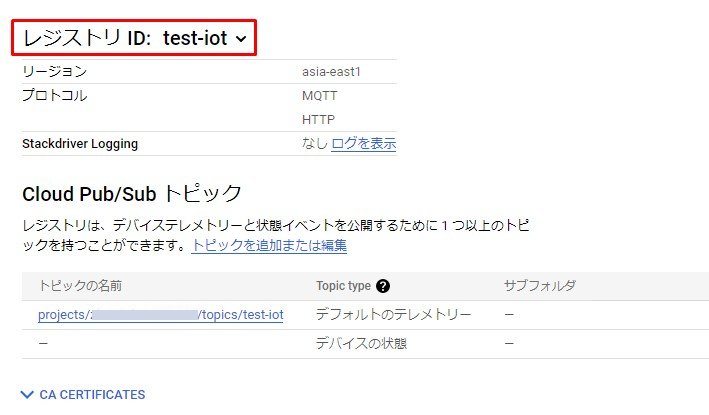
レジストリの作成、トピックを作成する。
Create a registry, create a topic.


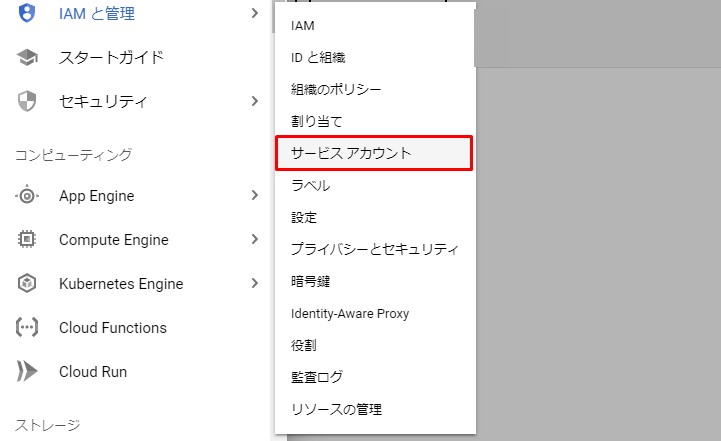
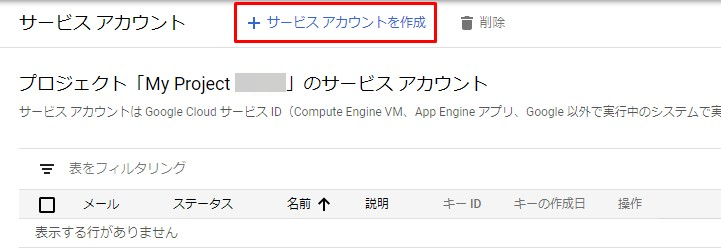
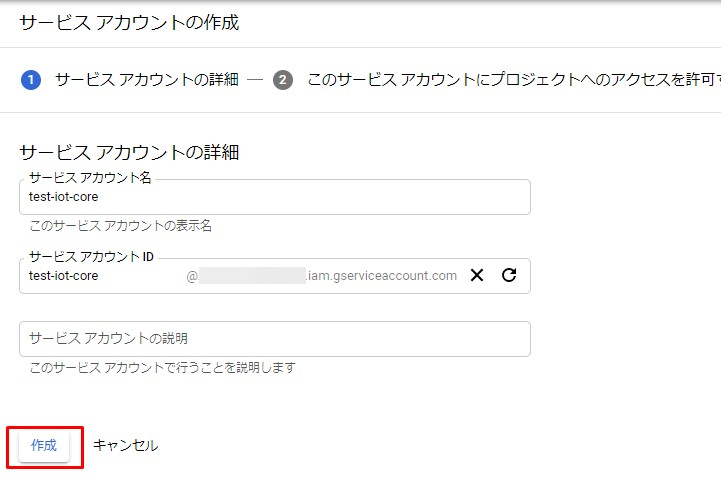
続いて、また左上のハンバーガーメニューからIAMの管理をクリックしてサービスアカウントを作成する。
Then click Manage IAM from the hamburger menu in the upper left to create a service account.

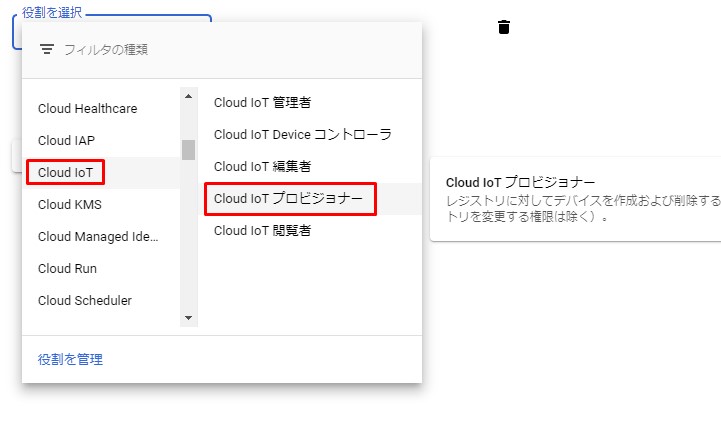
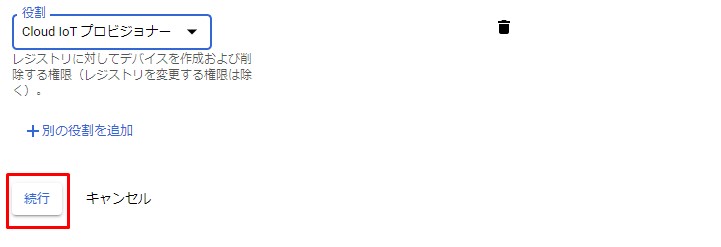
役割を選択からCloud Iot プロビジョナーを選択。
Select Cloud Iot Provisioner from Select Role.
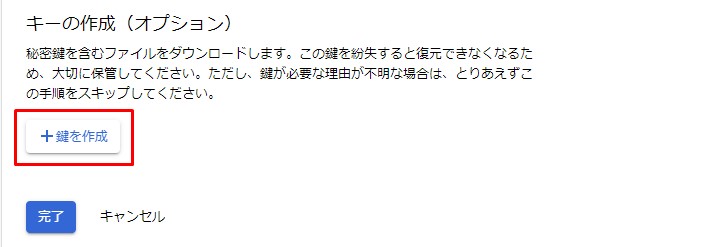
続いて鍵の作成
Then create the key.
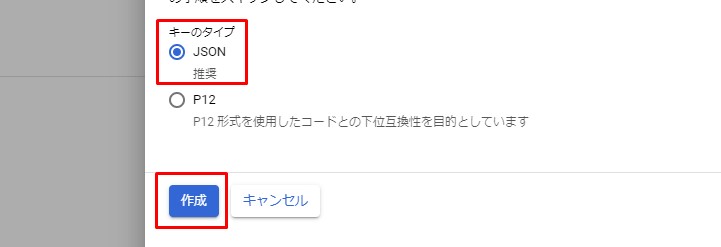
キーのタイプはJSONにして作成。
Create the key type as JSON.
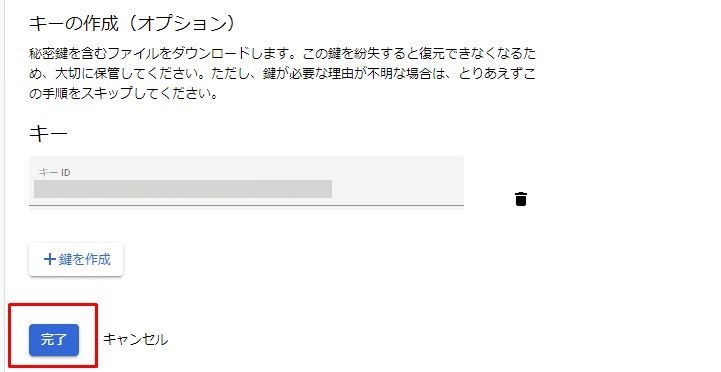
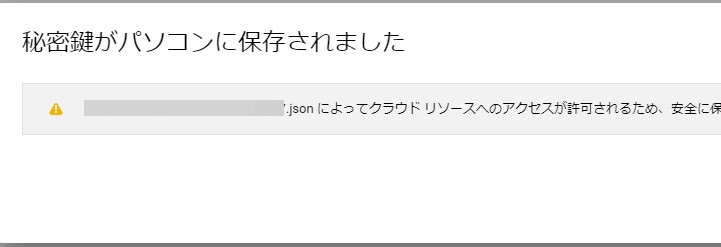
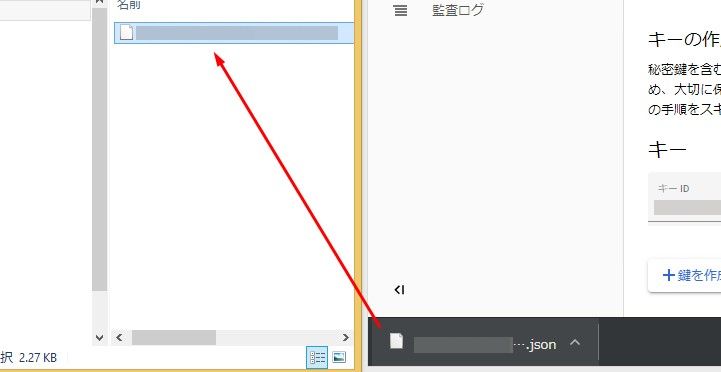
秘密鍵がダウンロードされたら、適当なフォルダを作ってそこに保管しておく。
Once the private key is downloaded, create a folder of your choice and store it there.
Mockmockに戻り設定をする。
Return to Mockmock and set.
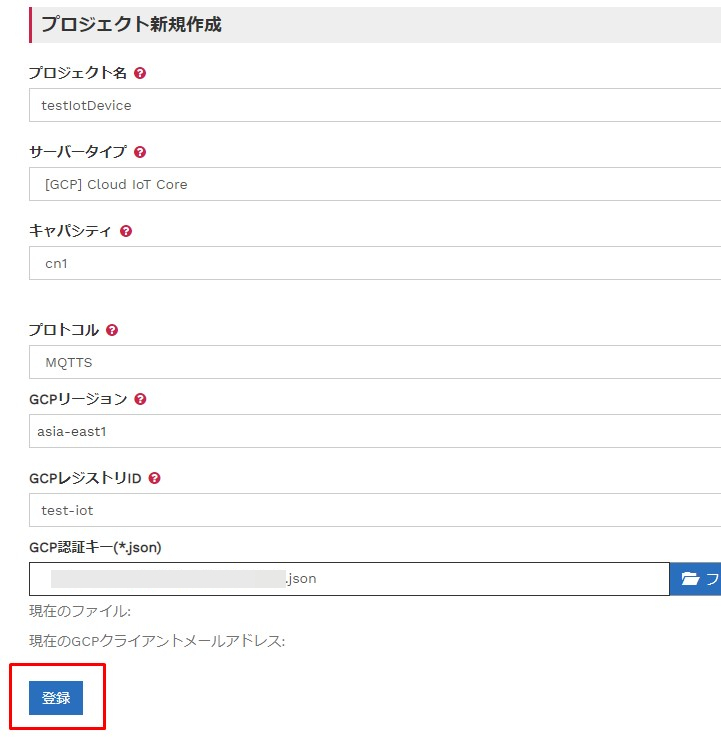
プロジェクトを作成する。
Create a project.
GCPの認証キーをここで登録する。
The GCP authentication key is registered here.
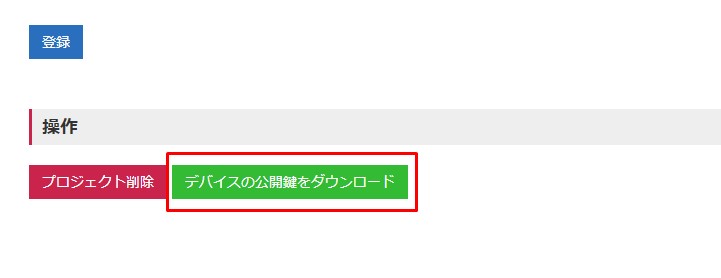
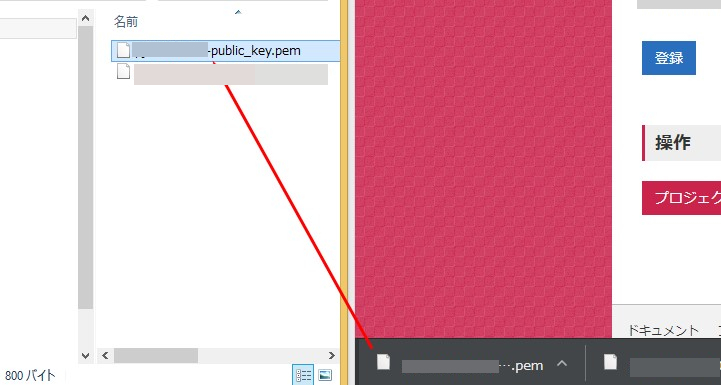
デバイスの公開鍵をダウンロードする。
Download the device's public key.
秘密鍵がダウンロードされたら、適当なフォルダを作ってそこに保管しておく。
Once the private key is downloaded, create a folder of your choice and store it there.
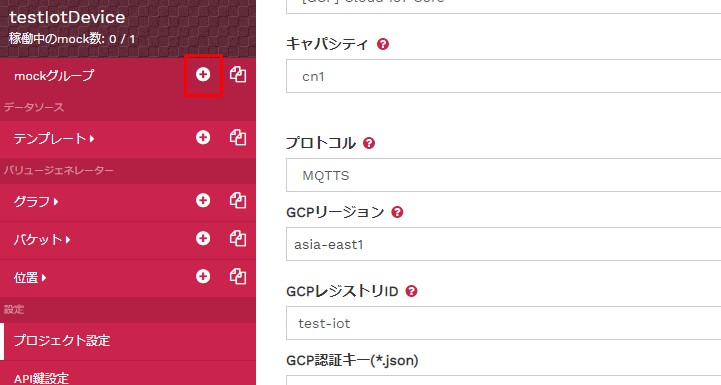
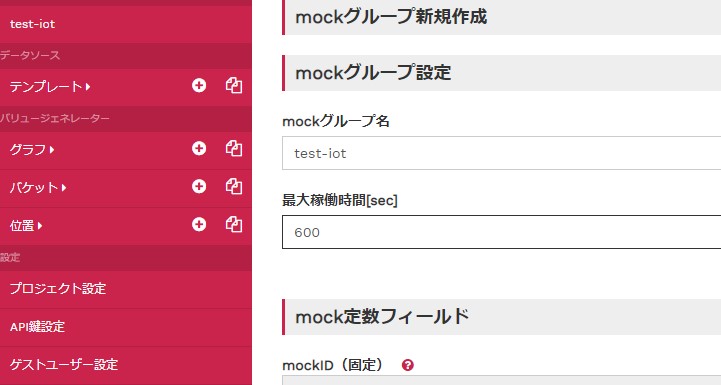
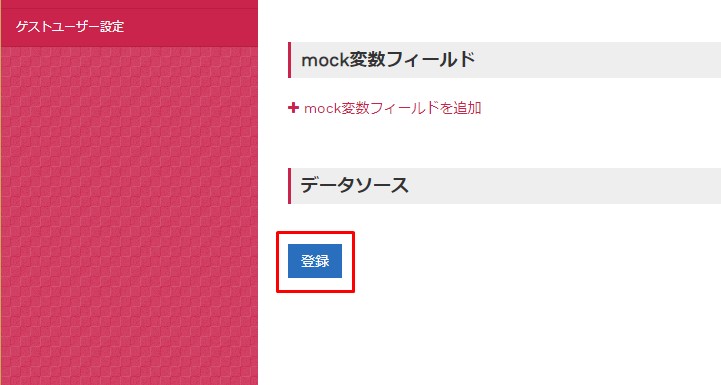
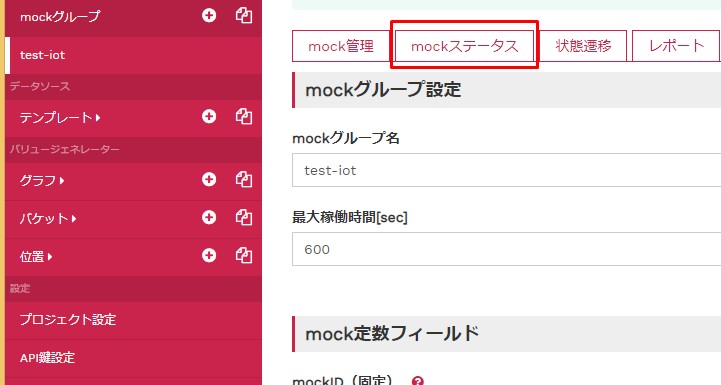
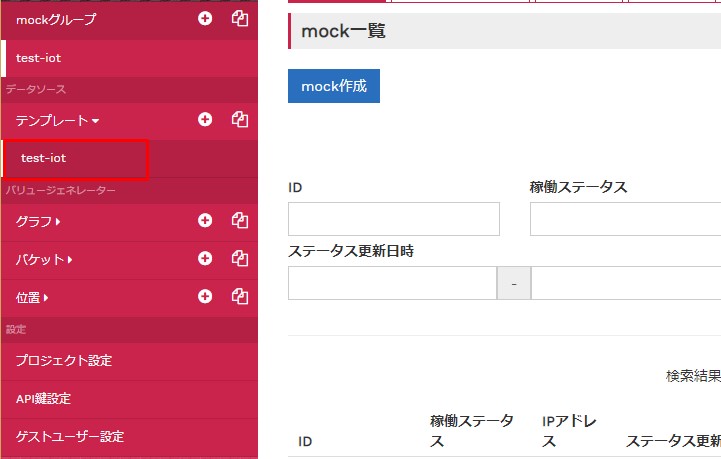
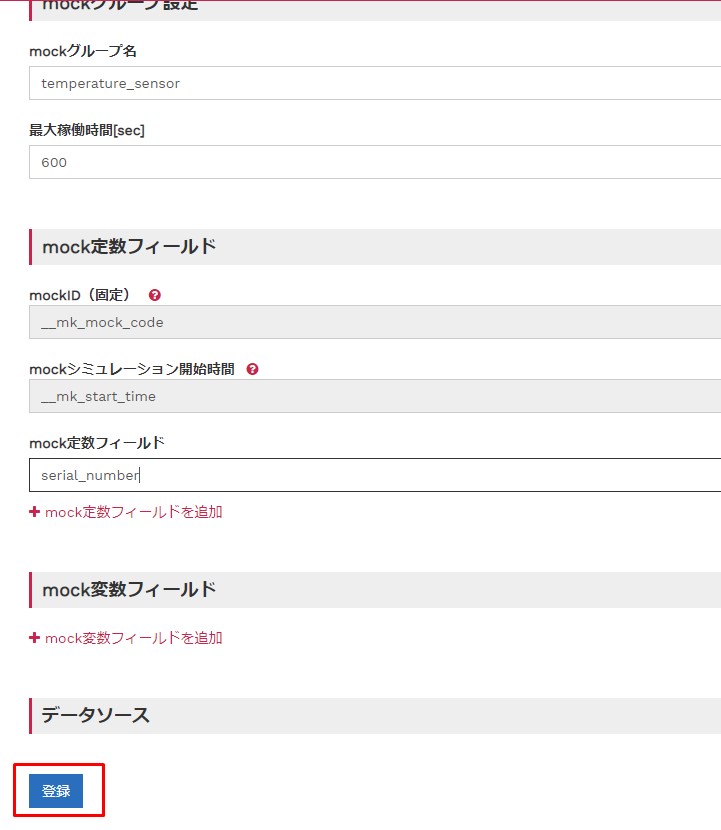
続いてMockグループの作成。
Then create a Mock group.
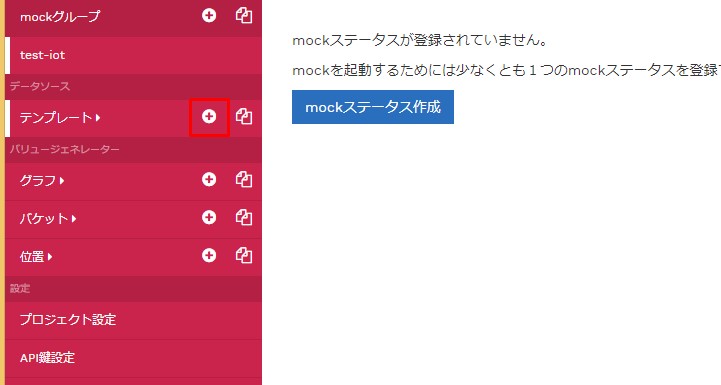
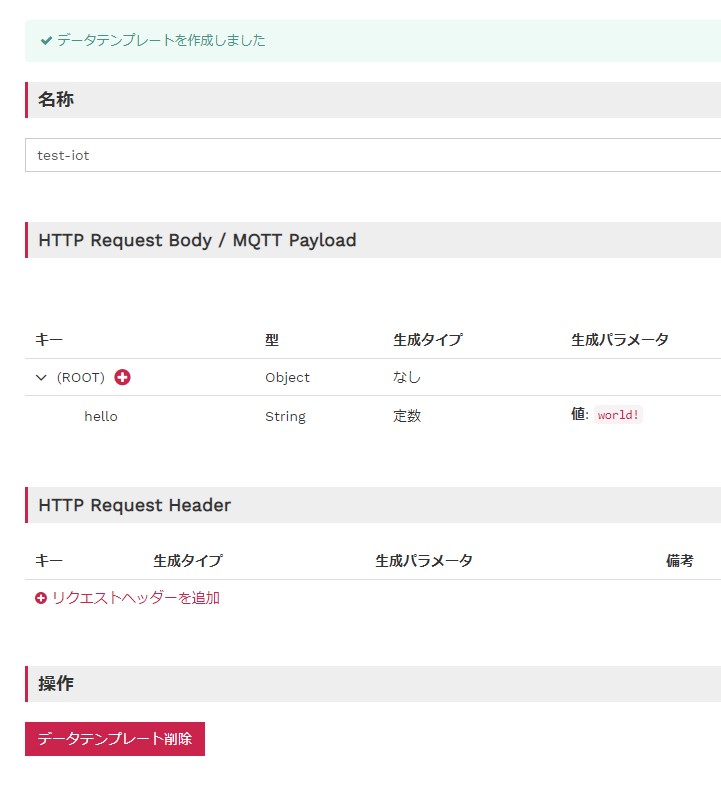
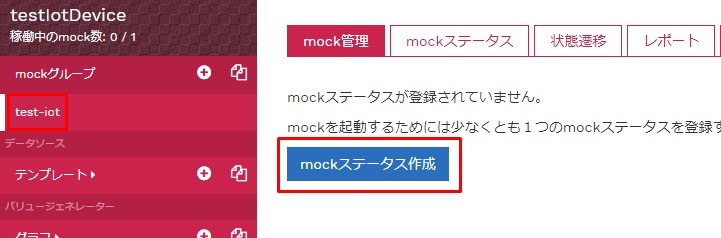
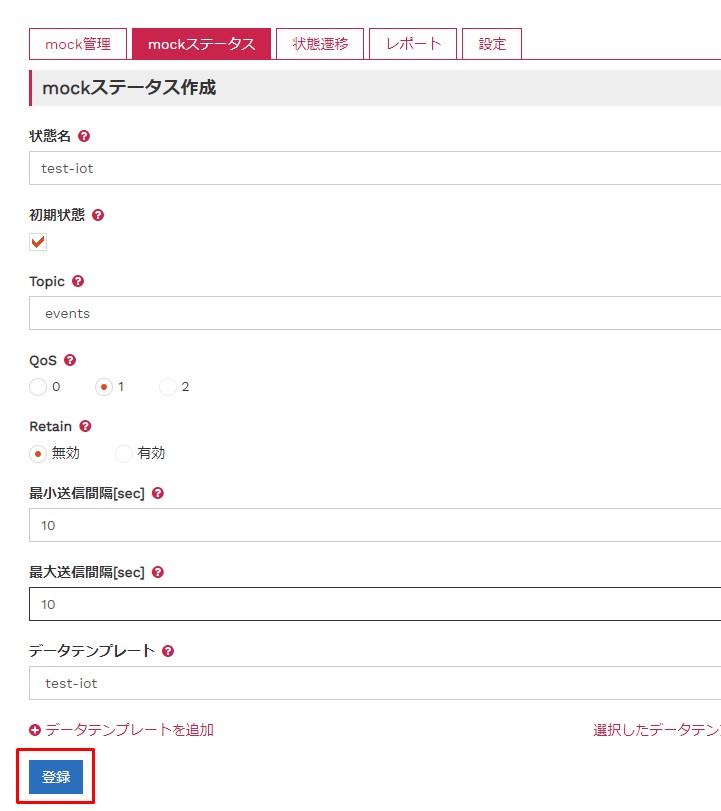
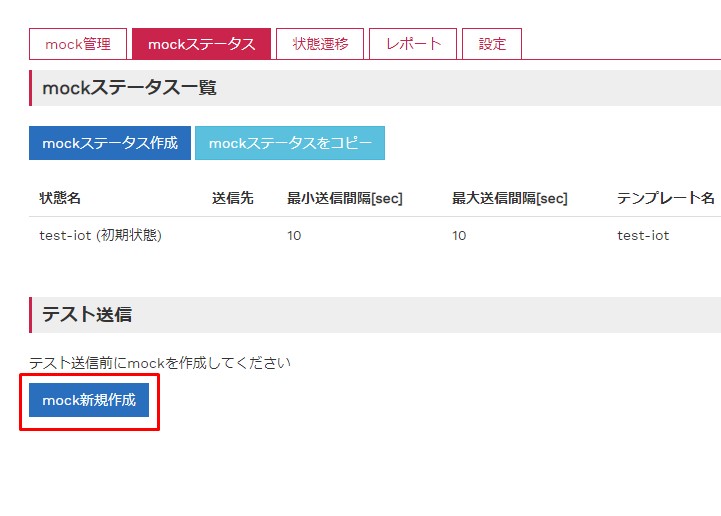
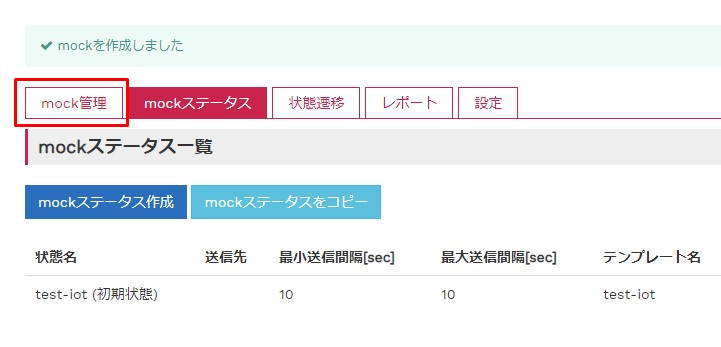
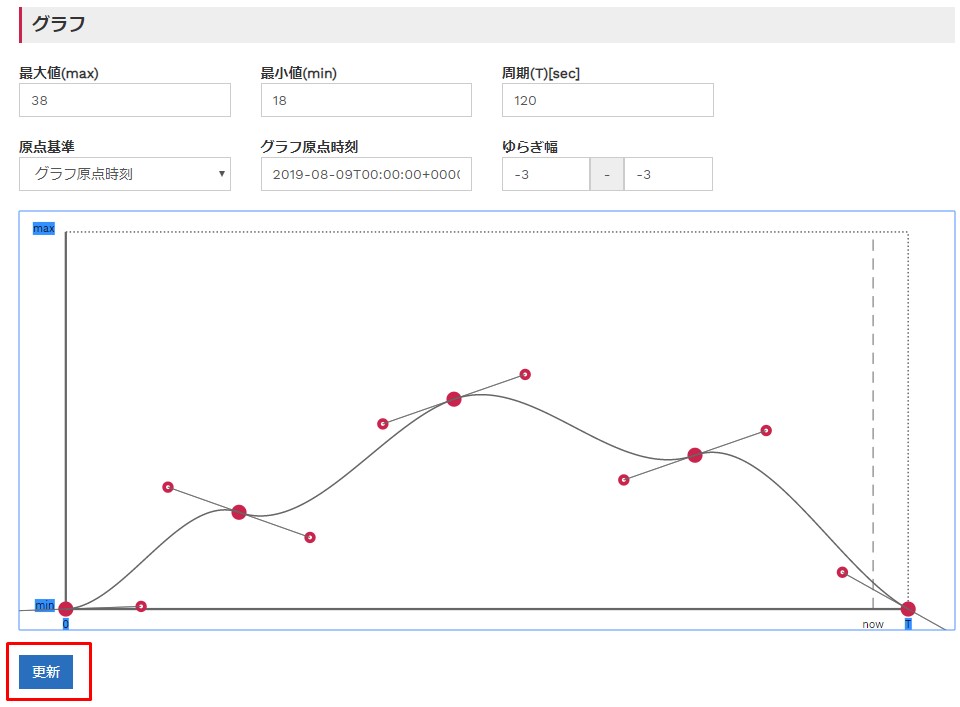
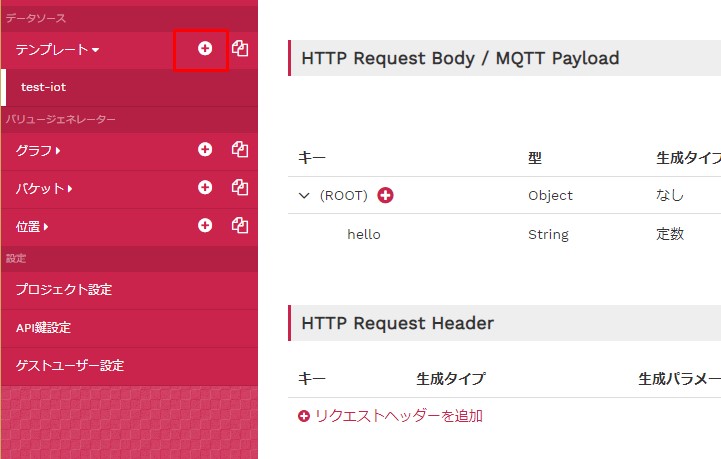
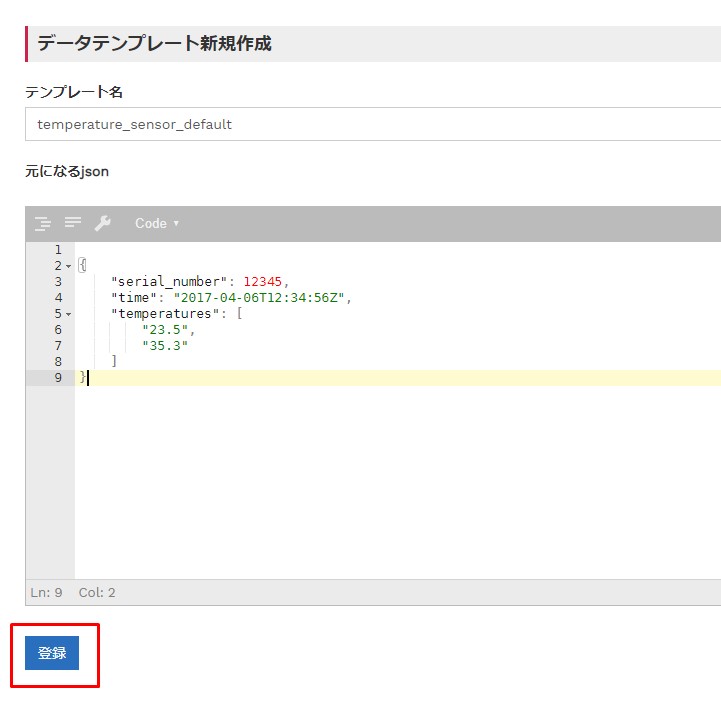
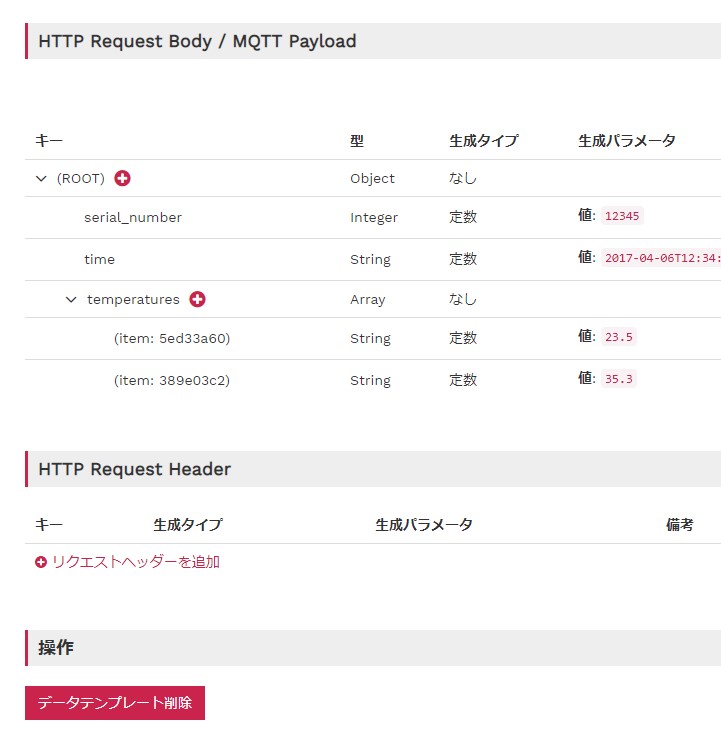
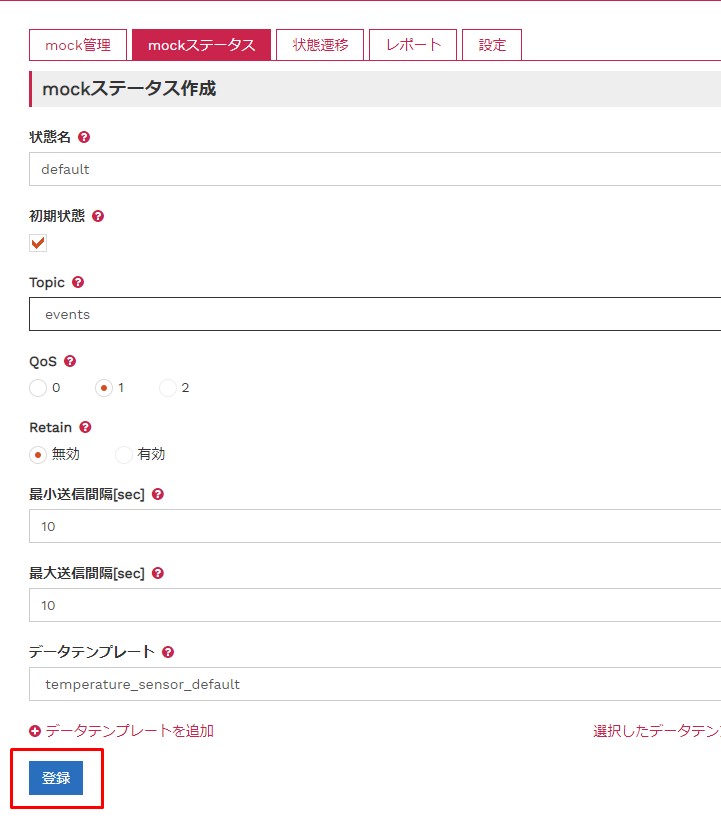
続いてMockテンプレート,ステータスの作成。
Then create the Mock template, status.

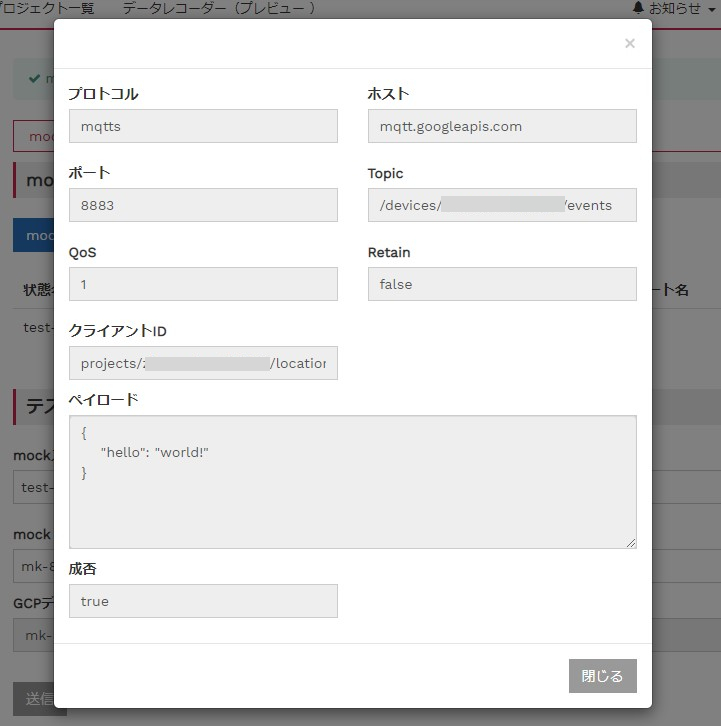
トスト送信をする。
Tost transmission.
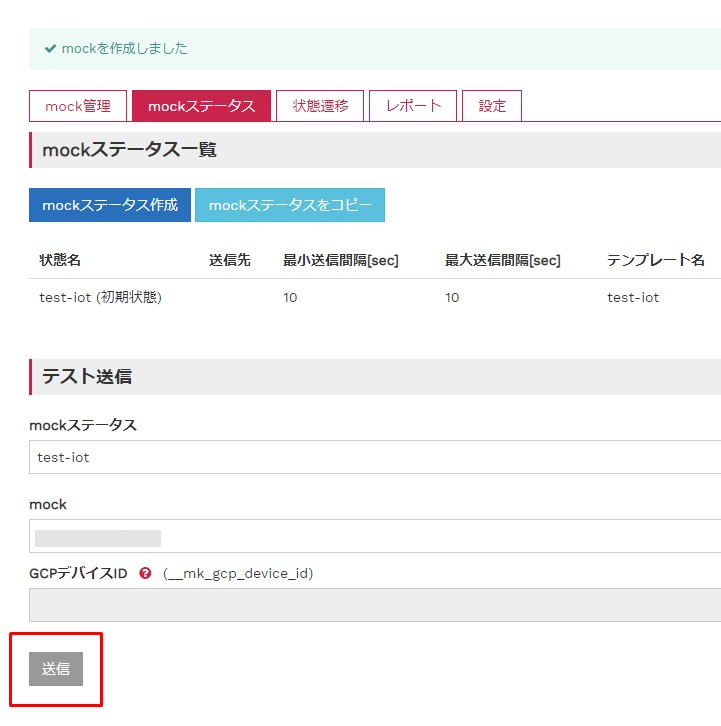
成功すればTrueが返される。
Returns True on success.
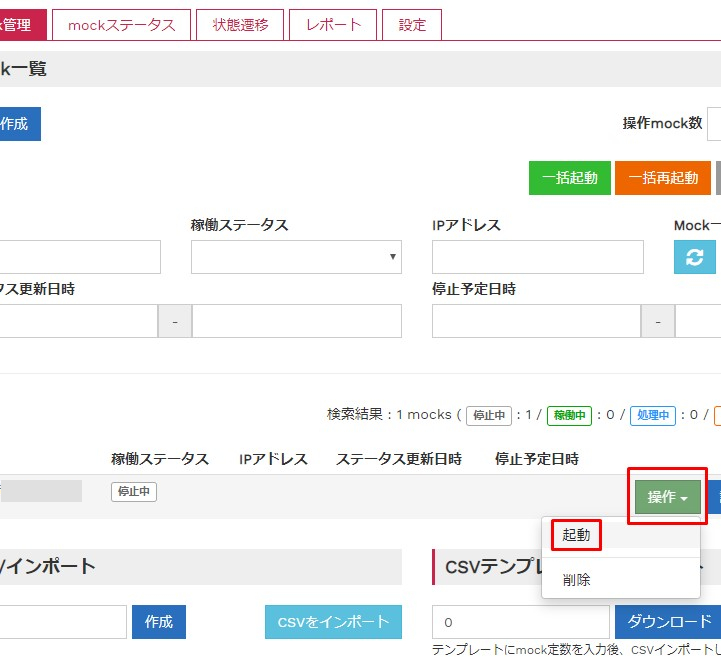
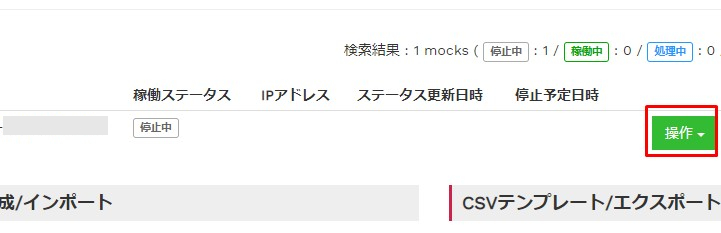
テストが成功したら、Mockを起動する。
If the test is successful, start Mock.
GCP Cloud Iot Coreに戻る。
Return to GCP Cloud Iot Core.
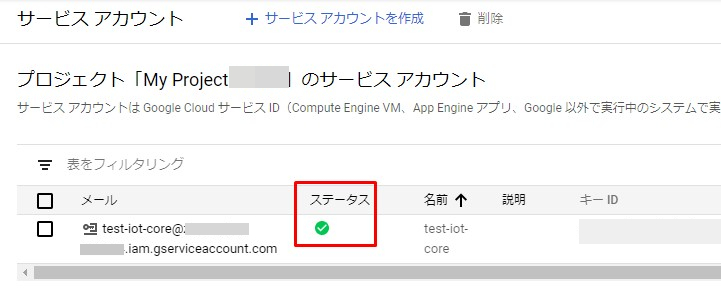
Mockと連携できたらステータスが有効になる。
Once it works with Mock, the status is activated.
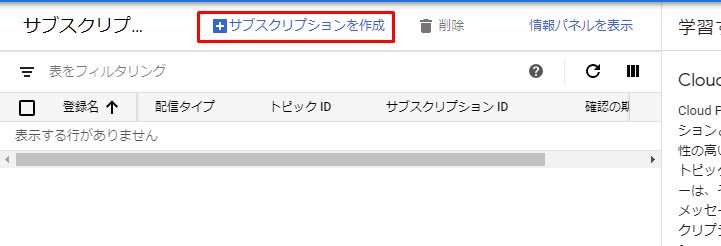
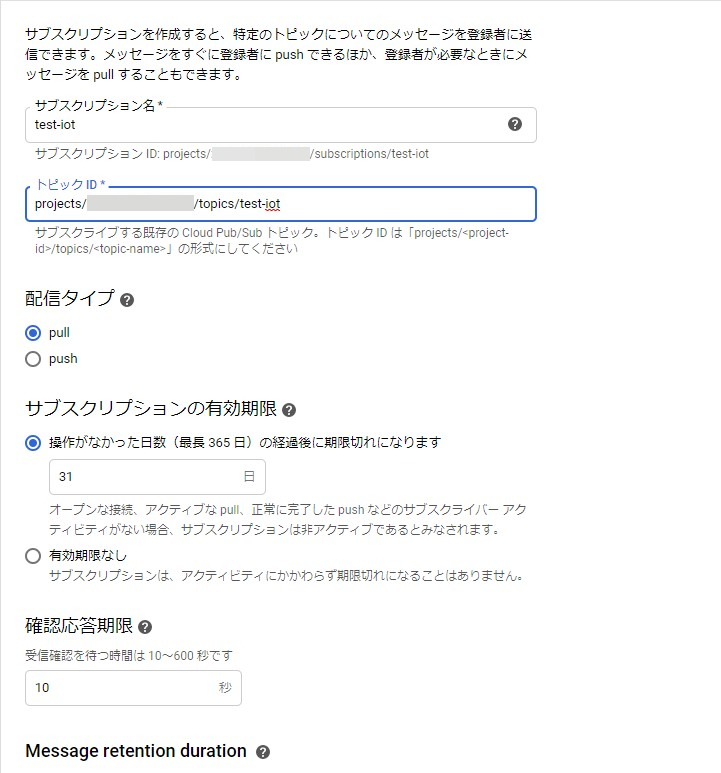
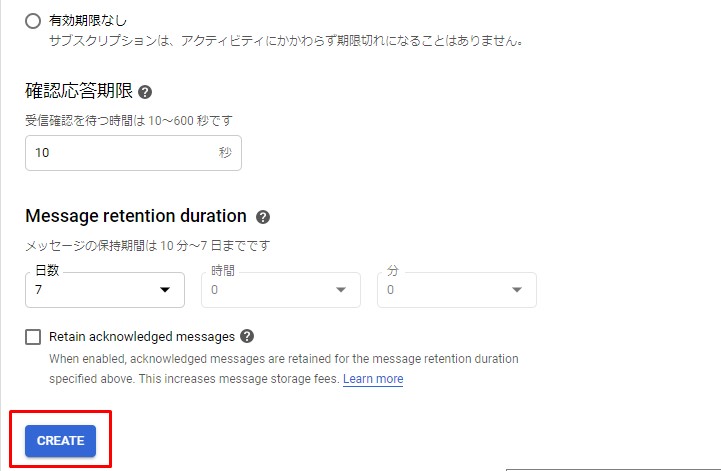
続いてサブスクリプションの作成。
Then create the subscription.
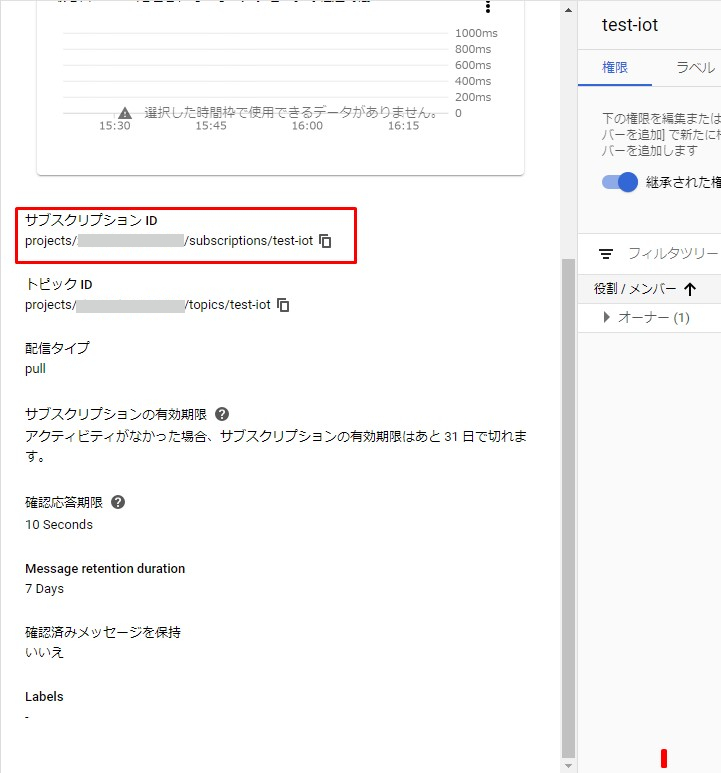
サブスクリプションIDをコピーする。
Copy the subscription ID.
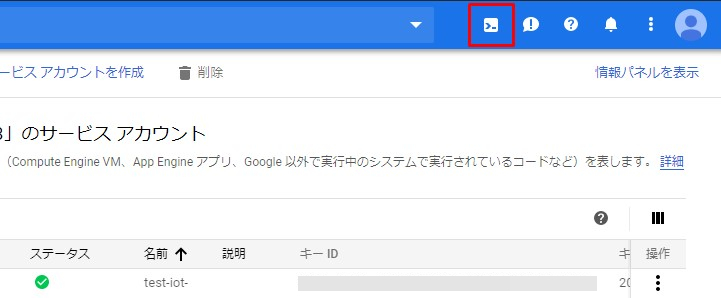
右上のGoogle Cloud Shellを起動させる。
Launch the Google Cloud Shell at the top right.
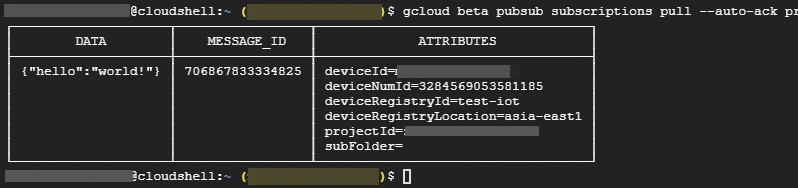
Pub/Sub のサブスクリプションを pull 形式で読み込む。
Read Pub/Sub subscriptions in pull format.
$ gcloud beta pubsub subscriptions pull --auto-ack "your subscription id"

成功すれば、デバイスから送られてくるJSON等が表示される。
If it's successful, you'll see things like JSON coming from the device.
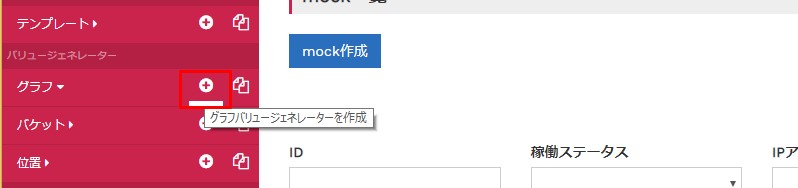
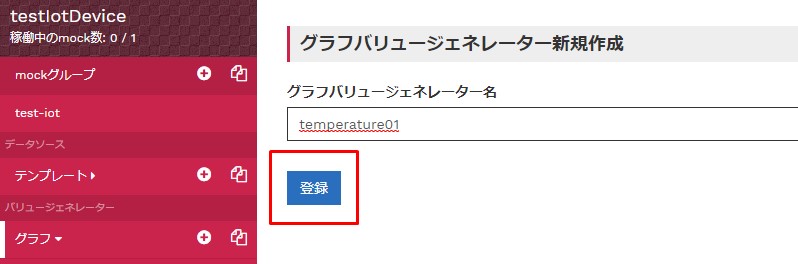
公式のチュートリアルにある温度の管理をさっとやってみる。
Take a quick look at temperature management in the official tutorial.

時間稼ぎ終わり
Conclusion
結局この記事を見れば早いです。 単なる時間稼ぎです。はい。
In the end, To understand how MockMock and GCP Cloud Iot Core work, You should read this blog.
mockmock(仮想 IoT デバイス作成サービス)で Cloud IoT Core を使ってみる
長々とお付き合い頂きありがとうございます。
Thank you for reading this long blog.
See You Next Page!