Published Date : 2021年5月18日15:37
パート3: 複利計算アンドロイドアプリ
Part 3: Android app for compound interest
calculation
This blog has an English translation
ニコニコ動画にアップした動画のまとめ記事です。
This is a summary blog post about a video I uploaded to NicoNico.
細かい部分は動画を参考にしてください。
Please refer to the video for details.
目次
Table of Contents
① 動画の説明
① Video
Description
警告:
このアプリは大雑把に大体の見積りを計算して楽しむ為のツールです。
計算の詳細や、端数の処理等は各金融機関等によって異なります。
このアプリを使って何かしらの損害が発生したとしても、私は一切の責任を負いません。
Warning:
This application is used to calculate rough estimates and enjoy them.
The details of calculations and the treatment of fractions differ depending on the financial institution.
I will not be liable for any damage caused by using this app.
複利計算アンドロイドアプリ パート3
Android app for compound interest calculation Part 3
前回の続きです。
Continued from last time.
今回もゆっくりと動画を再生させます。時間が無い方は6倍速くらいで見たほうが丁度いいかもしれません。
I will play the video slowly again this time. If you don't have time, it might be just right to watch at 6 times speed.
前回の動画でEditTextビューのインスタンスから取り出した文字列が空でないかをIf文を使って判定します。
Use the If statement to determine if the string retrieved from the instance of the EditText view in the previous video is empty.
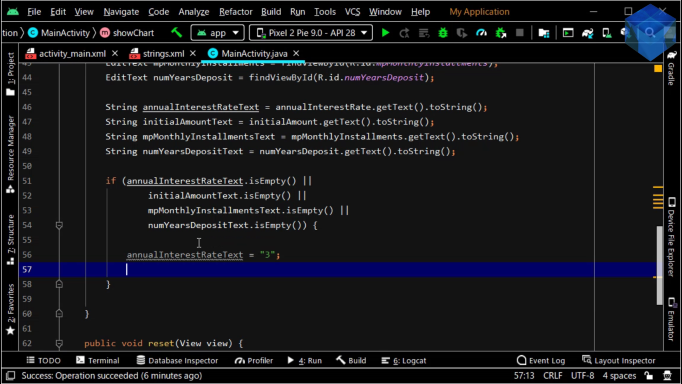
もし空ならデフォルトの値を設定します。
Set the default value if empty.
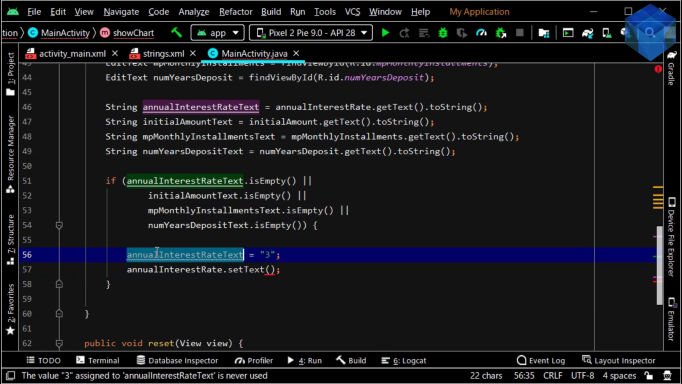
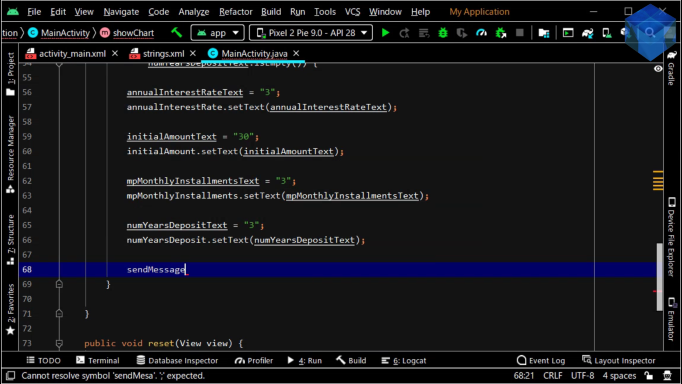
トーストに表示するメッセージを設定します。
Sets the message to be displayed on the toast.
チェックしたラディオボタンが不正なIDの時はデフォルトの値を設定する。
If the selected radio button has an invalid ID, the default value is set.
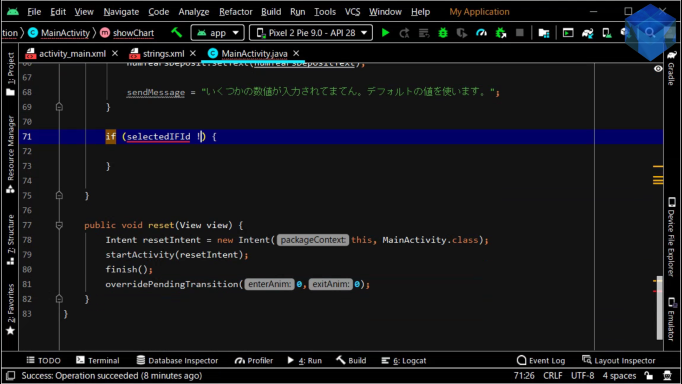
そしてトーストを使ってメッセージを画面に表示させる。
It then uses toast to display a message on the screen.
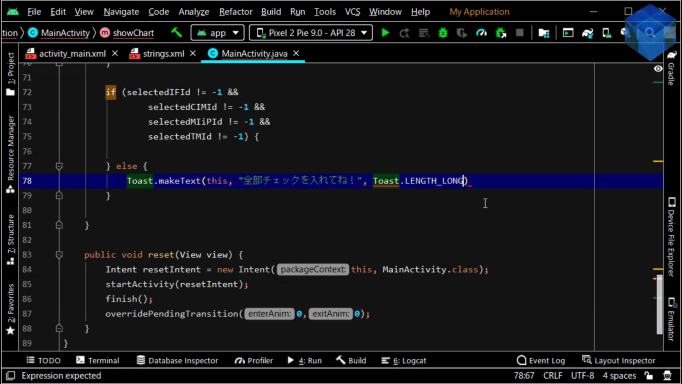
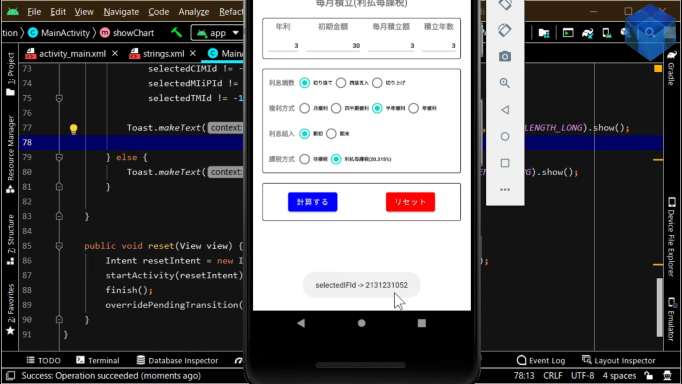
動作を確認するため、一時的にトーストに選択されたIDを表示させてみましょう。
To see how it works, let's temporarily display the selected ID on the toast.
積立期間が長すぎると画面に表示される件数が多くなりスクロールし辛くなるので、期間を制限しましょう。
If the accumulation period is too long, the number of items displayed on the screen will increase and it will be hard to scroll, so limit the period.
if (Integer.parseInt(numYearsDepositText) > 30) {
    sendMessage = "積立年数は30年までです。MAX30年の値を使います。";

    numYearsDepositText = "30";
    numYearsDeposit.setText(numYearsDepositText);
}
MaxLengthを2に設定すると、入力できるのは2桁までになります。
If MaxLength is set to 2, you can only enter up to two digits.
<EditText
    android:id="@+id/annualInterestRate"
    android:layout_width="wrap_content"
    android:layout_height="wrap_content"
    android:layout_column="0"
    android:layout_row="1"
    android:layout_columnWeight="1"
    android:textSize="12sp"
    android:gravity="end"
    android:inputType="numberDecimal"
    android:maxLength="2"
    android:hint="@string/annualInterestRateHint"
    android:textStyle="bold"
    android:autofillHints=""
    android:imeOptions="actionDone" />
しかし、99年は非現実的なので、30年に制限します。
However, the 99 year period is unrealistic, so we limit it to 30 year period.
計算用のアクティビティへ送るリスト型の変数を用意します。
Prepare an array type variable to be sent to the calculation activity.
入力された数値をリスト型変数に格納していきます。
The number entered by the user is stored in the array variable.
選択されたラディオボタンをIDで識別して、配列変数にその選択されたIDに基づいた数値を格納していきます。
Identifies the selected radial button by ID, and then stores the number based on the selected ID in an array variable.
今回もゆっくりと動画を再生させます。時間が無い方は6倍速くらいで見たほうが丁度いいかもしれません。
I will play the video slowly again this time. If you don't have time, it might be just right to watch at 6 times speed.
では、計算結果を表にして表示させるアクティビティを作成しましょう。
Now, let's create an activity that displays the results of the calculation in a table.
作成したIntentのインスタンスに先ほど作成したアクティビティへ送る変数を格納していきます。
In the instance of the Intent you created, store the variables you want to send to the activity you just created.
以前のアンドロイドアプリ動画シリーズでも同じことをしているので、このあたりの詳しい説明はそれらの動画を参考にしてください。
The previous Android app video series did the same thing, so check out those videos for a more detailed explanation.
では、計算結果を表にして表示させるアクティビティの中身を作成していきましょう。
Now, let's create the contents of the activity that displays the results of the calculation in a table.
以前のアンドロイドアプリ動画シリーズの復習のつもりで動画をご覧ください。
Watch the video as a review of the previous Android app video series.
2倍速で動画を見ることをお勧めします。
I recommend watching videos at double speed.
では、正常に値がメインアクティビティから送られて来ているか、一時的なテスト用の変数とレイアウトを使用してテストしてみましょう。
Now let's test to see if the values are coming from the main activity successfully, using temporary test variables and layouts.
テストの準備が整ったらエミュレーターを起動して動作を確認してみましょう。
When you are ready to test, start the emulator and see how it works.
テストが上手くいったら、テスト用の変数とレイアウトを削除してしください。
If the test works, delete the test variables and layout.
それでは残りのコードを一気に書き上げていきましょう。
Let's write the rest of the code in one go.
以前のアンドロイドアプリ動画シリーズでも同じことをしているので、このあたりの詳しい説明はそれらの動画を参考にしてください。
The previous Android app video series did the same thing, so check out those videos for a more detailed explanation.
以前のアンドロイドアプリ動画シリーズの復習のつもりで動画をご覧ください。
Watch the video as a review of the previous Android app video series.
2倍速で動画を見ることをお勧めします。
I recommend watching videos at double speed.
実際に計算を行うJavaクラスファイルとメソッドを作成しておきましょう。
Let's create the Java class files and methods that do the actual calculations.
HorizontalScrollViewとScrollViewを組み合わせて、水平方向と垂直方向の両方でスクロールができるようにしておきましょう。
Combine HorizontalScrollView with ScrollView to allow scrolling both horizontally and vertically.
TableLayoutを配置して、動的に計算結果の表を表示させるようにできるような仕組みを作りましょう。
Place a TableLayout so that it can dynamically display the resulting table.
最初にTableRowに最初の項目名の行だけを表示させるようにして、色違いのボーダーXMLで色分けしておきます。
First, make TableRow display only the first row of item names, and color them with color-coded border XML.
動的に作成される為のTableRowのひな型を別のレイアウトファイルに分けて作成しておきます。
Create a TableRow template for dynamic creation in separate layout files.
各TableRow用の色違いのボーダーXMLを作成しておきましょう。
Create a color-coded border XML for each TableRow.
パート4へ続く。
Continue to Part 4.
以上です。お疲れ様です。
That's all. Thank you for your hard work.