Published Date : 2021年2月14日16:00
Kali LinuxとVMware Workstation Playerをインストールして使用する
Installing and using Kali Linux and VMware
Workstation Player
This blog has an English translation
ニコニコ動画にアップした動画のまとめ記事です。
This is a summary blog post about a video I uploaded to NicoNico.
細かい部分は動画を参考にしてください。
Please refer to the video for details.
目次
Table of Contents
① 動画の説明
① Video
Description
[VMware Workstation Player]とブラウザに入力して検索します。
Search for [VMware Workstation Player] in the browser.
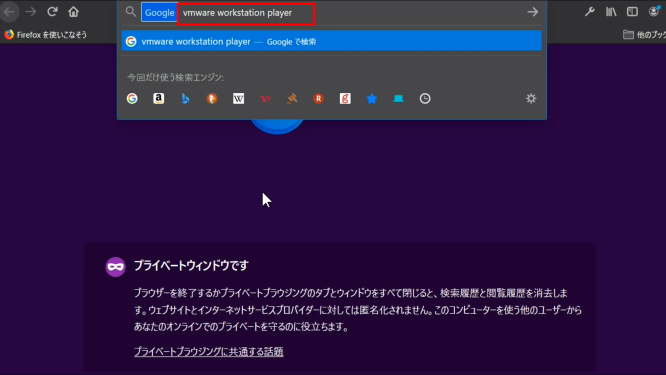
[Kali Linux]のイメージをインストールするための仮想環境用のソフトです。
This is software for virtual environments to install [Kali Linux] images.
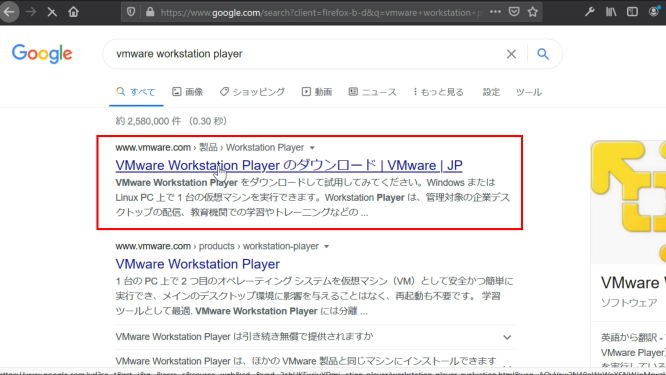
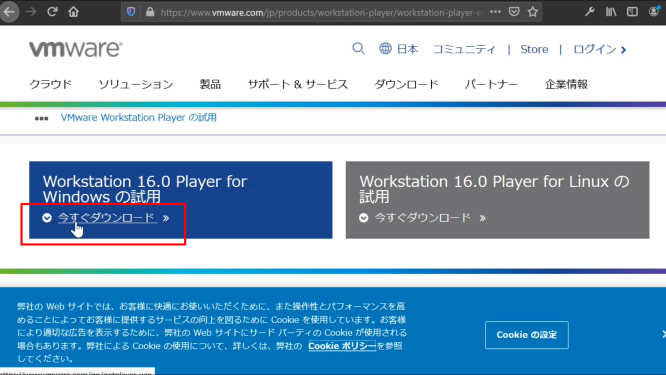
ソフトのダウンロードページに行き、[VMware Workstation Player]をダウンロードしてください。
Go to the software download page and download [VMware Workstation Player].
個人での非営利使用であれば無料で使用できます。
It is free for personal, noncommercial use.
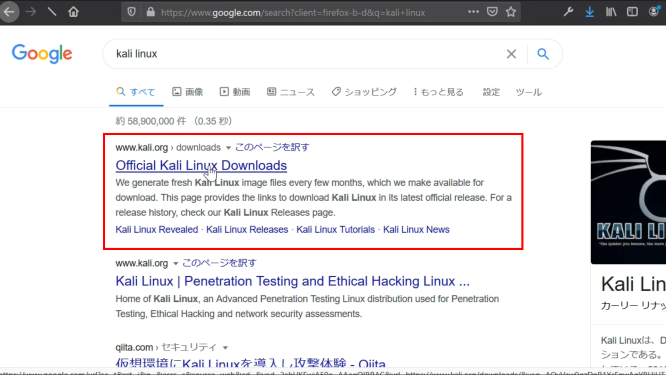
続いて[Kali Linux]とブラウザに入力して検索します。
Then enter [Kali Linux] in the browser to search.
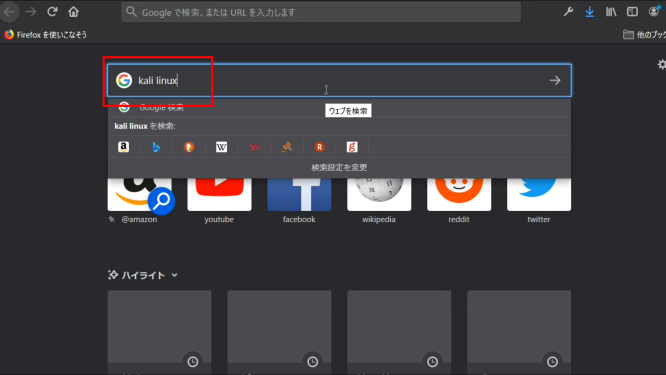
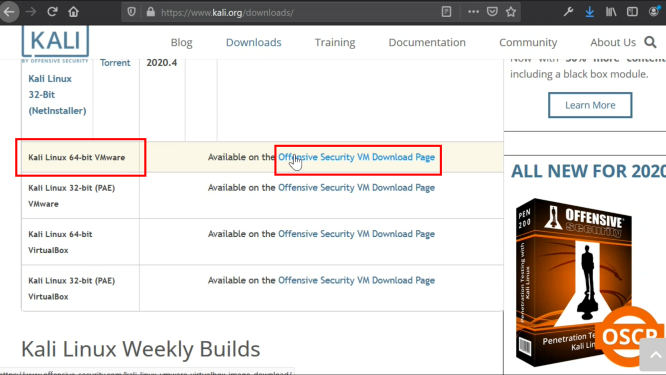
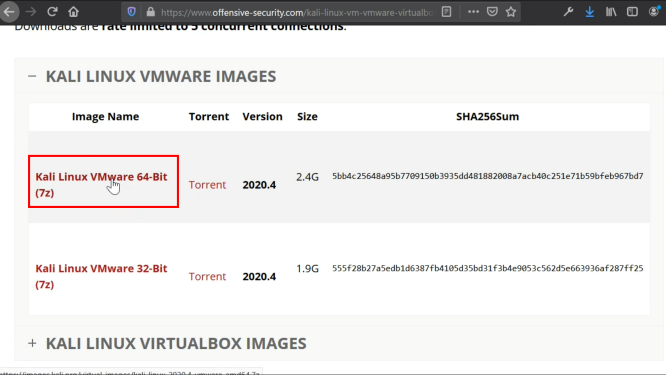
ダウンロードページに行き、[Kali Linux]のVMware用の圧縮ファイルをダウンロードします。
Go to the download page and download the [Kali Linux] compressed file for VMware.
ハッシュ値を調べるため、コマンドプロンプトを立ち上げ、ダウンロードしたファイルの場所へ移動して、以下のコマンドを入力します。
To determine the hash value, open a command prompt, navigate to the location of the downloaded file, and enter the following command.
certutil -hashfile kali-linux-XXXX.X-vmware-amd64.7z sha256
表示された値をコピーして、kali linuxをダウンロードしたページに戻り、検索機能を使用してハッシュ値が正しいかどうかを確認します。
Copy the displayed value back to the page where you downloaded [Kali Linux] and use the search function to verify that the hash value is correct.
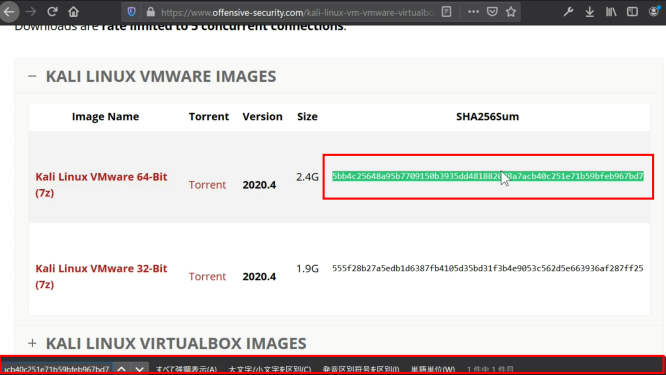
ブラウザでの検索は[コントロールキーとFキー]押します。
Press [Control and F keys] to search in the browser.
まずダウンロードした[Kali Linux]の圧縮ファイルを[7z]を使用して解凍します。
First, decompress the downloaded [Kali Linux] compressed file using [7z].
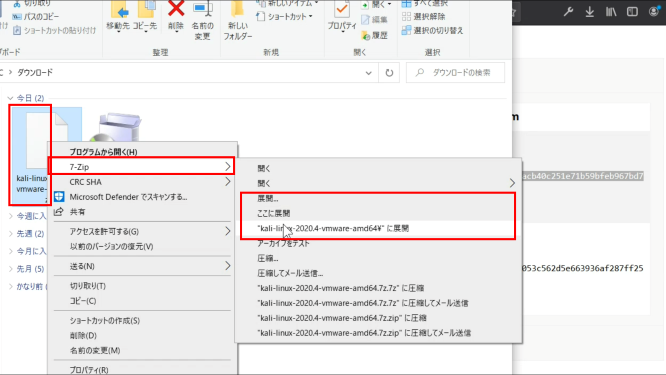
[7z]をインストールしていない人は、[7z]と検索してインストールをしてください。
If you don't have [7z] installed, search for [7z] and install it.
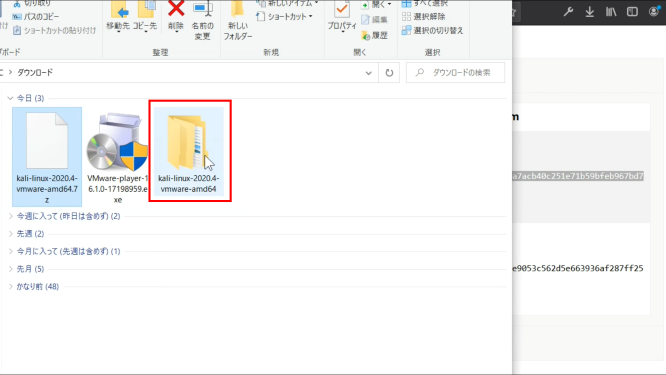
解凍したフォルダを開くと、拡張子に[vmx]とあるファイルがあるのが確認できます。
If you open the extracted folder, you will see a file with the extension [vmx].
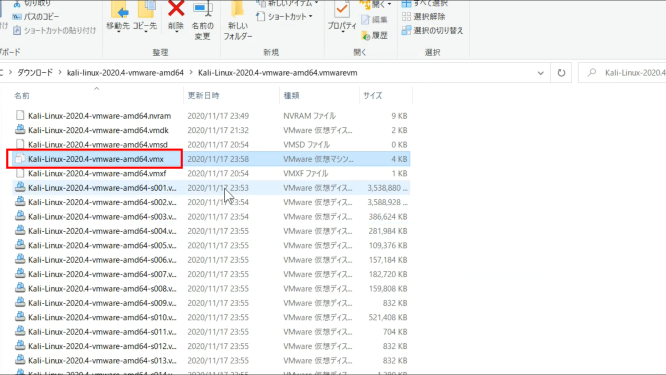
これをダブルクリックすれば[VMware]が立ち上がり、[VMware]内で[Kali Linux]をインストールでき、使用できるようになります。
If you double-click it, [VMware] will open, and you can install and use [VMware] within [Kali Linux].
その前に[VMware]をPCにインストールする必要があります。
You must first install [VMware] on your PC.
先ほどダウンロードした[VMware]をダブルクリックして、[VMware Workstation Player]のセットアップとインストールを完了させてください。
Please double-click [VMware] that you just downloaded to complete setup and installation of [VMware Workstation Player].
インストールが完了したら、先ほど解凍した[Kali Linux]のフォルダを開いて、拡張子に[vmx]とあるファイルをダブルクリックして開いてください。
When the installation is completed, open the folder of [Kali Linux] that you extracted earlier, and double-click the file with the extension [vmx] to open it.
そうすると自動で[VMware]上でインストールが開始されますので、[コピーしました]をクリックしてください。
Then, the installation starts automatically on [VMware], so click [I copied it.].

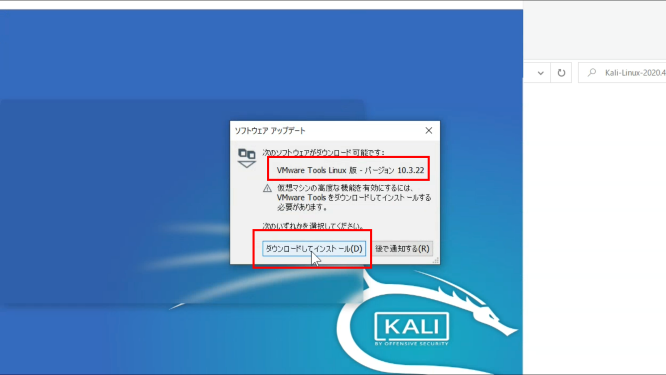
[VMware Tools Linux]のインストールを促されますので、[ダウンロードしてインストール]をクリックしてください。
You will be prompted to install [VMware Tools Linux], so click [Download and Install].
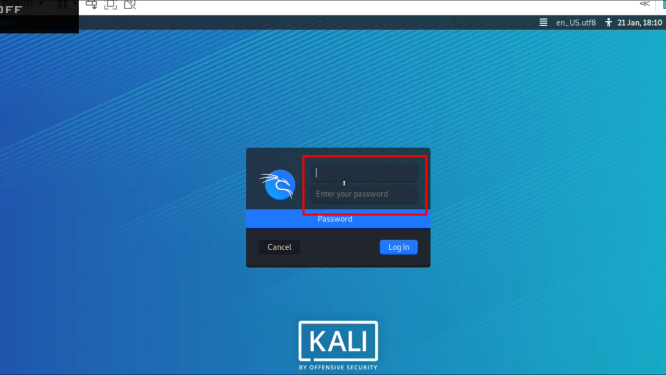
VMware版のkali Linuxのユーザーネームとパスワードはデフォルトで[kali]となっていますので、それらを入力してログインしてください。
The VMware version of kali Linux has a default username and password of [kali], so enter them to log in.

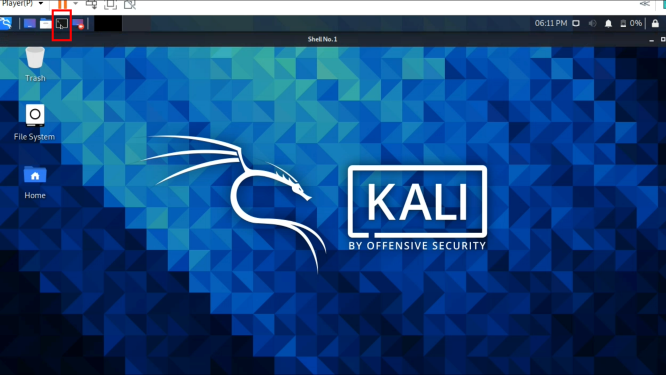
個人的には[kali Linux]のデスクトップ画面が昔よりカッコよくなっていると感じます。
Personally, I feel that the [kali Linux] desktop screen is more stylish than before.
画面左上にターミナルのアイコンがあります。それをクリックしてターミナルを立ち上げてみましょう。
There is a terminal icon in the upper left of the screen. Let's click it and launch the terminal.
[whoami]と入力すれば、今端末にログインしているユーザー名が表示されます。
If you type [whoami], the name of the user who is currently logged in to the terminal will be displayed.
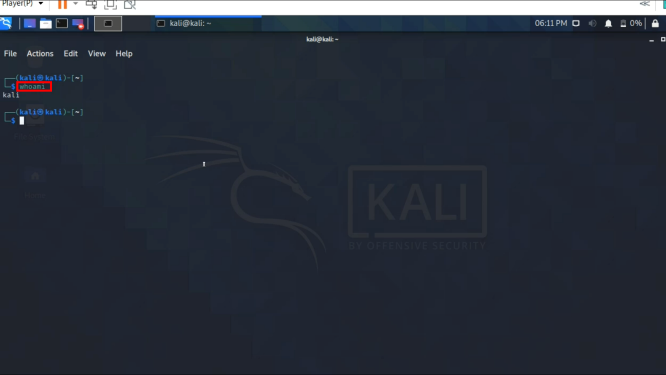
$ whoami
ではユーザーを[root](スーパーユーザー)に切り替えてみましょう。
Now switch the user to [root] (superuser).
[sudo su -]と入力して、パスワードを入力してください。パスワードは先ほどログイン時に入力したデフォルトの[kali]です。
Enter [sudo su -] and enter your password. The password is the default [kali] you entered when you logged in.
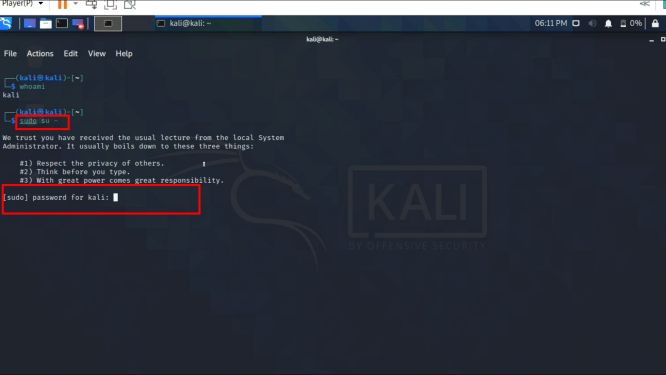
$ sudo su -
[sudo] password for kali: kali
[whoami]と入力すれば、ユーザーが[root]になっていることが確認できます。
You can verify that the user is [root] by typing [whoami].
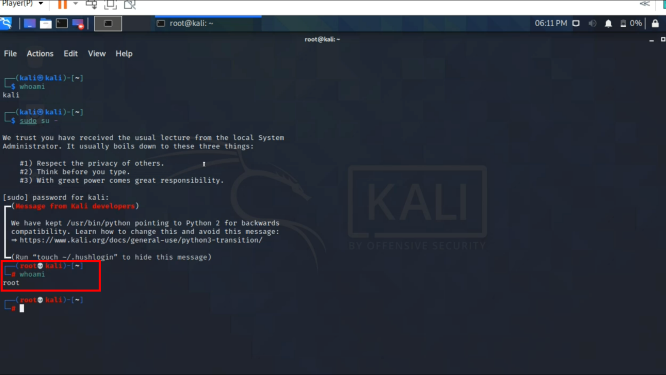
左側のユーザー名を見ても確認できますが、その場所にドクロマークが見えていて、なんだか不気味ですね。
You can also confirm that by looking at the user name on the left side, but there is a skull and crossbones in the place, which is somewhat creepy.
恐らく[出来る限りrootユーザーで作業はしないほうがいい]という決まりがあるので、その為でしょう。
This is probably because there is a rule that says [It is better not to work as root user as much as possible.].
スーパーユーザーである[root]には様々な権限が与えられているので、大事なファイルの設定を書き換えることが容易だから等といった理由があります。
This is because [root], as superuser, has various privileges, making it easy to rewrite important file settings, etc.
なので、管理者権限が必要な際には、rootユーザーになるのでは無く、[sudo]を使用して一時的にrootユーザー権限でコマンドを実行するようにしましょう。
So, when you need administrator privileges, instead of becoming the root user, use [sudo] to temporarily run commands as the root user.
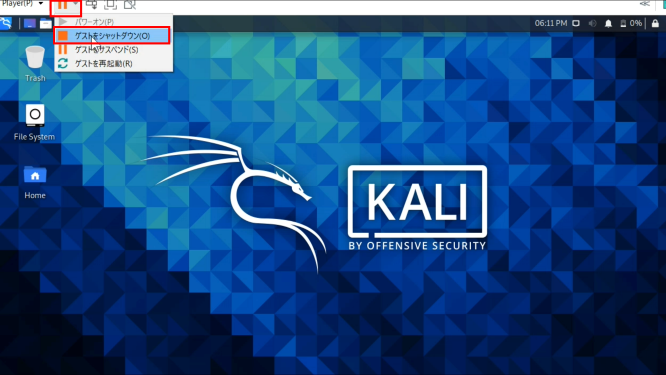
では[kali Linux]が正常に使えることが確認できたので、[kali Linux]をシャットダウンしましょう。
Now that [kali Linux] is working properly, shut down [kali Linux].
では良い[kali Linux]ライフを楽しんでください。アディオス。
Then enjoy a good [kali Linux]. Adios.
以上です。お疲れ様です。
That's all. Thank you for your hard work.